Yosemite Falls Trail: Hiking to Upper Falls & Yosemite Point
Yosemite Falls is the tallest waterfall in North America and one of the ten tallest in the world. Because of that, it is a popular destination in Yosemite Valley for hikers. If you are looking to make it to the top though, be prepared for grueling uphill and downhill to reach the summit, but an amazing view of the valley when you do. Here is all the information on the hike to the top of the falls and the extra add-on excursion to the top of Yosemite Point.
Details
- 7.2 miles round trip, 8.5 if you go to Yosemite Point
- 3,000 feet of elevation gain, 3,300 for Yosemite Point.
- This is a hard hike, make sure you are ready for it
- Location: Yosemite Valley near Camp 4
- This information is from my hike in 2018
- Read more about my favorite spots in Yosemite National Park here
Getting There
There is a parking lot near Camp 4 and the trailhead, but it can fill up, especially in the summer. You can park elsewhere in the valley as well and take the shuttle over if you can’t find a spot. I think it is shuttle stop seven but double check this.
Video
Here is a video I made on the hike.
The Hike
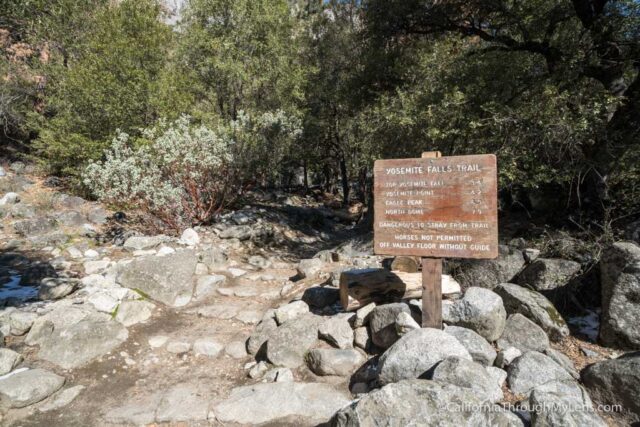
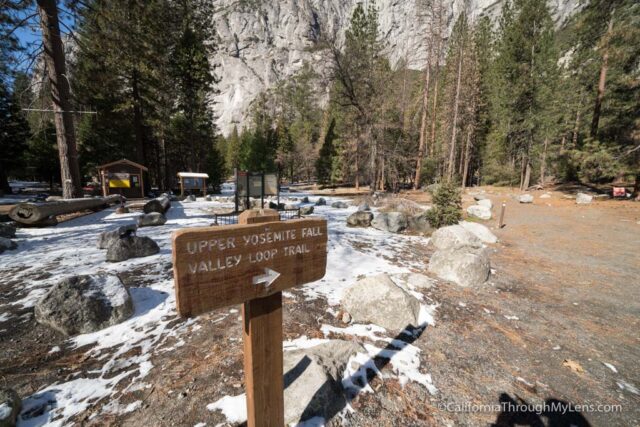
From the parking lot, head across the street and into Camp 4, which is where the trail starts.
The trail goes up from the beginning on switchbacks, and pretty much doesn’t stop until the end.
I have heard there are like 130 switchbacks on this trail, but I haven’t counted; I wouldn’t doubt those numbers though.
The first half mile or so is on switchbacks under trees, so it is not super exciting. When you gain some elevation and get above the trees a little, the views start getting a lot better. The first destination is Columbia Rock.
Columbia Rock
This is the spot where many hikers turn around; it is about a mile in and 1,000 feet of elevation. The views here are great of Half Dome and the valley below, and it only gets harder if you continue.
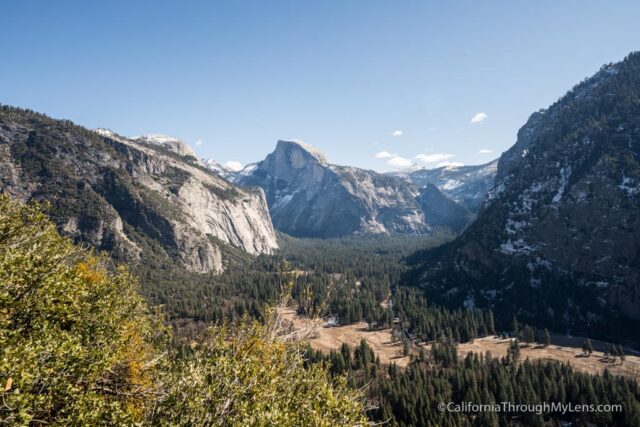
We took a short break here to enjoy the views and have a snack.
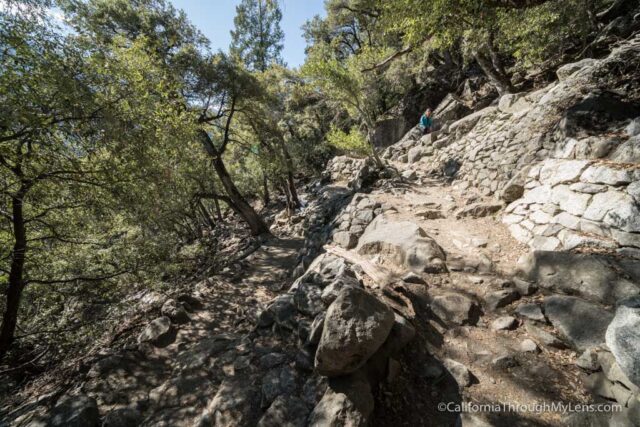
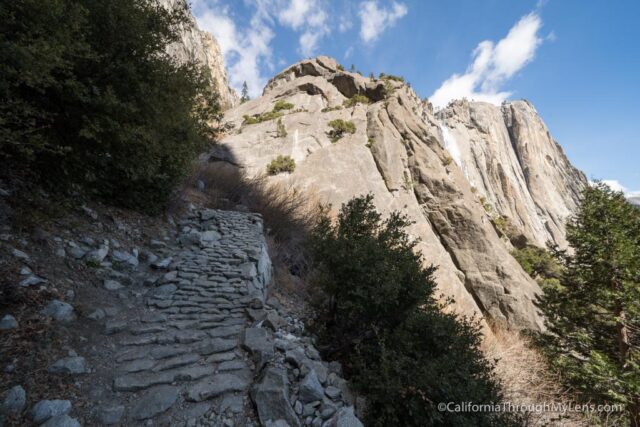
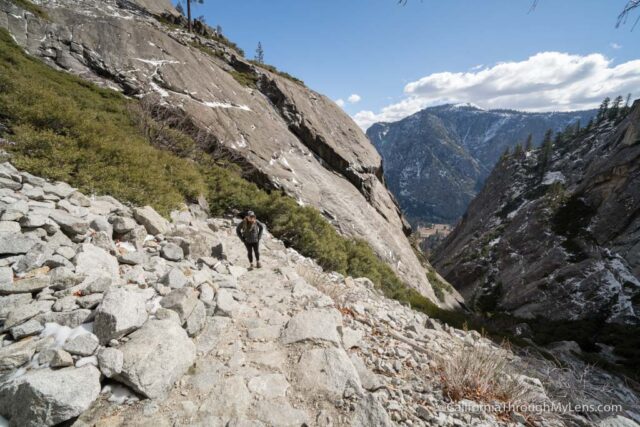
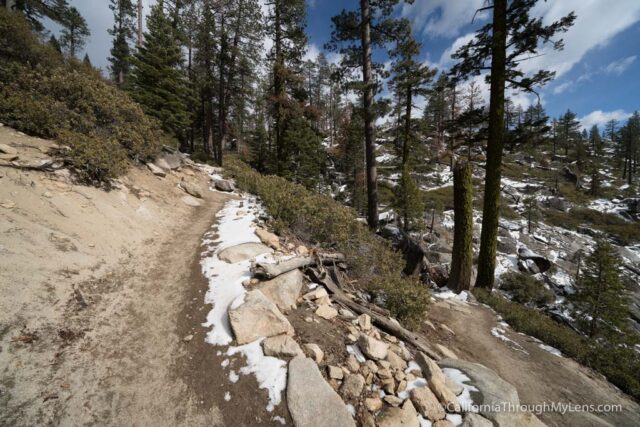
The trail continues it’s uphill climb and introduces the jagged rock “steps” that will be the bane of your existence on the way down.
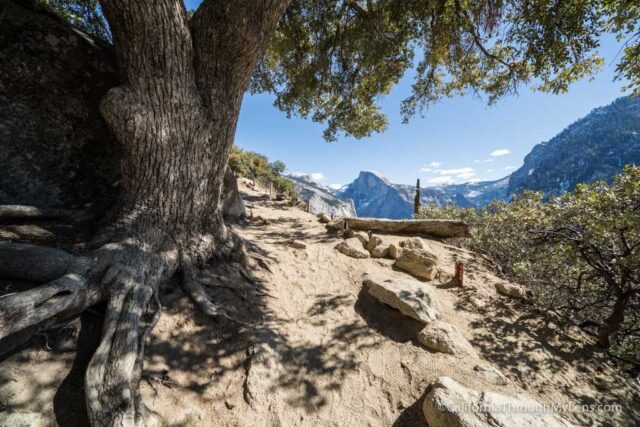
It then goes around a bend, and you get more views of Half Dome before heading into a shaded area again. From here, the trail is flat for a little while before heading downhill on a half dozen or so switchbacks.
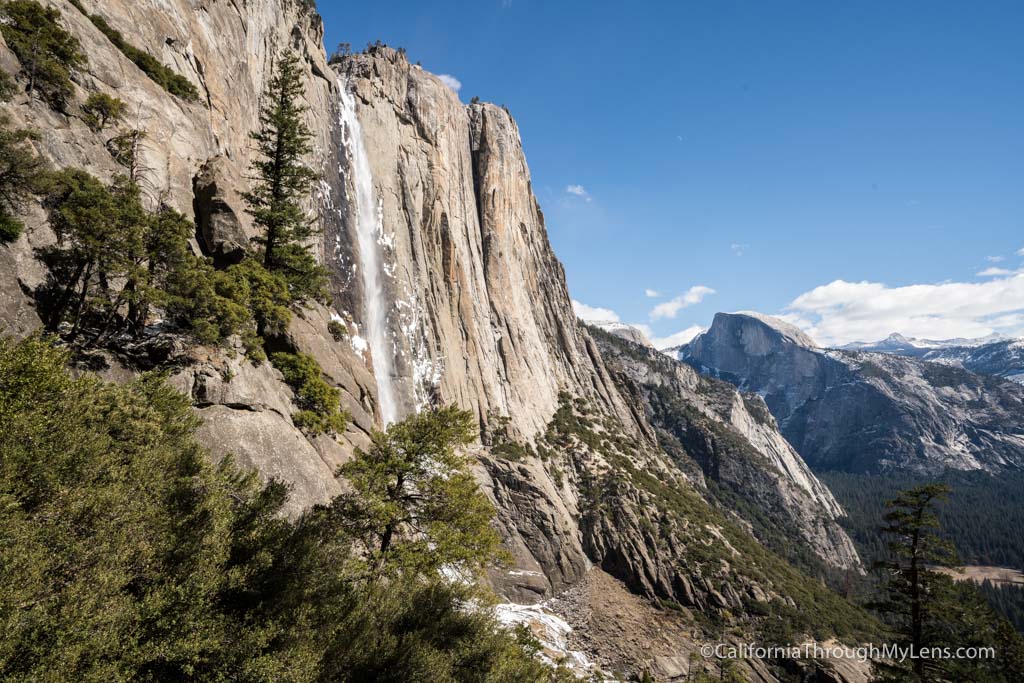
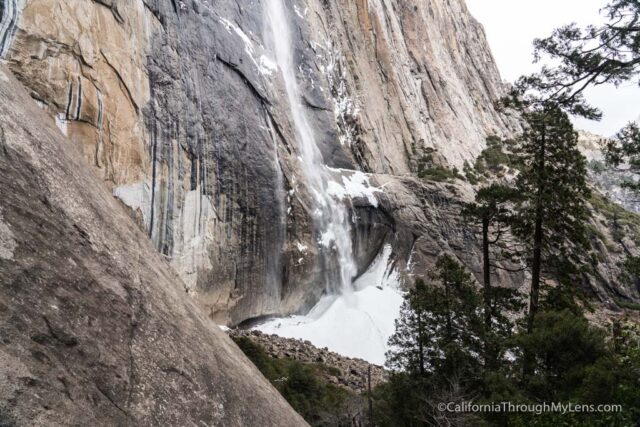
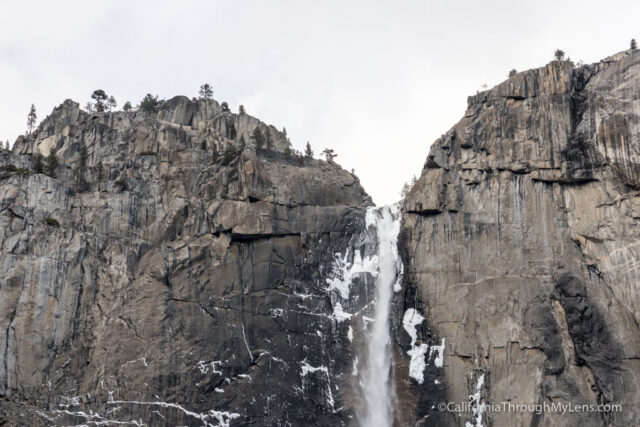
After the downhill, you will travel around the mountain and get your first views of Upper Yosemite Falls.
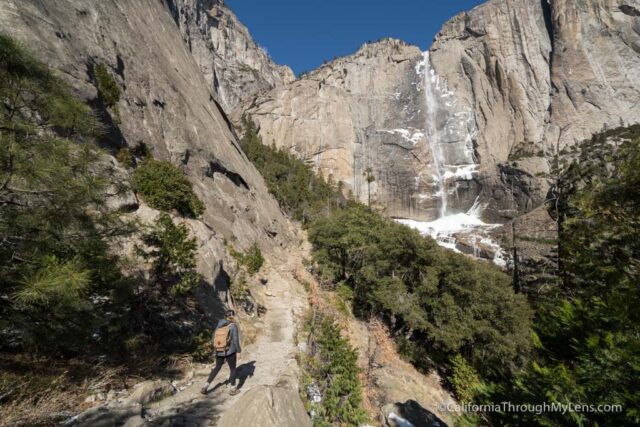
There are a lot of great spots for photos of the waterfall here.
This area also shows you how much you have left to go to get to the summit, which is a lot.
We found a spot up a few more switchbacks with a view and took a snack break before heading on.
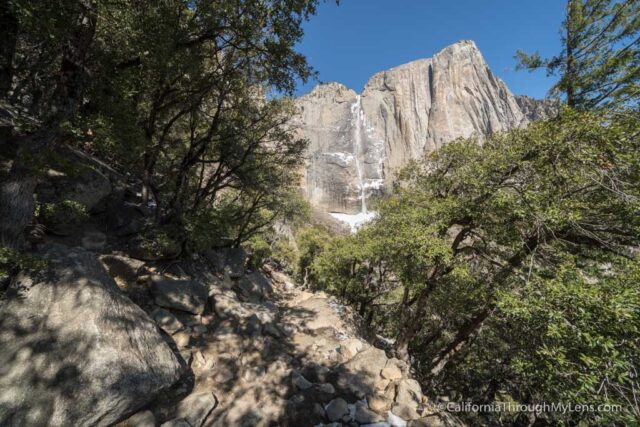
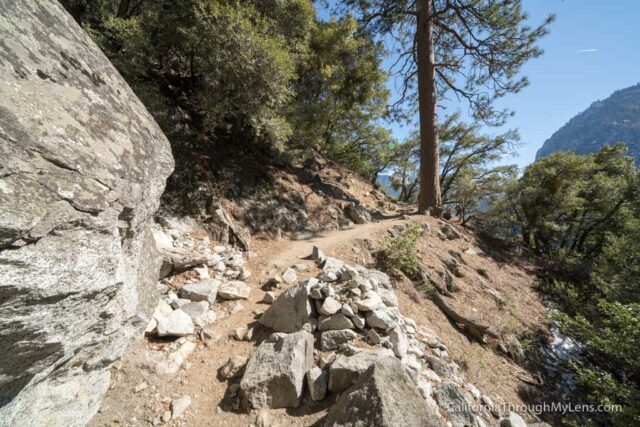
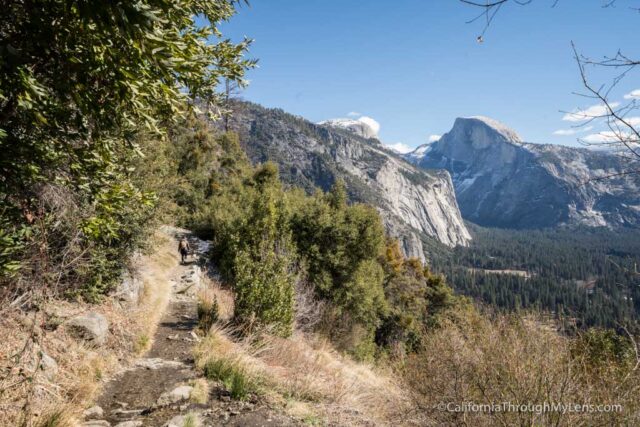
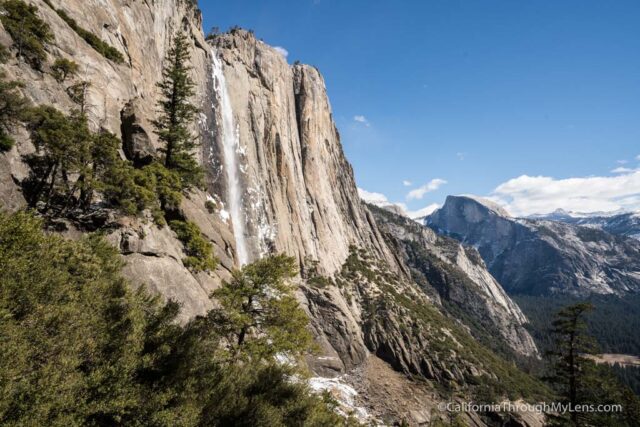
From there, you will be going along the left side of Yosemite Falls up into the canyon. There are tons more switchbacks here, and little shade, so be warned in the summer. As the trail climbs, you will be able to see Yosemite Falls with Half Dome in the background, which is epic.
This part of the trail seemed to go on and on for me as it kept feeling like you were getting close before another switchback popped up.
Eventually, you will reach the saddle that connects to a few other trails and the trail to the Yosemite Falls overlook and Yosemite Point.
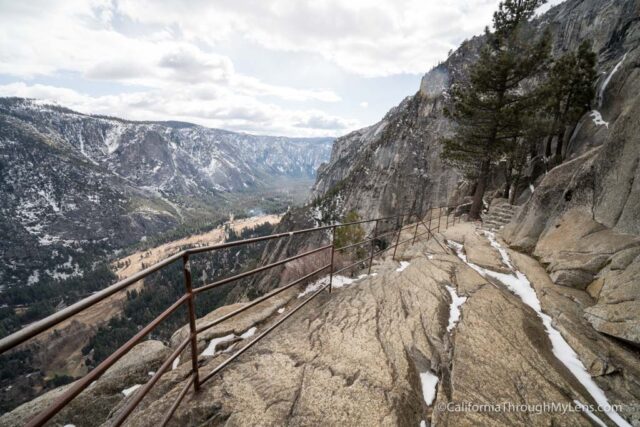
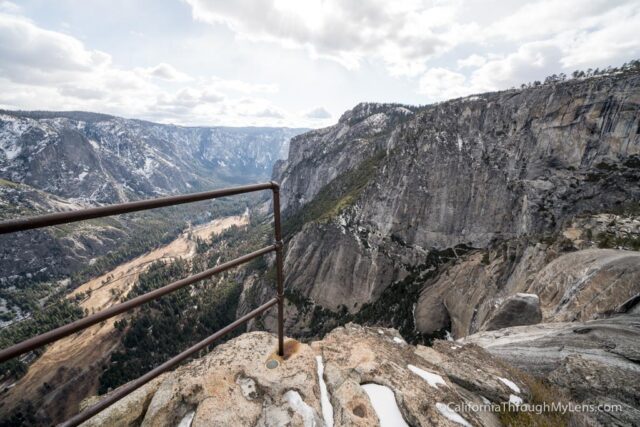
Head right and follow the trail out to the end of the cliff, there you will see another path down to the overlook.
This is a pretty sketchy part of the hike, so be careful on this trail.
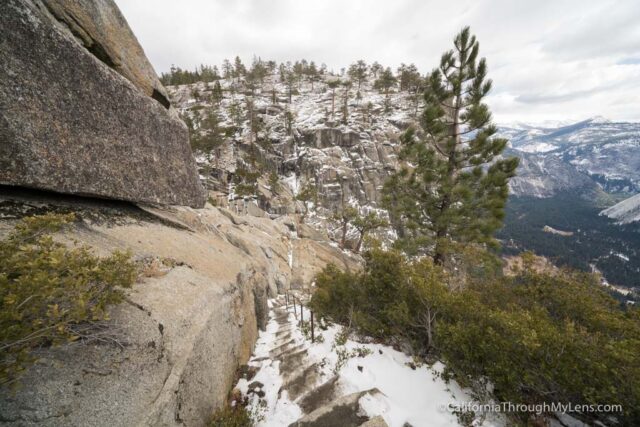
Basically, it goes down a bunch of steps, then bends right and you will be hugging the cliffside as you make your way down the final portion.
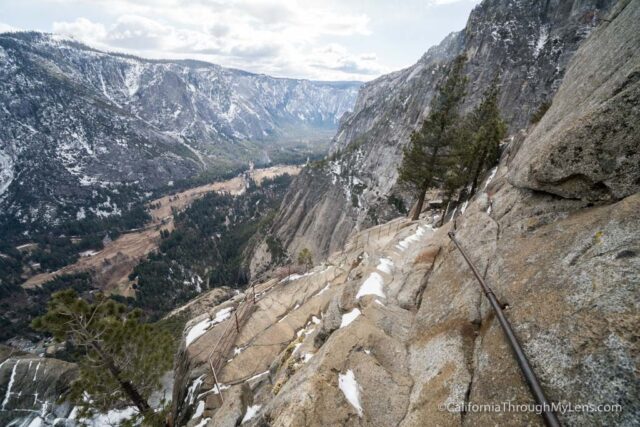
The cliffside is only a 20 foot or so drop to the overlook, so it’s not too bad, but it is crazy with the exposed views you have of the valley.
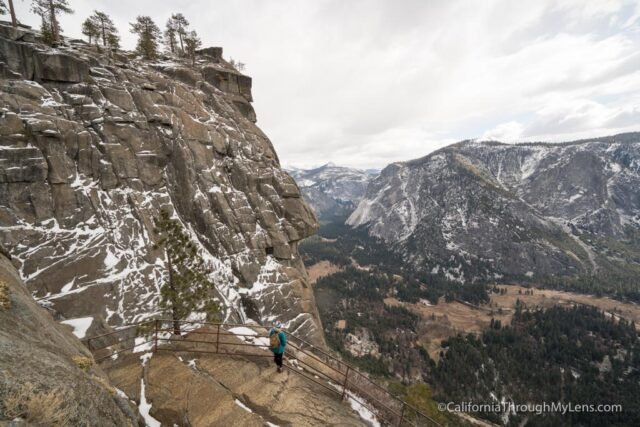
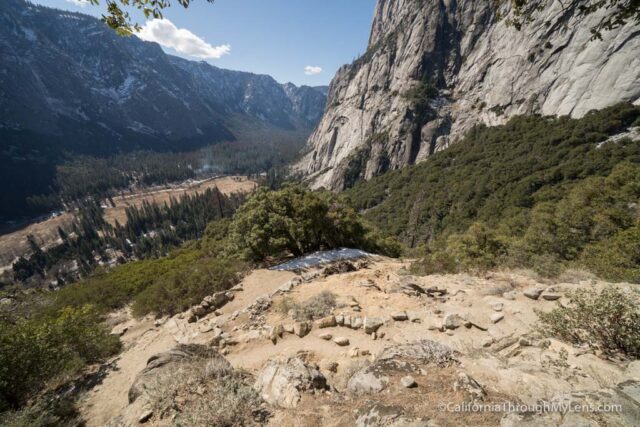
The overlook here is pretty cool, but it doesn’t have a great view of the falls.
There are a couple of spots on the way down to the overlook that are better for views of the falls. It’s still a great spot to see the valley though.
If you are exhausted, then you can head back down from here, or you can add a mile and a half and go out to Yosemite Point. Yosemite Point is an epic spot for a view, so I recommend you do it if you are feeling up to it, but don’t push yourself as it is a tough hike down from the falls.
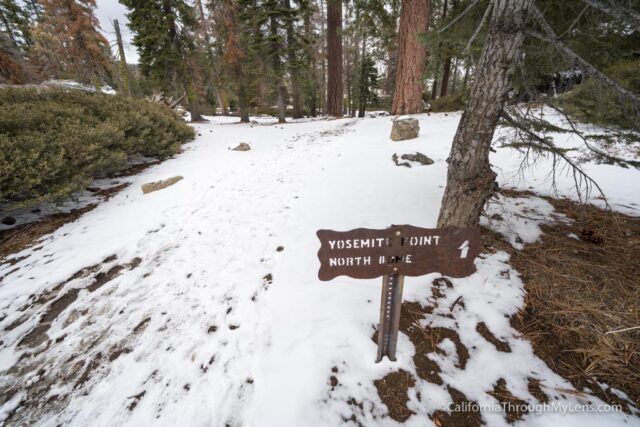
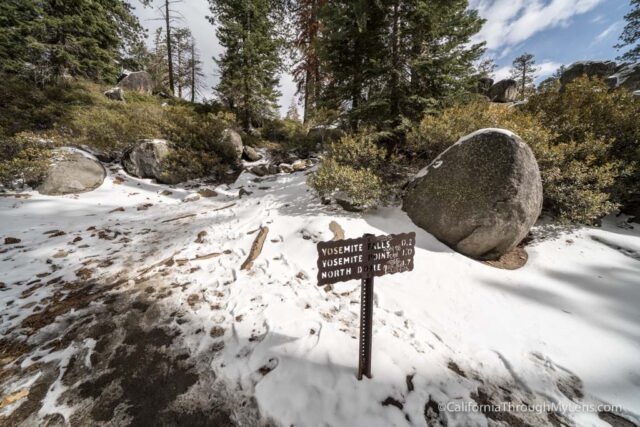
If you are heading to Yosemite Point, go back along the Yosemite Falls trail, and you will see a sign that shows you a path leading to the right to Yosemite Point.
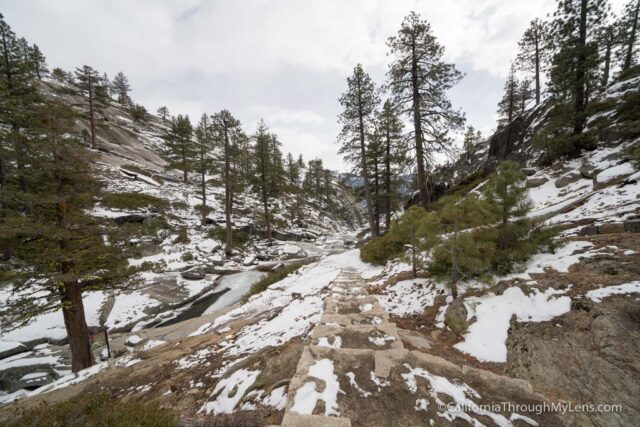
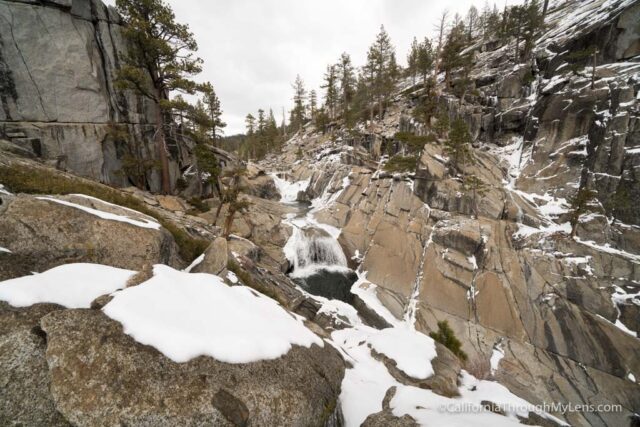
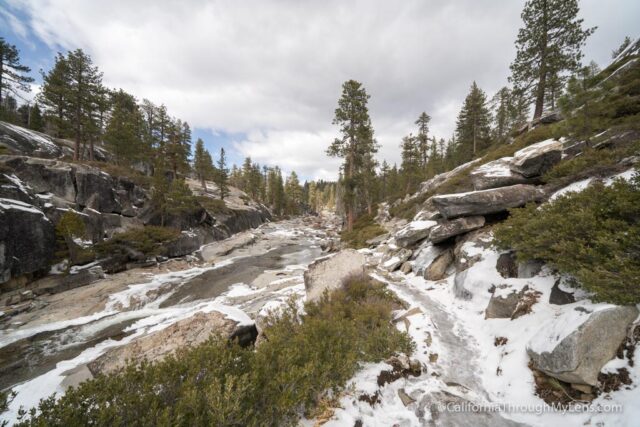
Take this down, and you will get near the water that feeds Yosemite Falls.
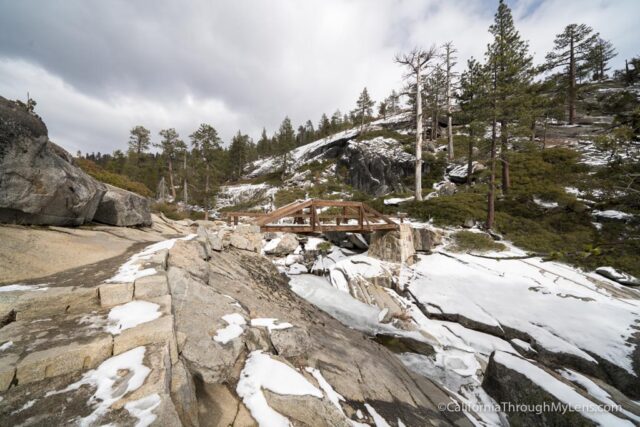
There is a bridge you will use to cross the water, and then the trail goes uphill again.
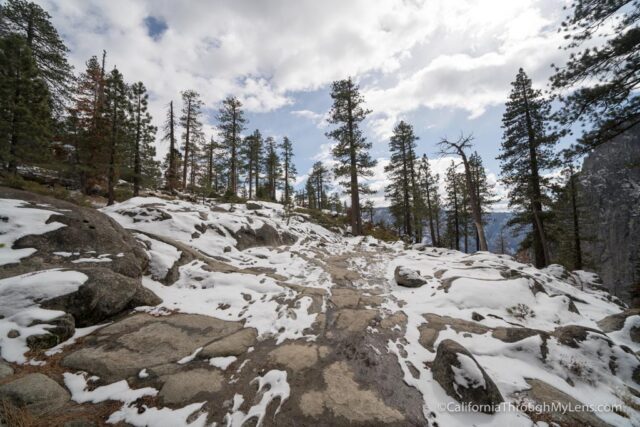
The trail is more switchbacks and uphill, but it is relatively uneventful.
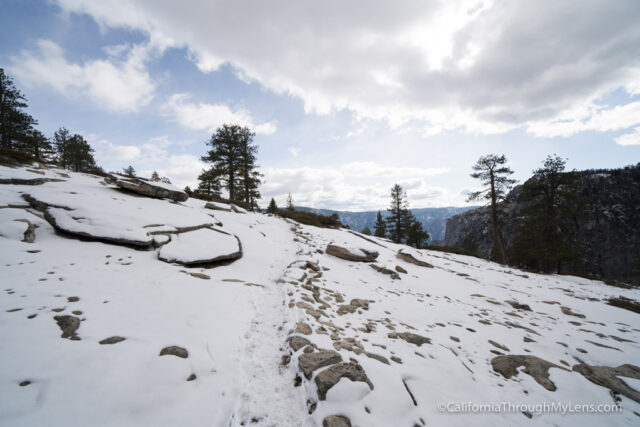
You just follow it until it reaches a crest and then heads down to Yosemite Point.
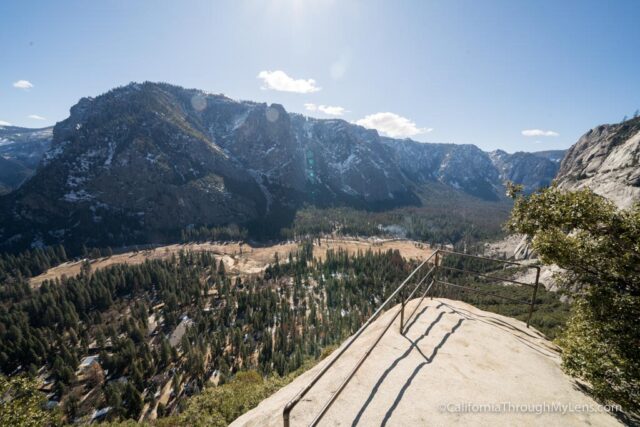
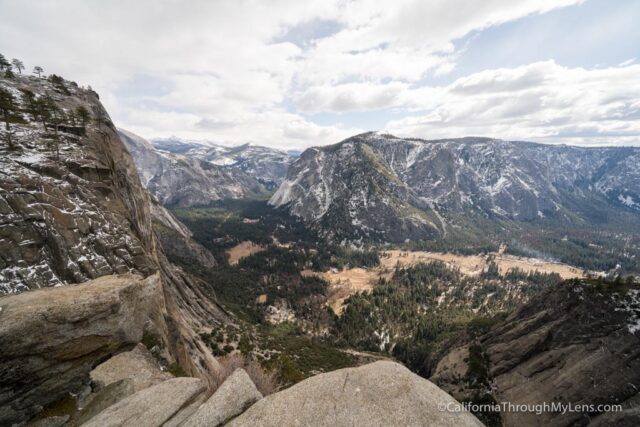
Yosemite Point
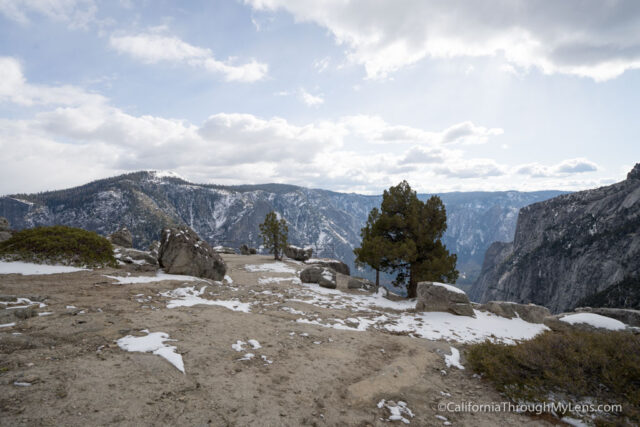
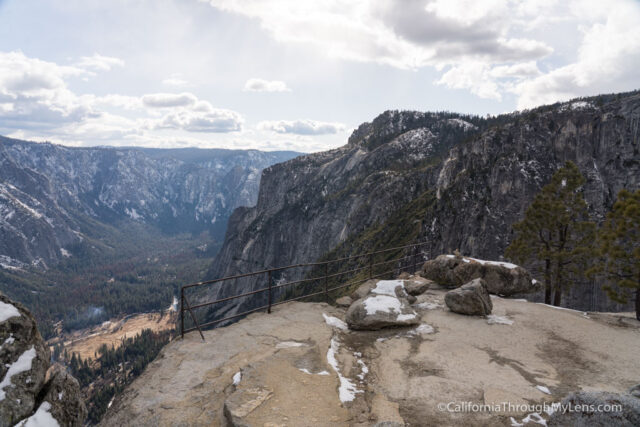
Yosemite Point is pretty much just a small granite area with great views of the valley.
There is a metal fence here, but it’s not doing much, so don’t rely on it.
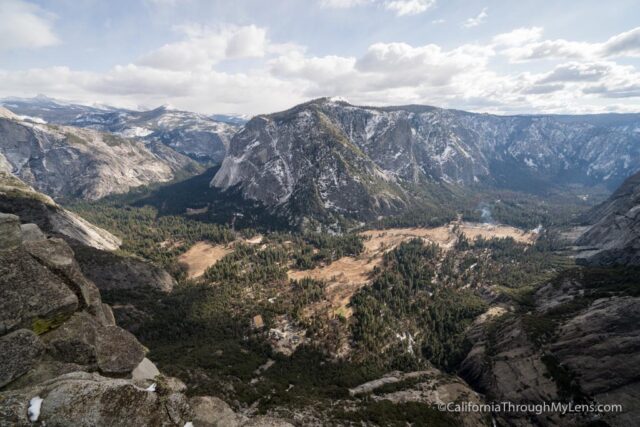
You can explore around and get some great views of the valley.
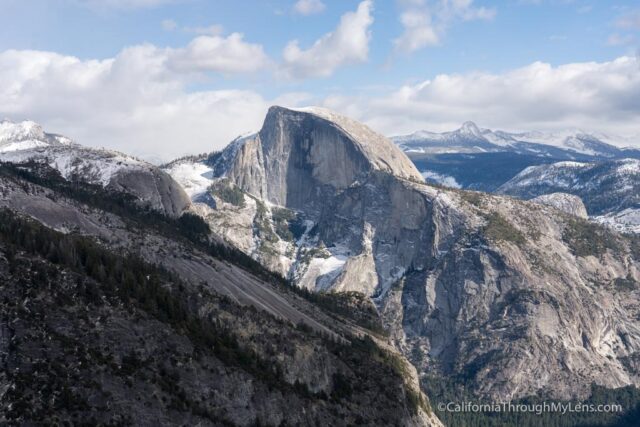
From the metal fence head left, and you can go over to an area with tremendous views of Half Dome as well.
Once you have taken it all in, you can make your way down to the Yosemite Falls Trail and back down to your car.
Don’t underestimate the downhill; I thought it was the worst part when I went as it is hard on the knees with the uneven rocks, consider carrying a trekking pole if you go for this part.
All in all, this is an epic hike to do in Yosemite Valley. Be sure you are prepared for it though, it is tough. Let me know what you think in the comments.
Yosemite Village, CA 95389