Goat Canyon Trestle Bridge Hike: Worlds Largest Wooden Trestle
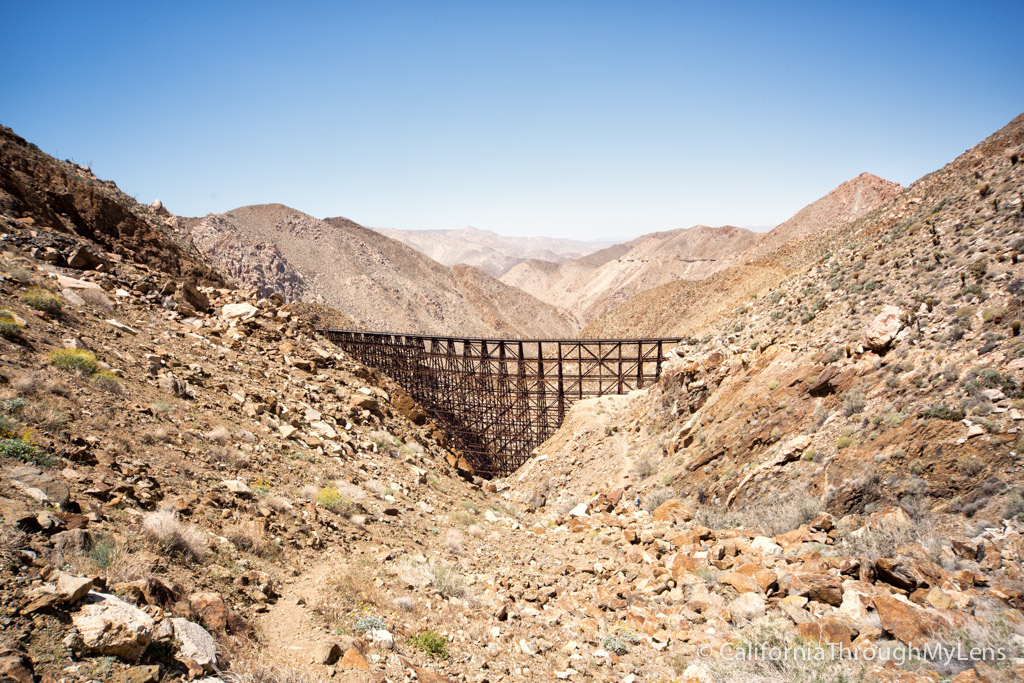
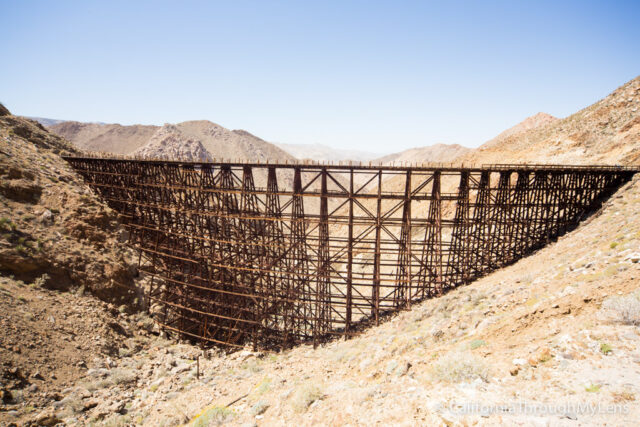
Only 15 miles from the Mexico border, in the southern section of Anza-Borrego sits one of the largest freestanding wooden trestles in the entire world. This bridge is accessible by a 6-mile round trip hike that should NOT be attempted without a lot of research, a GPS, a four-wheel drive car and mental preparation. I would suggest only experienced hikers try taking it on and I cannot stress enough that you should not do it when it is hot. I hike a lot, and this is one of the most difficult short hikes I have ever done. Luckily I had Last Adventurer leading the way, who had been there before, and Shoestring Adventures experiencing the hike with me. Read on for all of the information on this magnificent adventure.
Details
- 6 miles round trip
- 2500 feet of elevation gain. This is hard elevation too, half of it is class 2 to 3 scrambling that is difficult heading down and heading back up.
- No shade on the entire trail
- Requires four-wheel drive to get to the trailhead. Yes, you cannot do this without four-wheel drive, we even got stuck in one section with it.
- Bring 3 liters of water
Video
Here is a video I made on the hike when I visited in 2023.
History
Hailed as the impossible railroad when it was completed, many said it was a triumph for man over harsh nature. The line itself was completed in 1919, and it connected San Diego with Yuma. Initially, the line went through the now caved in tunnel, the entrance of which you can see below.
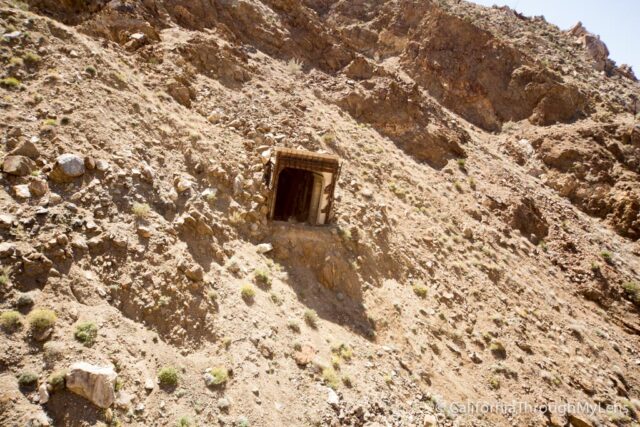
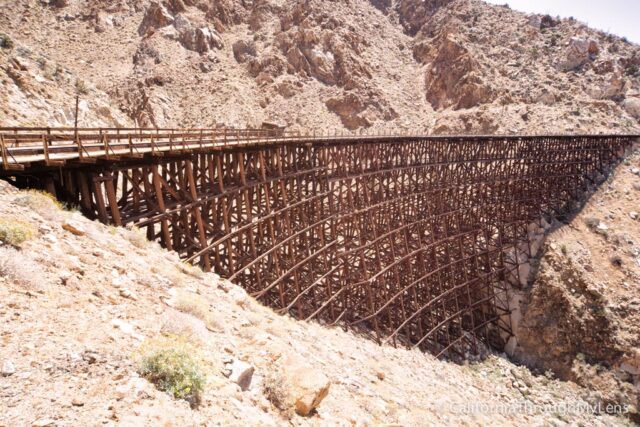
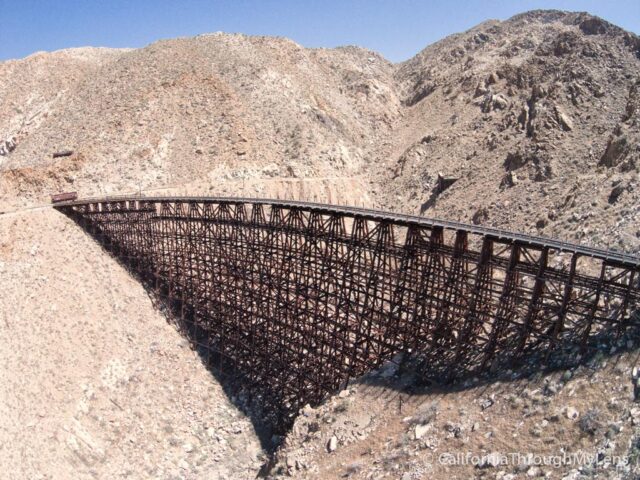
After the cave-in happened, they decided to build the trestle in 1932, and it is still standing to this day and is 600 feet long and 200 feet high. It is the largest freestanding wooden trestle in the world. I was surprised by how it is still in fantastic shape; I would assume that is because of how difficult it is to get there as you will see in the rest of this post.
The Drive
From San Diego, you will head out on Highway 8 to the “town” of Ocitillo. There really is not much there in the town other than a few restaurants and a gas station.
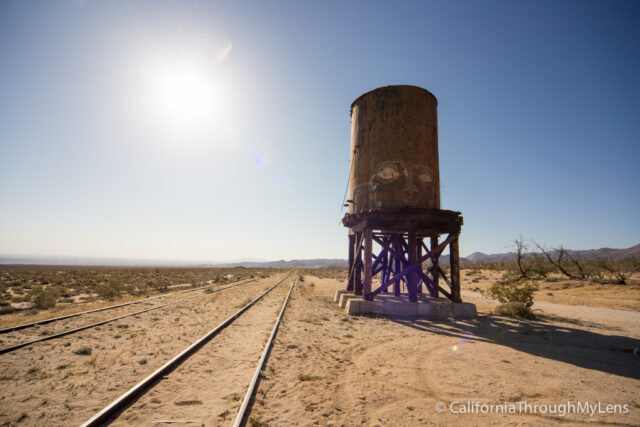
The unmarked dirt road you will turn on is the road out to Dos Cabezas train station. This used to be a very popular station, but there is not much there now other than this cool old water tower. This is a favorite road for offroad vehicles, but we didn’t see anyone else on it when we went.
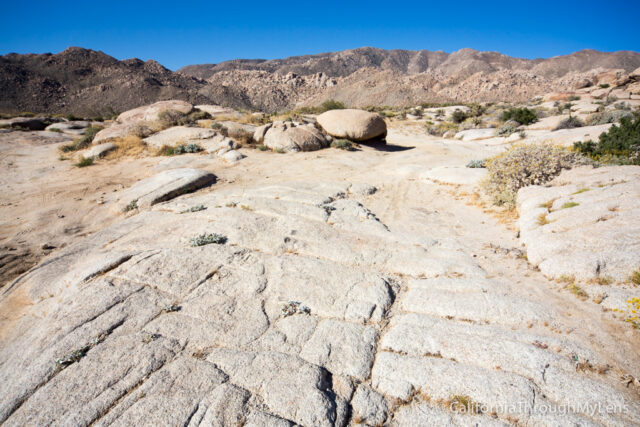
I would recommend getting a GPS track on the drive out here as I could not even tell you how we got there 100%. Last Adventurer was the driver, and he knew all the dirt roads that you needed to turn down to get to the trailhead. Two main obstacles require four-wheel drive. One is over the tracks themselves, but it has been built up so that it is not too hard and the next is a large rock that you must traverse over, and that would not be passable without four-wheel drive. After getting over the two obstacles, you will finally make it to the unmarked trailhead.
The Trail
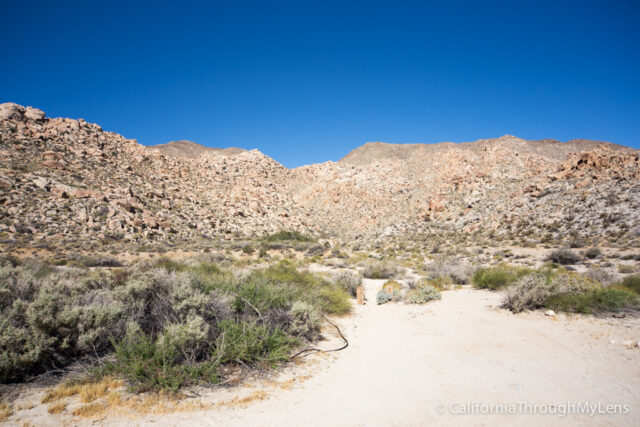
Like I said before, do not make this blog your only research to get here, it really does require route finding and general knowledge of the direction you are heading at all times or else it would be pretty easy to get lost.
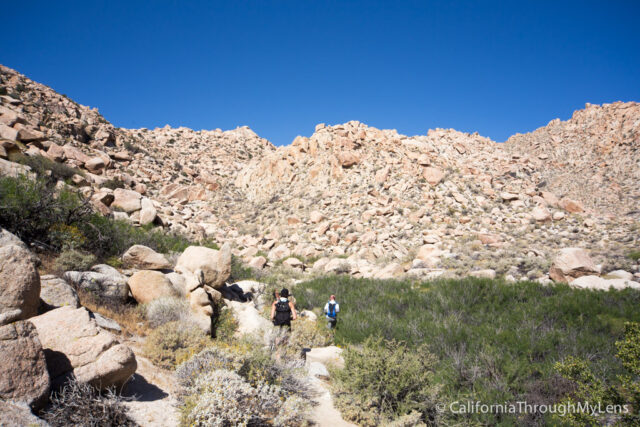
The trail starts flat as you head to the mountain you will be climbing, but it doesn’t stay that way for long. This section even has green plants that must have some water flowing under them and an old watering trough from the 1940’s.
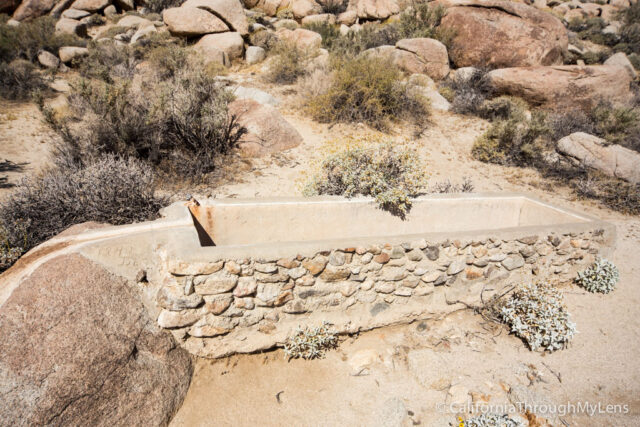
From here you head up on a steep and sandy incline for the next mile to a mile and a half. This section climbs and climbs until you finally reach the top of the small mountain you are heading up. I would say it is about 500 feet of elevation.
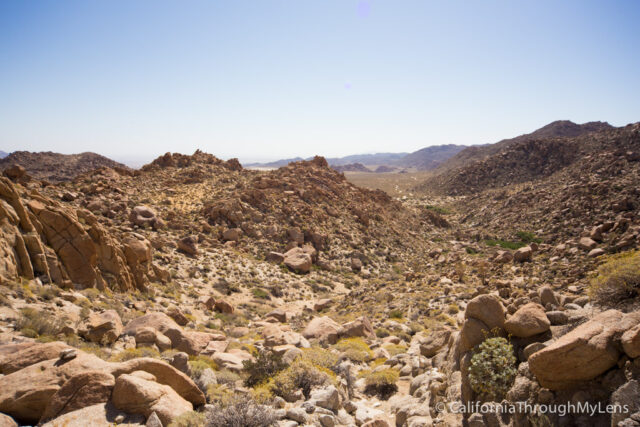
From here you can look up, and the furthest saddle that you see is where you will be heading. It seems tough, and it is but you just take your time and keep following the trail, which is faint.
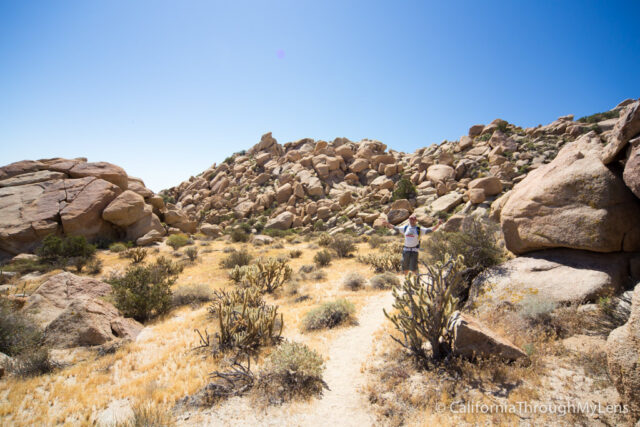
When we were there, the trail had many cairns that at least helped to point you in the right direction but I would not rely on it as that could always change, and some sections did not have them very often.
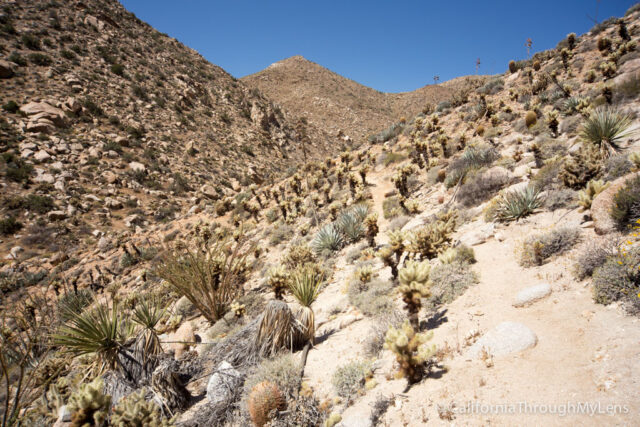
After getting to the saddle, you will be walking along straight along the ridgeline for about a quarter-mile till you start the challenging portion of hike.
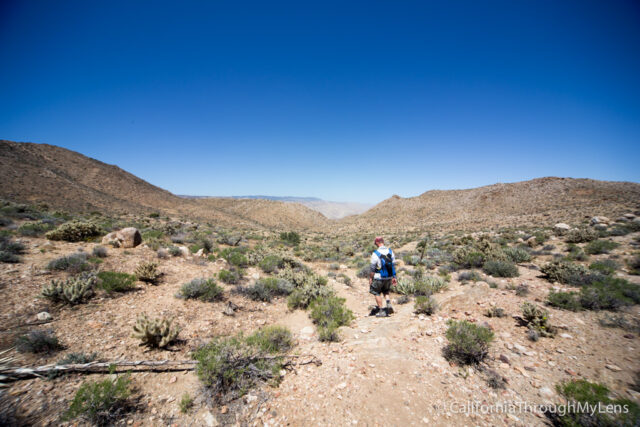
The Descent
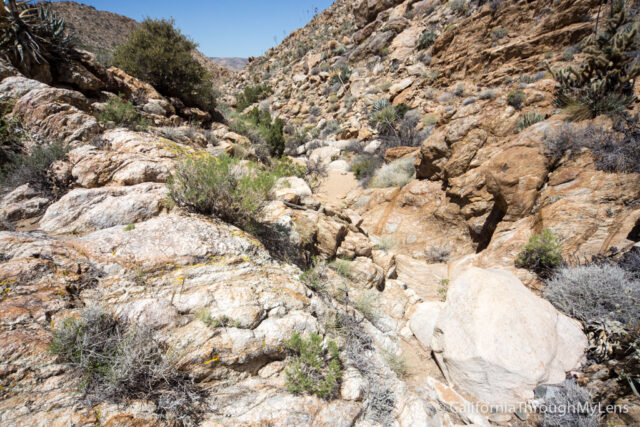
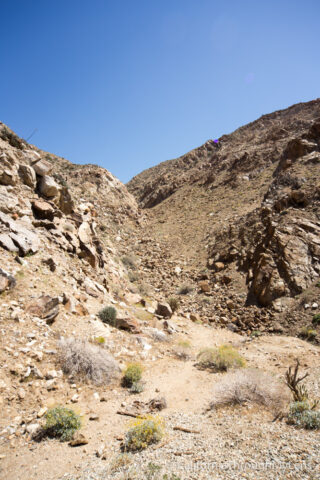
As you start the descent through the canyon you will notice that it is steep and slippery, remember that every step forward you take is another step back up you will have to go. Do not push yourself if this becomes too hard. I found myself dreading the hike back up as I descended.
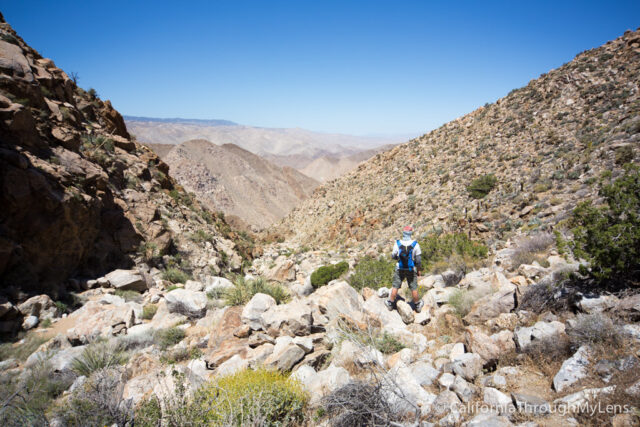
The decline continues for about a half mile until you reach the top of an old dry waterfall. This area is where you will need to do some class three scrambling, and we headed to the left for our descent as you cannot go down the old waterfall without a rope. Be careful here as a slip could easily injure you.
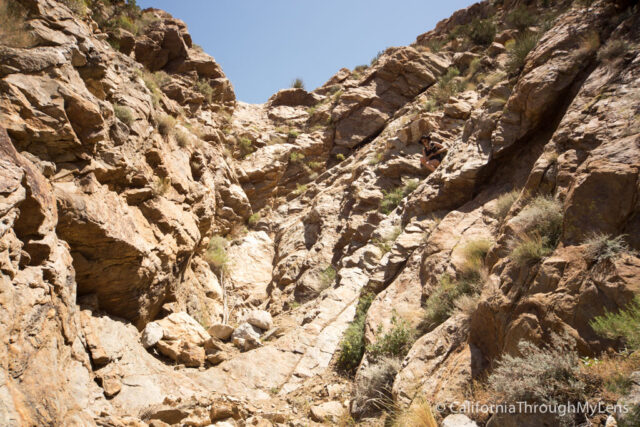
From here you will see your first view of the bridge, which should motivate you to finish it the hike strong. The last section is just more steep downhill until you finally reach the bridge and it is probably the toughest of the entire trail.
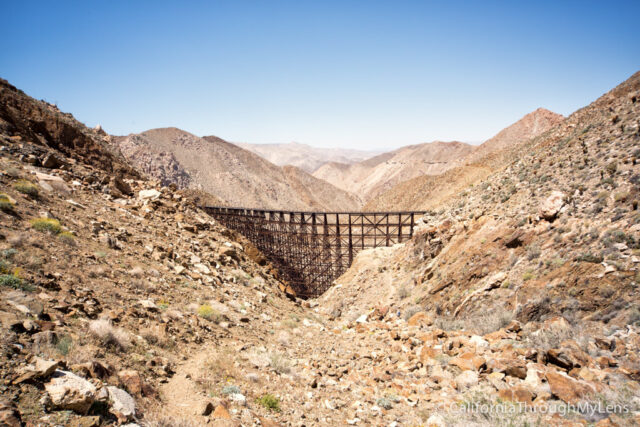
Remember that when you reach it, you are only half way. You still need to climb all the way back out of the canyon you are in and all the way back down the other side, it is a tough hike.
The Bridge
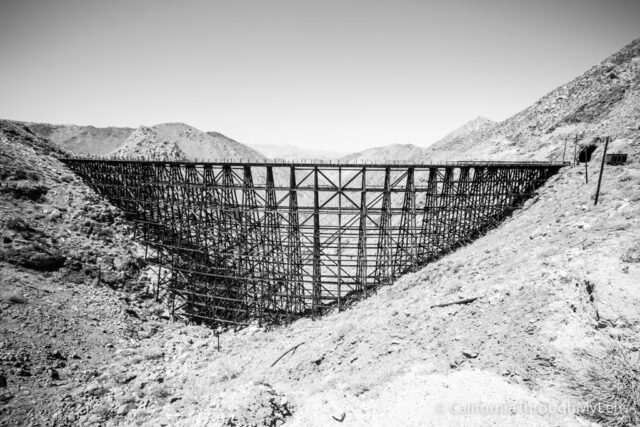
When you finally make it to the bridge, you can sit and marvel at how long and tall it really is. The bridge is in fantastic shape, and I was actually surprised that it is was as nice as it was.
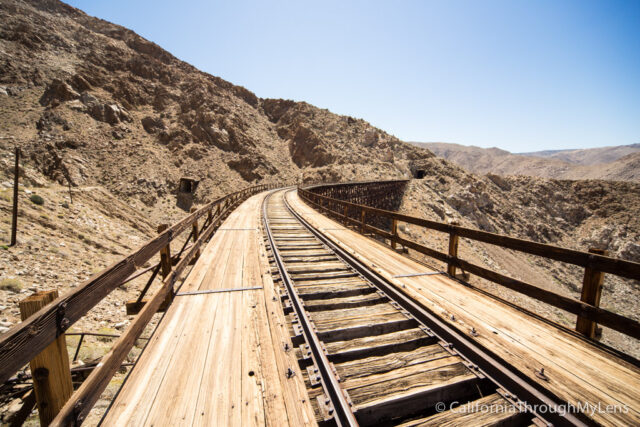
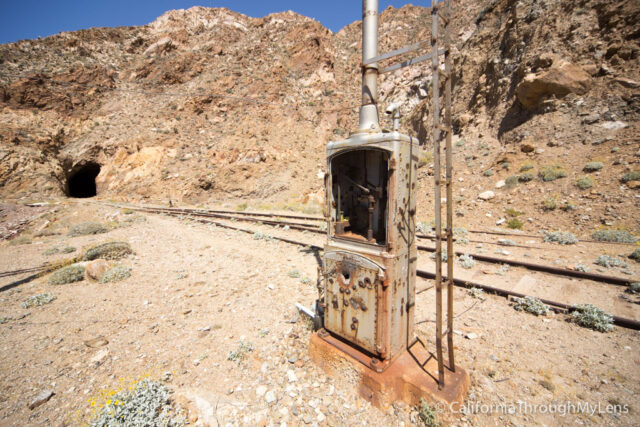
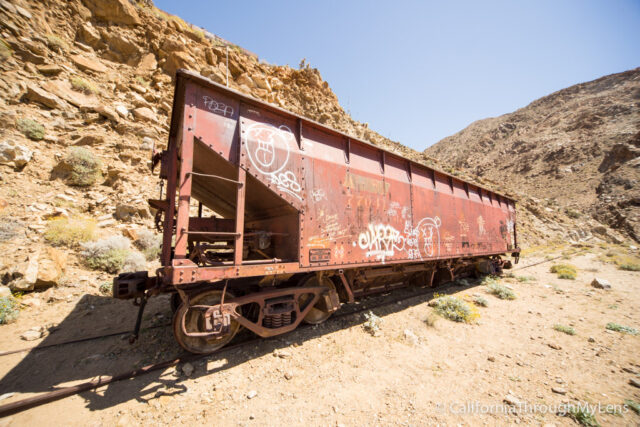
You can explore all around it as there is an old train car, tunnels and the bridge itself. I didn’t walk through the tunnels, but I did duck in to eat my lunch and get out of the brutal sun.
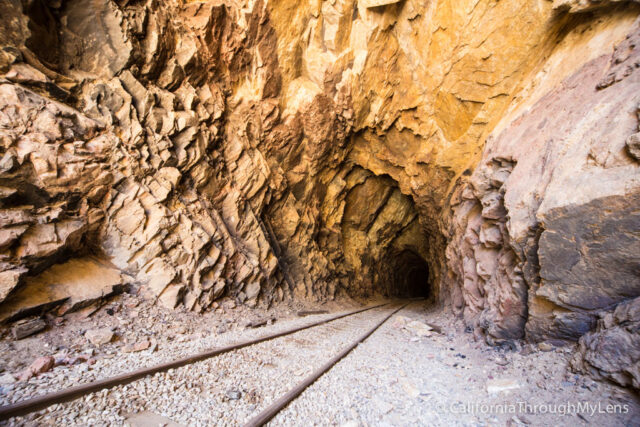
Always be careful when near the tracks, they are not in use right now, but you never know when they could be in the future and it is not worth exploring a tunnel when there is the possibility of an active train.
There are a few other unique sights here as well such as some old machinery that sits along the trail. I didn’t walk across it myself; it seemed like it was in good shape but I am not a huge fan of heights, so I just marveled at it from afar.
I was in awe of this bridge, it had been on my list to visit for a long time, and it absolutely lived up to the hype. I even got a chance to fly my quadcopter around it as well which provided some awesome photos.
After exploring the bridge to our heart’s content, we set out for the hike back. It was brutal climbing out of the canyon, and there was no shade the entire time so be sure to have enough water and be prepared. This is a fantastic hike with a lot of great history and adventure, but it is in a remote area of CA, so you need to take every possible precaution.
We saw no other hikers or offroaders the entire day, so make sure if you go you do your research and really know the path. Seeing the bridge is fantastic but not worth getting lost or hurt over.
Here is a video I made of the hike itself.
I would love to hear what you think about this hike in the comments below and here is some additional information from other blogs if you are looking to make the journey yourself.
Additional Info
- Anza-Borrego.net
- I Hike San Diego
- Last Adventurer History
- Last Adventurer Hike Recap 1
- Last Adventurer Hike Recap 2
- Shoestring Adventurers

