DL Bliss Lighthouse Trail to the Historic Rubicon Point Lighthouse
DL Bliss State Park is a popular state park in Lake Tahoe area, especially since it is the start of the famous Rubicon Trail. This trail goes from DL Bliss to Emerald Bay along the water, and I have been told it is one of the best in the entire area. That being said, there are also other things to do in this state park, like hiking to the old Rubicon Point Lighthouse along the lighthouse trail. Here is all the information on that hike.

Details
- 1.5 miles round trip
- 500 feet of elevation
- $10 to enter the park (as of 2017)
- I visited in 2017
History
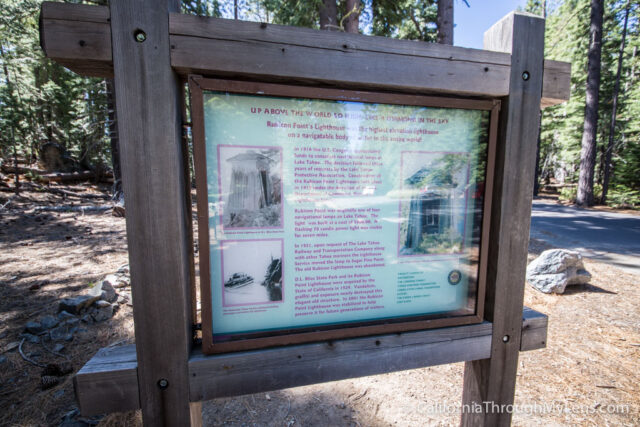
In 1916 the US Congress approved funds to create lamps along Lake Tahoe. Construction of the Rubicon Point Lighthouse took place in 1919. It was originally one of four lighthouses and were built for around $900. In 1921 a new lighthouse was constructed in Sugar Point State Park, and this one was abandoned. In 2001, after vandals had nearly destroyed it, the lighthouse was returned to its former glory in the state park.
The Hike
After you enter the park, you will be given a map that will show you where to park for the lighthouse trail. That being said, this trail is not laid out very well. My wife and I got turned around when we were on it, so make sure to have a map on hand to see where you should go (there are no markers once you start the trail).

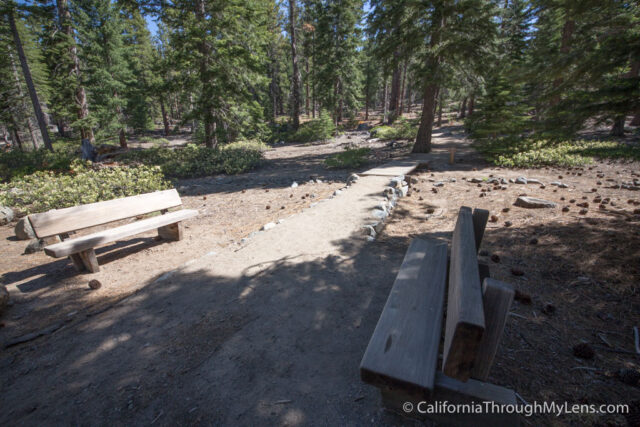
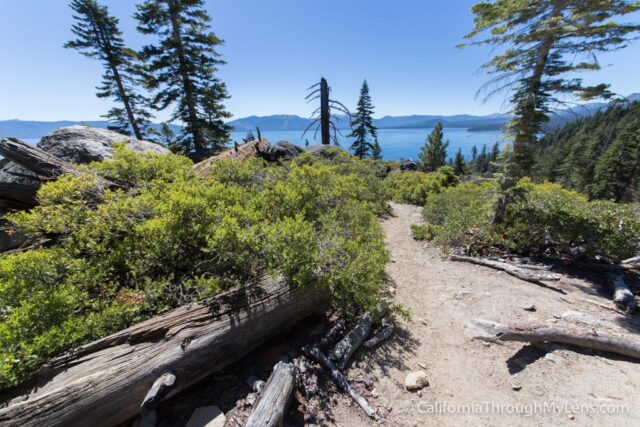
From the parking lot, the trail begins to head up the hill on a well-worn path. The reason why this trail is 500 feet of gain is that you will be heading up the hill then back down the other side to get to the lighthouse, it is about 250 feet of gain on each side.
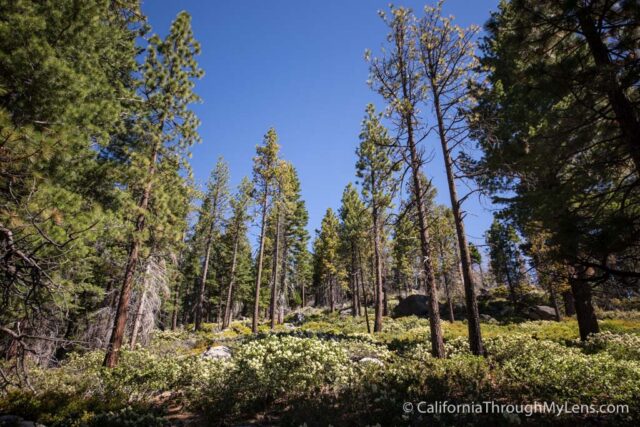
As you proceed up, you will get beautiful views of the trees around you as well as the lake through the trees. It is a serene trail that is shaded pretty much the entire way.
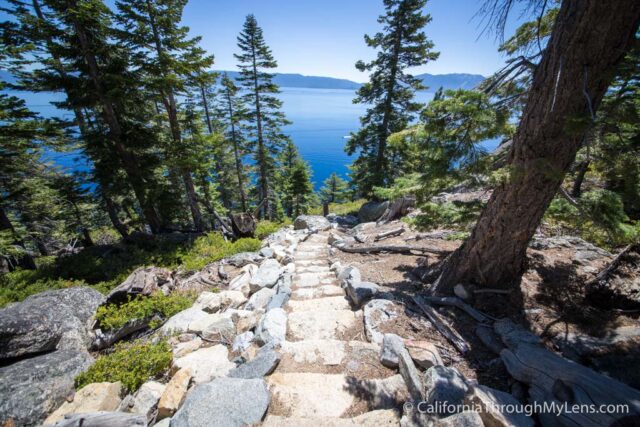
After reaching the top, the trail becomes a little harder to find but look for the most worn section to follow. The trail will now head down the backside of the hill, where it eventually connects with the Rubicon Trail at an area with a bunch of massive rocks. From here, you should see a plaque for the lighthouse portion of the trail, and after a set of granite steps, you will be at the lighthouse.
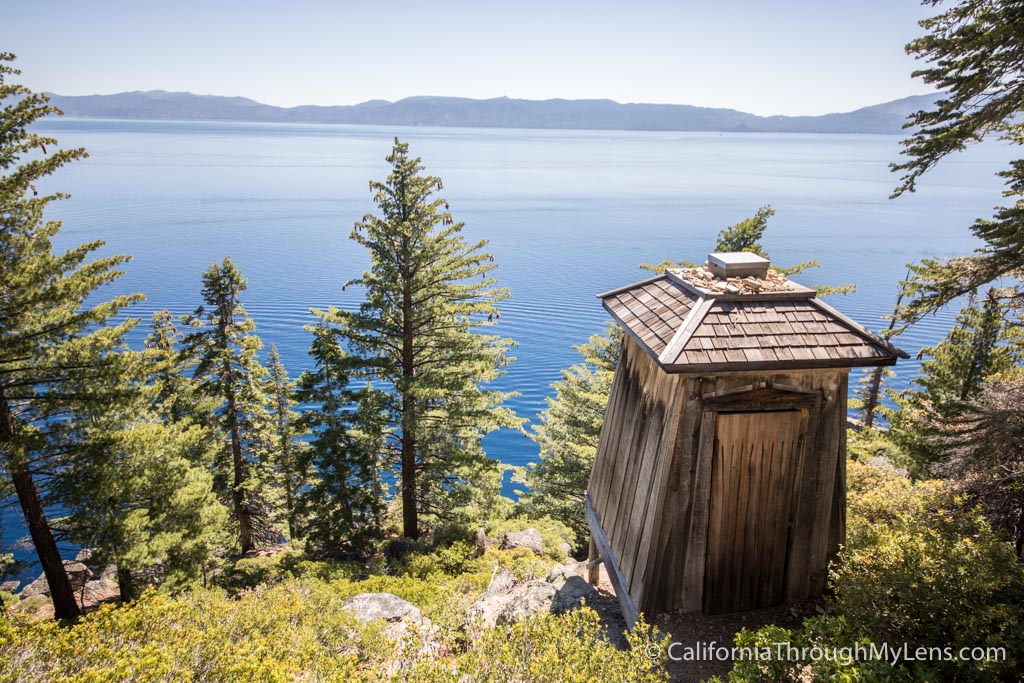
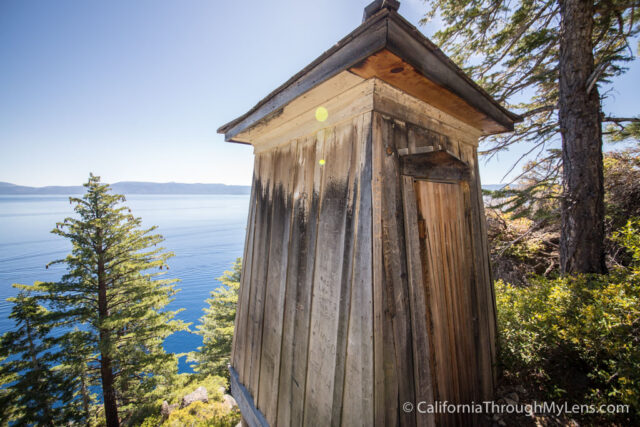
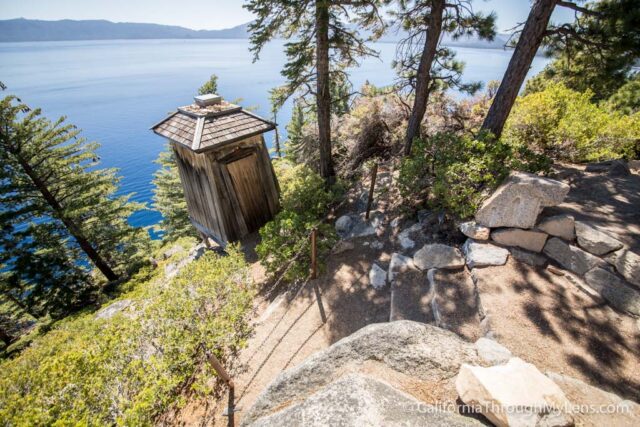
This vista point is fantastic, and the lighthouse is in better shape then I anticipated it to be in. I walked all around it, except you cannot see the back of it as there is a significant drop that you would not want to try to navigate. Here are some pictures:

After getting your fill of the lighthouse, you will simply follow the trail back out. From here, you will be heading back up the hill and over the other side to get back to your car. Make sure to check out some of the other stops in the park, which you can see by reading this post I wrote on them and let me know what your favorite spot is.