Teutonia Peak: Cima Dome, Mines & Joshua Trees
After stocking up on jerky in Baker, I headed into the Mojave National Preserve from the north side with the idea of climbing Teutonia Peak and seeing the Cima Dome. I could see the dome right from the freeway exit, so I knew I was going in the right direction. About 10 miles in, right before the Mojave Cross, I saw the turn out for the trailhead to this fantastic hike. Here is all the information.
Details
- Free
- 4 miles
- 700 feet
- Not a lot of shade
- I wrote this in 2015 and 2021
After getting my bearings, I started on the hike, not knowing all the amazing stuff these four miles held. There are mines, the densest Joshua Tree forest in the world, and the Cima Dome all before you get to the peak. Does it get better than that?
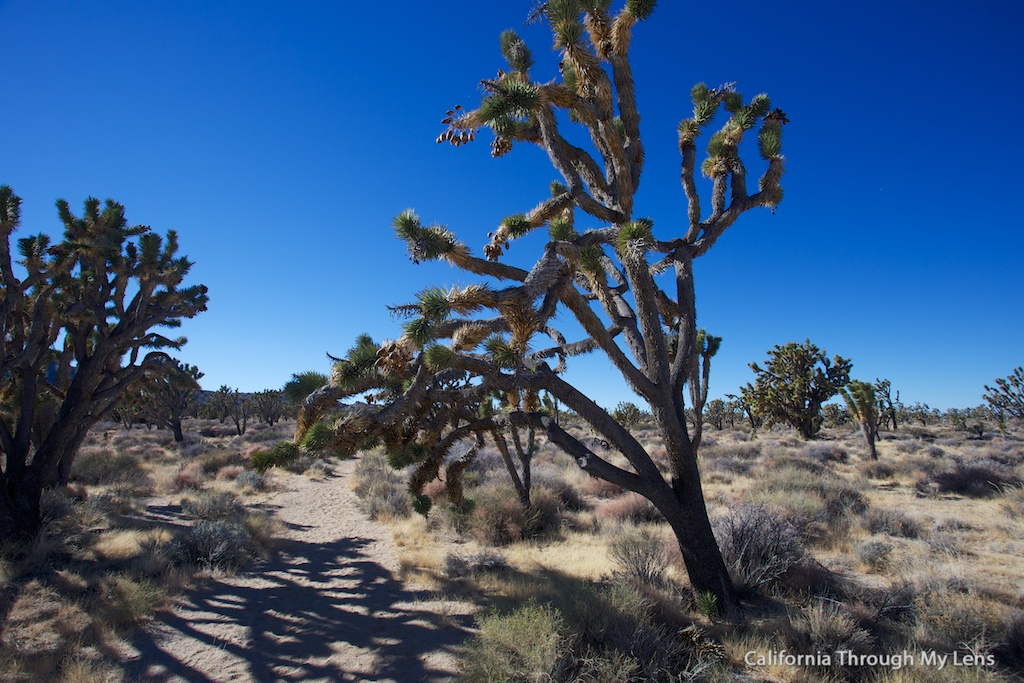
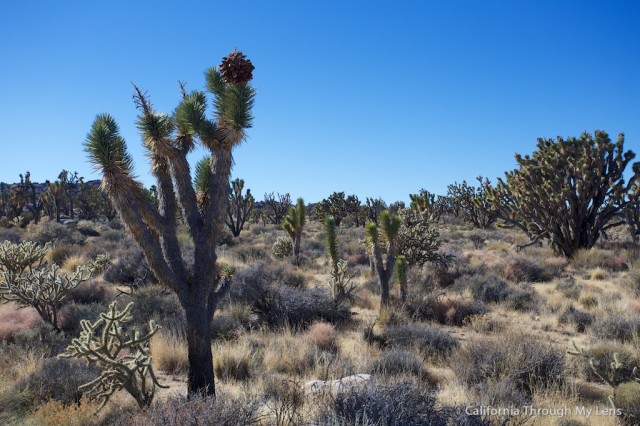
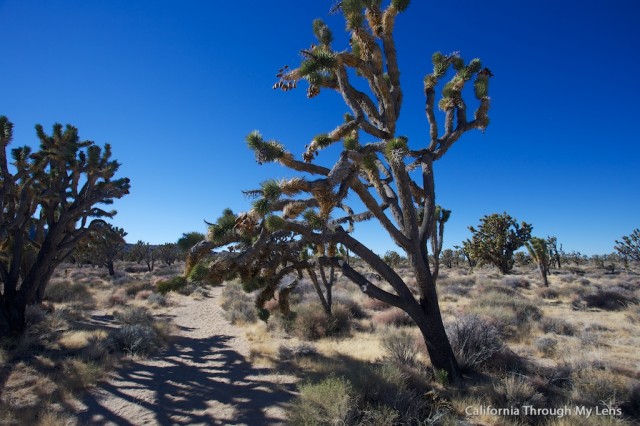
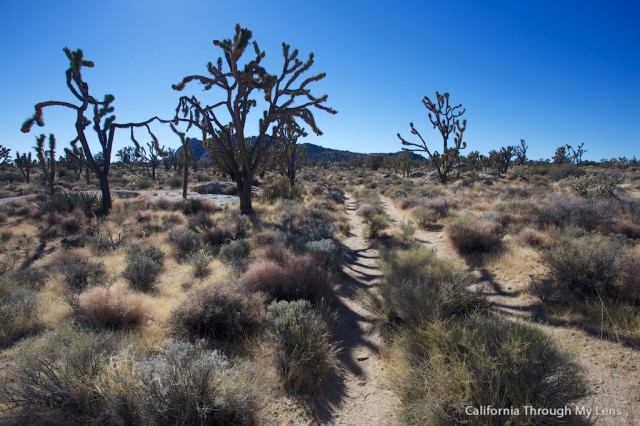
Joshua Tree Forest
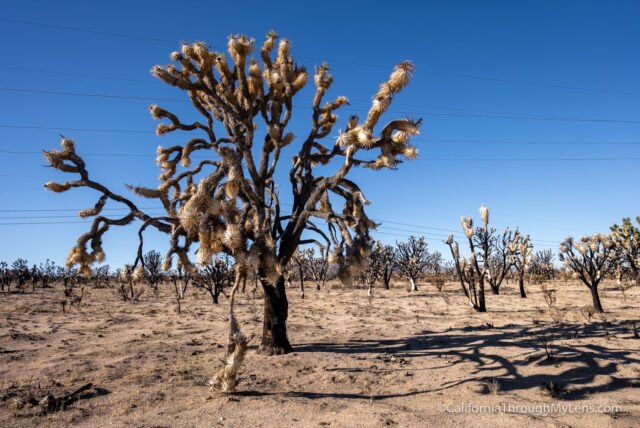
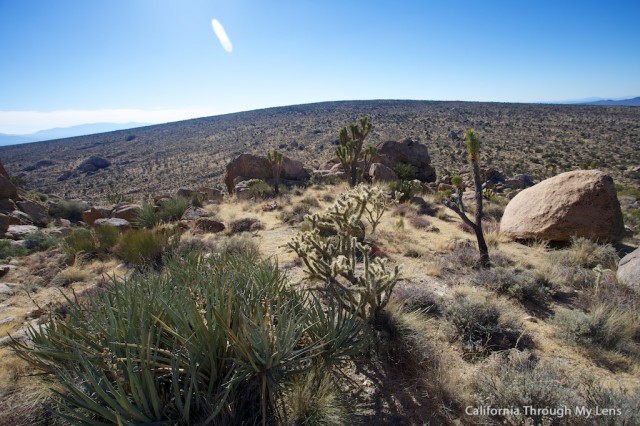
Update 2021: Unfortunately, this forest was destroyed by a fire in 2020. The above photo is what it looks like now, and the below images is what it used to be.
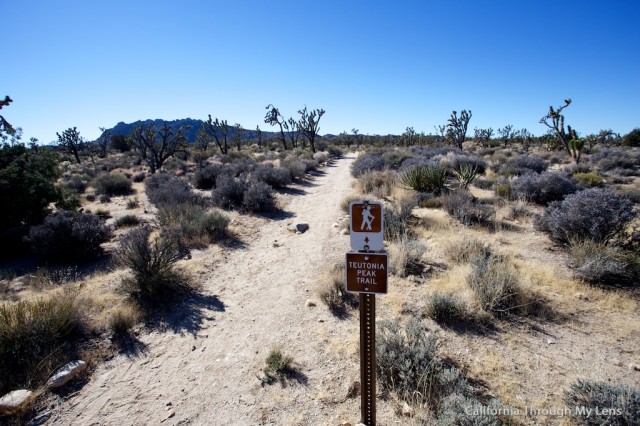
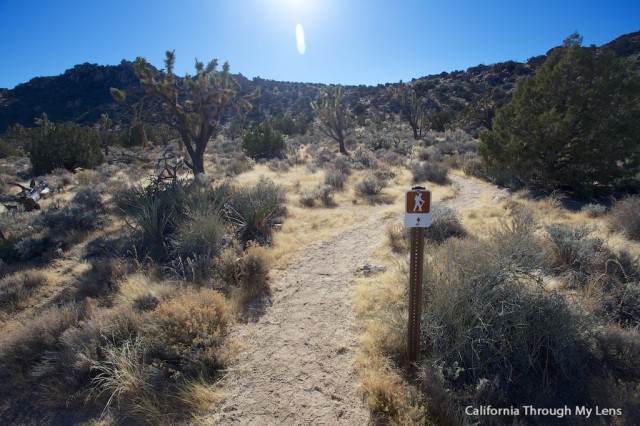
The trail starts heading through the Joshua Tree forest and is pretty flat for the first mile. I have been to Joshua Tree National Park and have seen my fair share of these otherworldly plants, but even I was surprised by home many there were.
The pictures don’t do it justice as they are literally all over! Some are even encroaching on the trail itself.
This is a fun area to explore as you meander towards the mountain in front of you.
The Mines
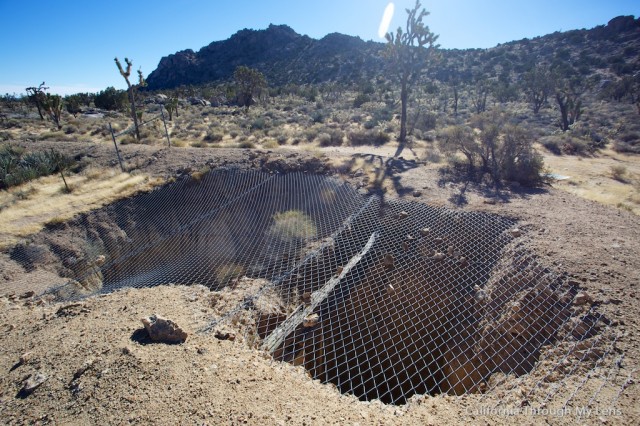
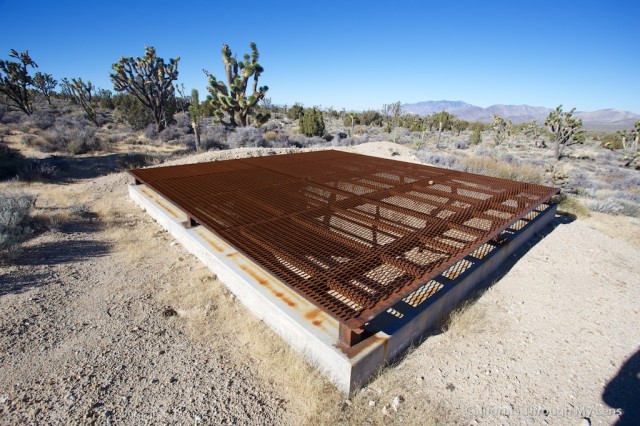
At about a mile in, I reached a fork in the road and followed the map I had seen at the start of an old jeep path to the mines. These are not that easy to find, but be sure to study the map at the trailhead, and you can find them. You can also see the grate that covers one from the summit.
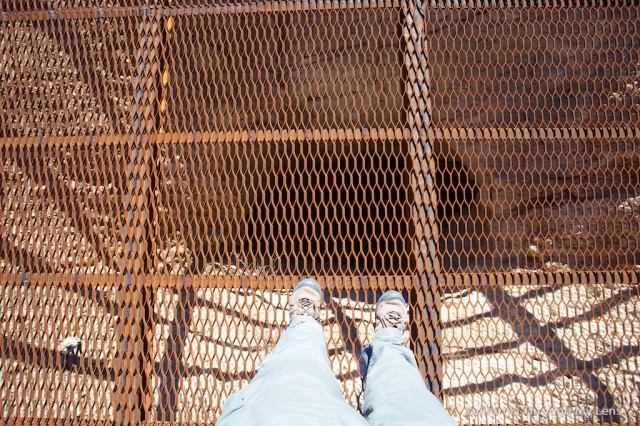
The mines themselves are pretty cool. They are all covered up, but you can see them still from above. It’s good they are covered though, as they are just holes in the ground, and they would be easy to fall into.
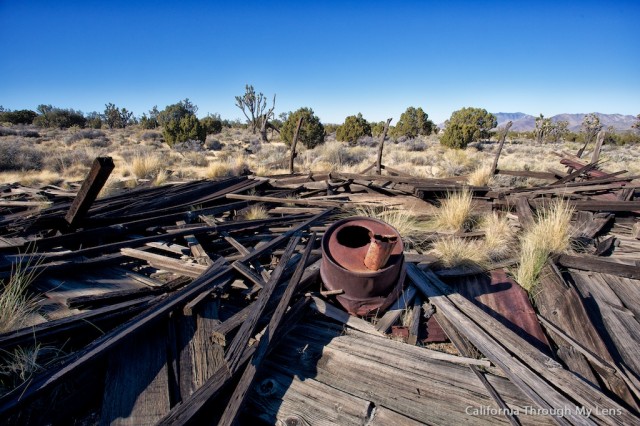
There is also an old broken down house and oil barrel right next to one of the mines as well. If you want to see it all, I cannot stress enough that you should study the map at the entrance, maybe even take a phone picture as there are no signs.
After that, I walked back to the junction, and I also went right (the trail goes straight) to see some more mines. This one was right off the path and was easy to see, and it was also pretty massive and contained a big hole with no bottom.
After exploring these, I headed back to the trail and started my ascent up. This is where the elevation comes in, and even though it is not very difficult, it is still a good push up the short steep path.
There are a series of switchbacks, and as you proceed up, make sure to look back and see the grates for the mines you just explored as they dot the landscape.
Cima Dome
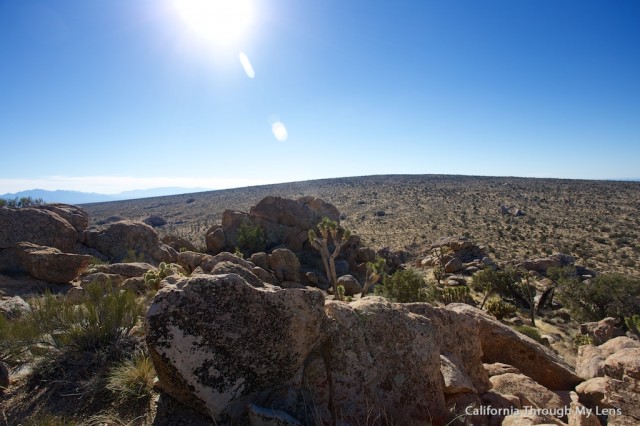
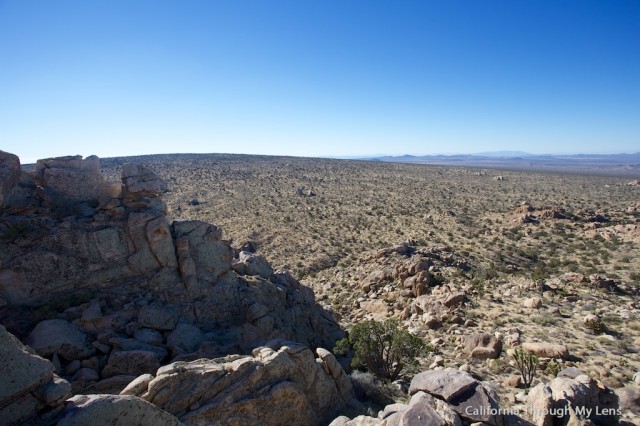
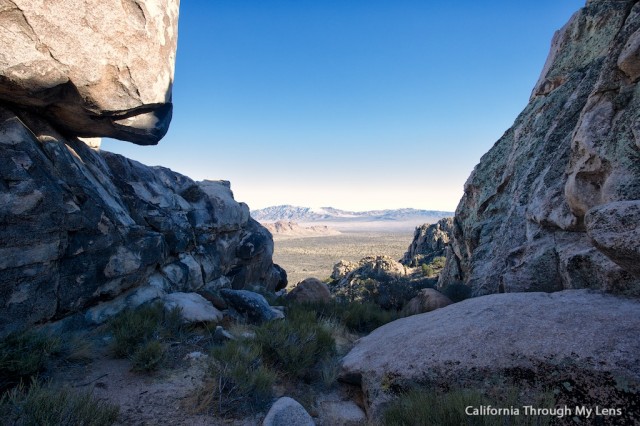
There is some shade here, so this is an excellent place to rest as the trail leading up to this didn’t have much shade. Once you hit the notch, you will see the Cima Dome. This unique natural wonder is a fantastic sight to see. It is a massive 70-acre dome that looks like the fisheye lens of a camera as far as you can see due to the lack of foliage.
I had heard about it, but it is much more interesting in real life. I took a good amount of pictures as this area has lots of views of the dome from a slightly higher angle so that you can see the spherical nature.
The Summit
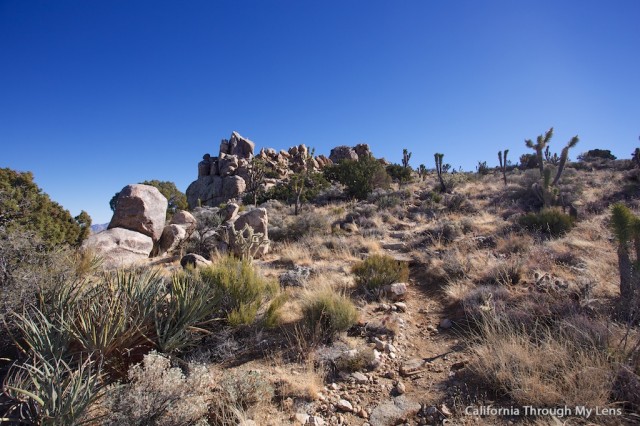
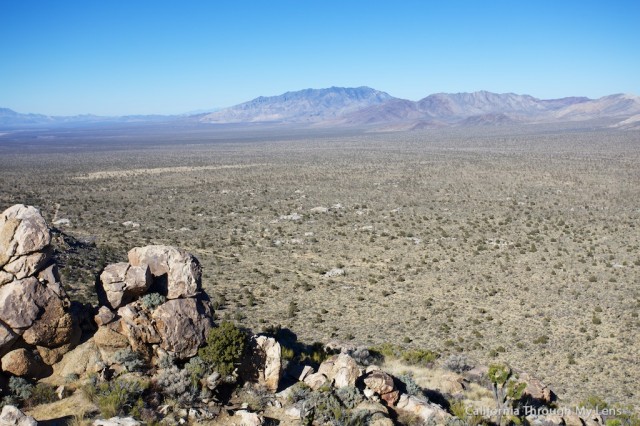
Continue up on whatever path you can find to come to the middle of the two massive rocks. I looked for an easy way up the main one but didn’t see anything that wasn’t some class 4 stuff, so I just called this the summit and looked over what I had accomplished.
It was a beautiful view, and the mountains in the distance even had snow on them. From here, you merely proceed the way you came, and if you missed the mines, you should be able to see them from up here and get some better bearings on how to get there.
Let me know if you make this hike and what you think of it in the comment.

