Hiking Half Dome: A Photo Guide
After completing our hike of Mt Whitney, I had one more hiking goal in California I wanted to complete this summer (I did this in 2013), making it to the top of Half Dome in Yosemite. Over the course of my life, my family has traveled to the beautiful valley of Yosemite, and time after time, I have stared at the sheer daunting granite structure that Half Dome represents, wondering what it would be like to stand on top. So after getting a site at Curry Village and getting a permit (you have to have a permit to do this hike, you will be turned around or fined if you do not) for Amie and I, we set out at 5:30 AM to attempt to take down this giant.
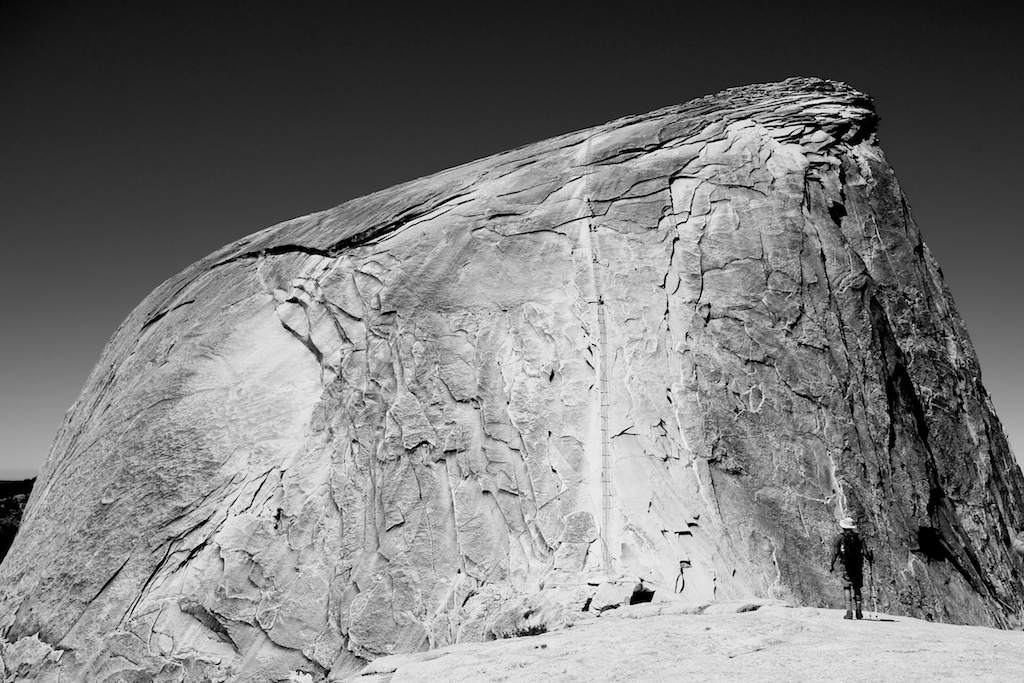
We ended up summiting at 11:30 AM and arriving back at our tent at 4:30 PM, both wholly exhausted but excited about what we had accomplished. What follows is a photographic guide to the climb, spotlighting all of the main points of interest you will pass on your trip. Hopefully, this helps you if you are hiking Half Dome, or at least allows you to live vicariously through me and to see what summiting Half Dome entails.
Vernal Falls Bridge
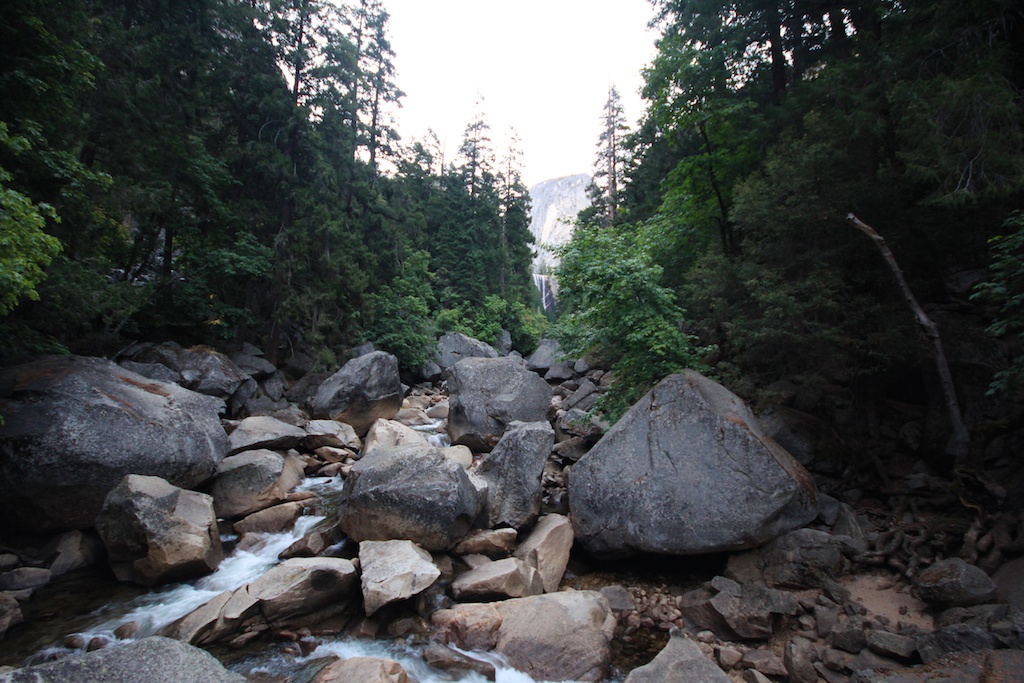
After starting on the Mist Trail at the Happy Isles Trailhead, you will head up an uneventful 1 mile of uphill walking before reaching your first point of interest, the Vernal Falls Bridge. This area by itself is all some people do, and it provides excellent views of the river and the falls from far away.
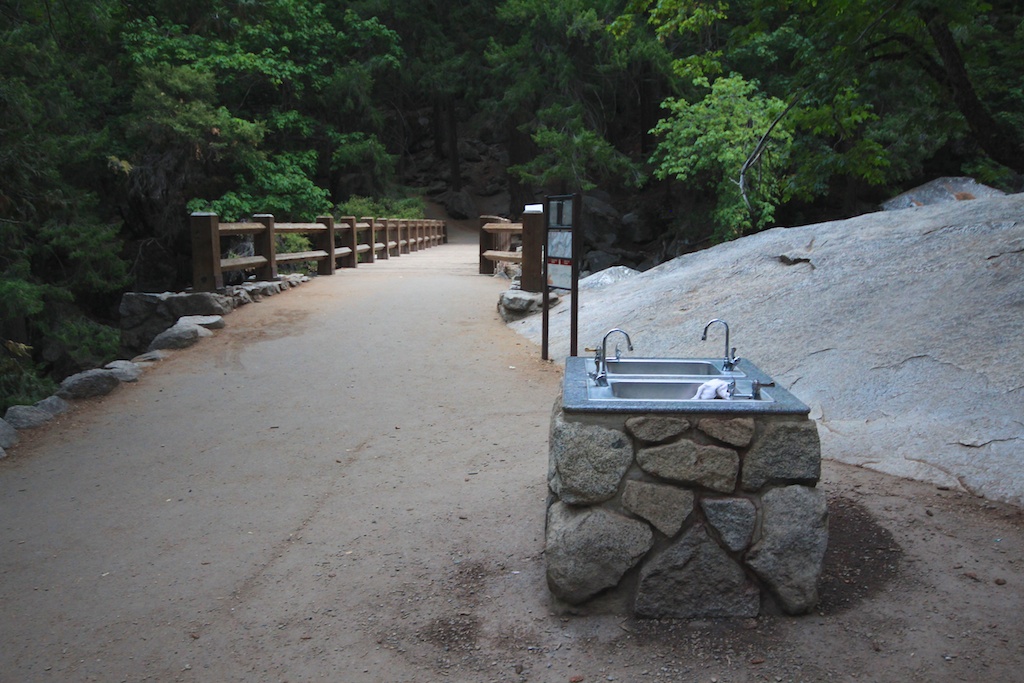
This is also the last spot on the trail where you can get filtered water (right out of the sink). If you are doing this hike during the hot summer months, I would highly recommend a water filter for the trail. This is the one that we have, and it works well. Plus, on this hike, it allows you to go another 3-4 miles before you leave the last place you can filter water, thus allowing you to drink a lot more water on the trail.
Mist Trail
After you leave the Vernal Falls Bridge, you will continue on the Mist Trail and start to approach the area that gives this trail its name. When you reach the start of the steps that lead to the top of Vernal Falls, you will notice a lot of mist will start to fall on you from the roaring waterfall, thus the mist trail.
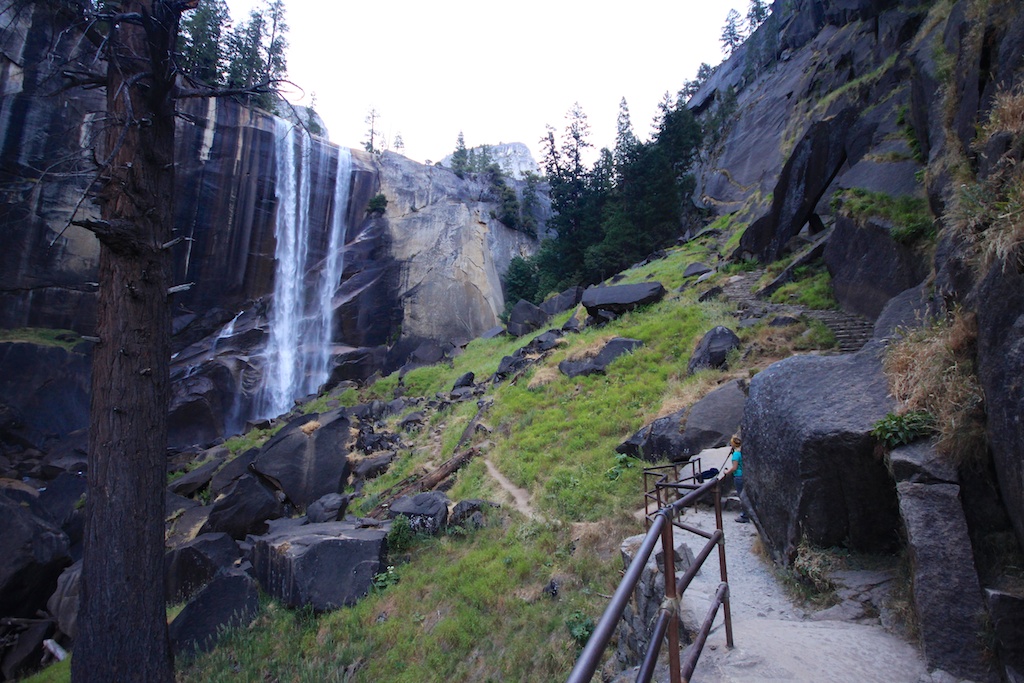
This can often make the trail hard to walk on as it wets down the stairs that you climb up and makes them slippery, so be careful. When we went, it was a really dry year, so the trail actually was pretty dry and easy to navigate.
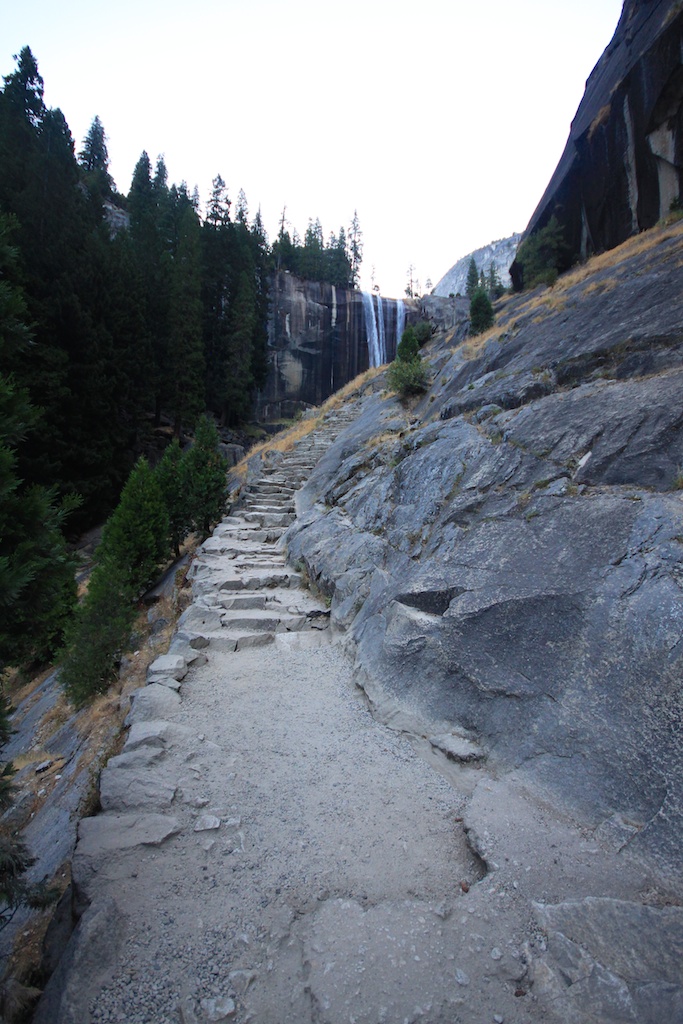
Do not underestimate this area, though; it is a tough start to a long hike. You will be going up on uneven stairs for at least a half-mile, make sure to take your time and take in the fantastic views of the falls as you ascend.
Mist Trail Cables
Once you get about 3/4ths of the way to the top of Vernal Falls, you will reach the Mist Trail Cables. All this is, is a small uneven trial cut out the side of the mountain that provides a way for you actually to climb up above Vernal Falls. It has cables to help you steady yourself as you will be walking over large rocks.
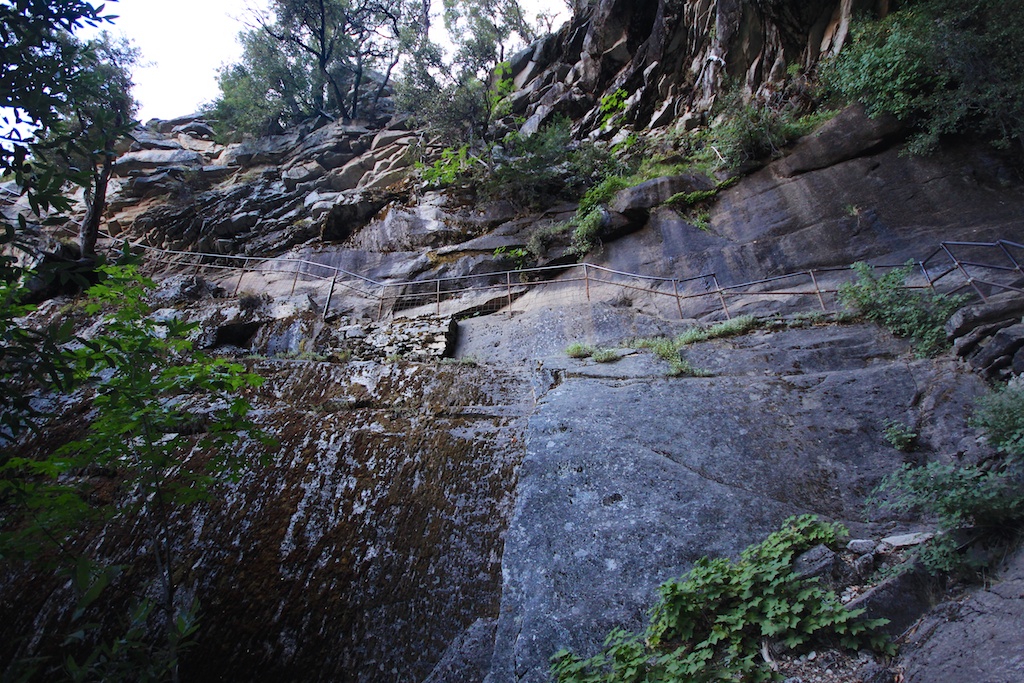
These are not that bad, but the trail is very uneven, so make sure to take your time.
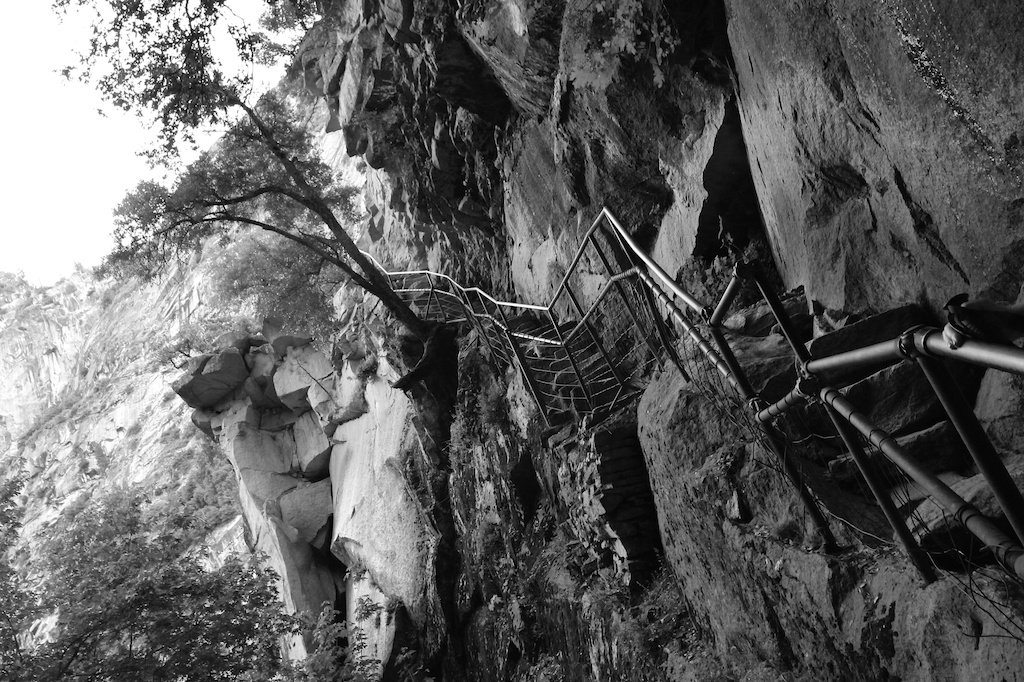
Vernal Falls
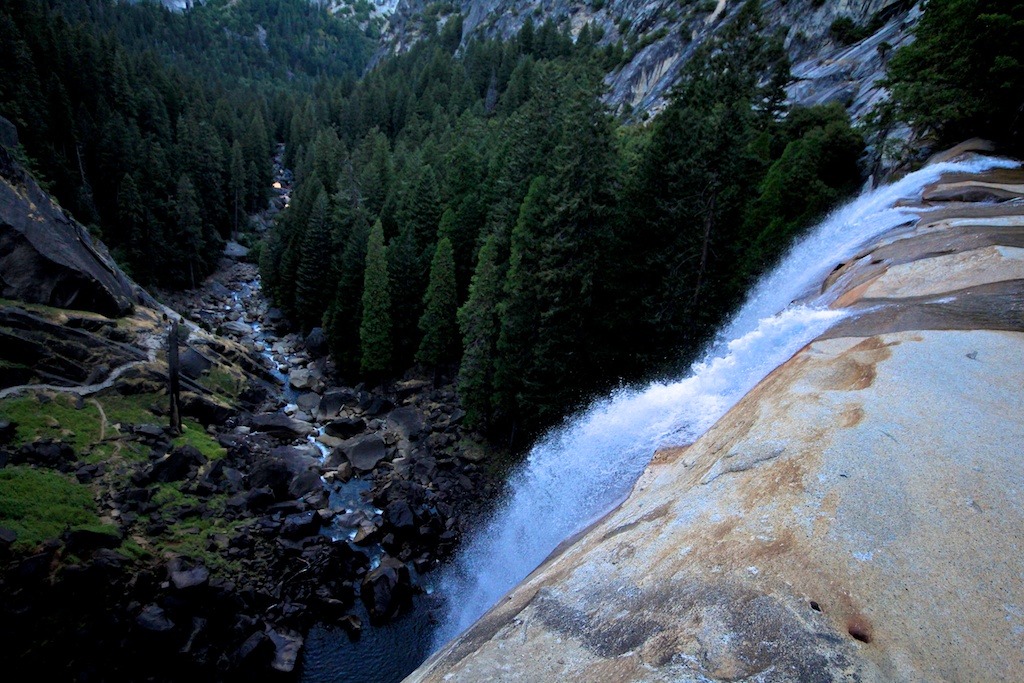
As you are walking on the Mist Trail, before you reach the above cables, you will see beautiful views of these falls, such as the below picture.
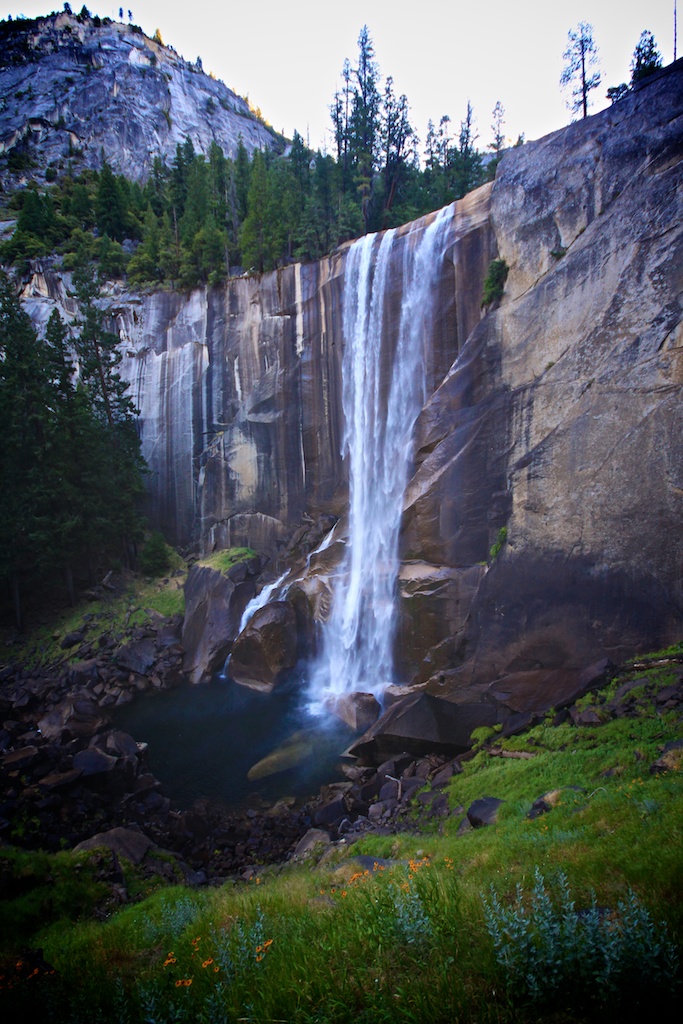
Most of the time, this waterfall is flowing a lot harder than this, but it still provided for beautiful pictures and views when we were there. After finishing the cables, you will be dumped out above the falls and get to look back over the 1.5 miles you have just accomplished.
Emerald Pool
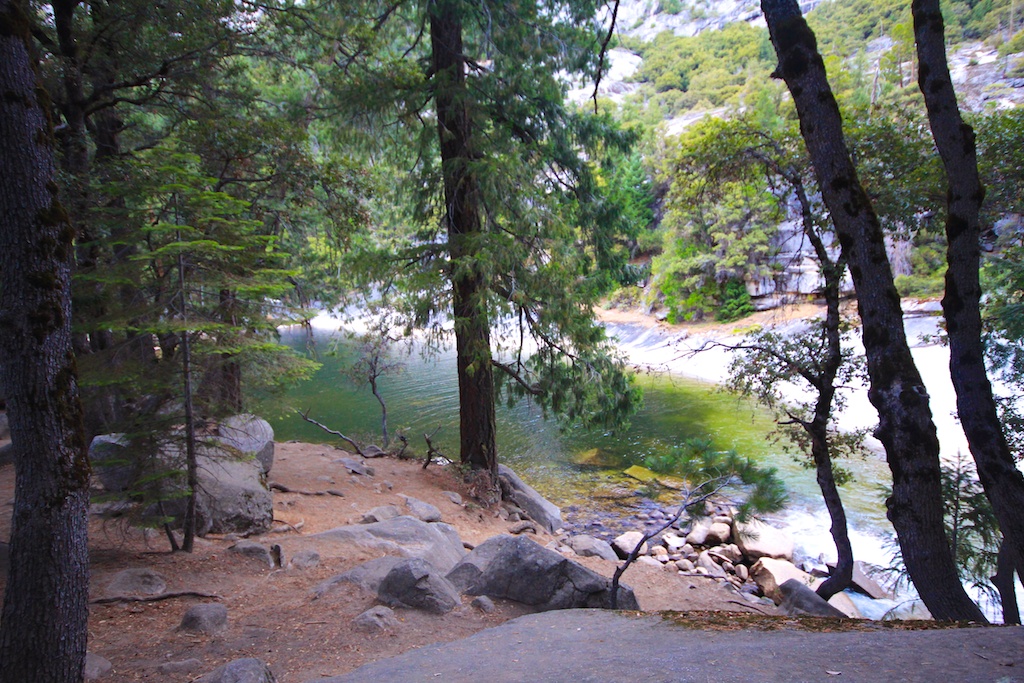
Above Vernal Falls is a beautiful little pool called the Emerald Pool. It is easy to see where it gets its name as this water is a shining emerald-green. Make sure you do not swim in this water though, even though it looks calm, the water can pull you towards the waterfall and take you over if you are not careful.
Nevada Falls
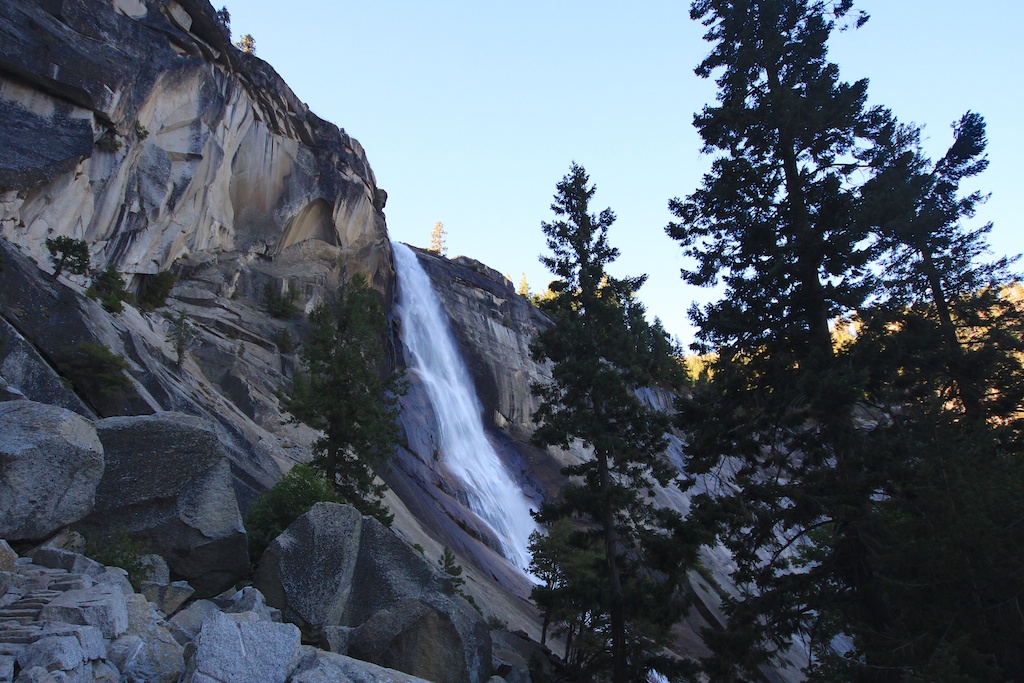
After passing Vernal Falls and the Emerald Pool, you will get to the bottom of Nevada Falls and start the trail up. This trail is pretty much all switchbacks, and you gain a lot of elevation, but as you go in and out of the trees, you are treated with great views of the falls.
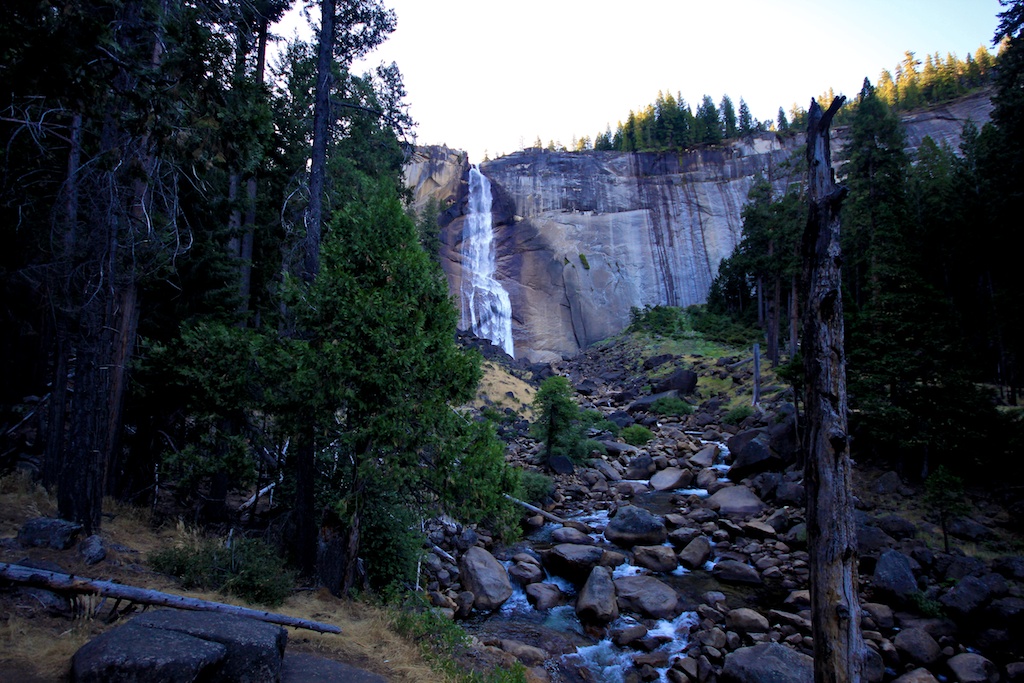
As you get closer to the top of the falls, you will know you are reaching the end of these switchbacks.
Last Bathroom
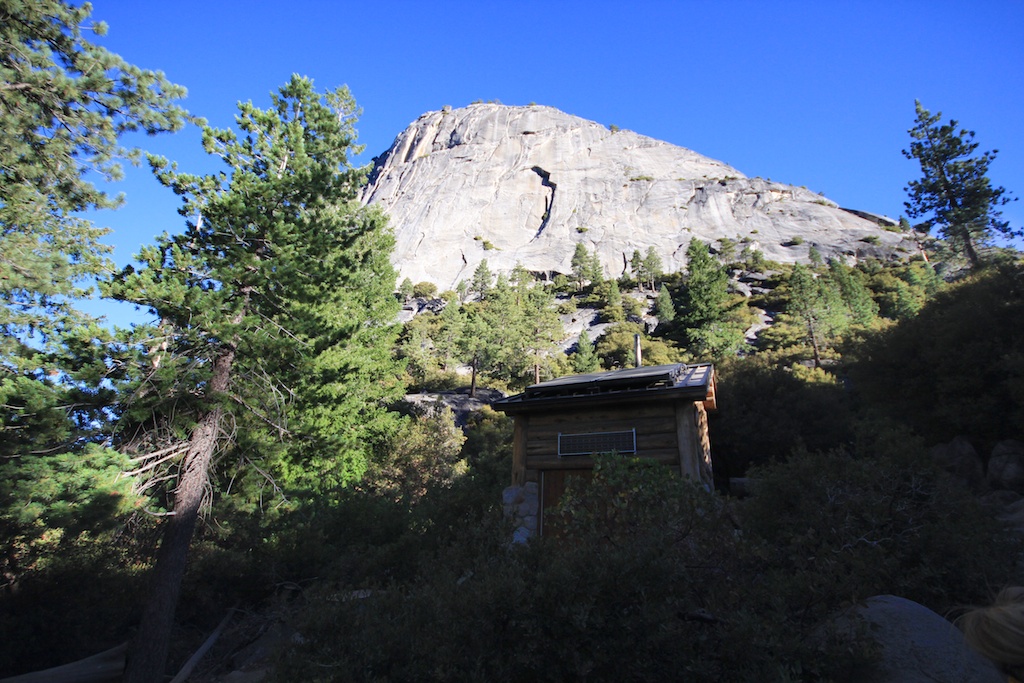
At the top of Nevada Falls is the last main bathroom on the trail. This is a good resting spot and is also where the trail splits off to the top of Nevada Falls and the John Muir Trail; we took this back instead of the Mist Trail. There is another bathroom at the backpacker’s campground, but it is off the trail and requires more walking, so this is the last one right on the trail.
Merced River
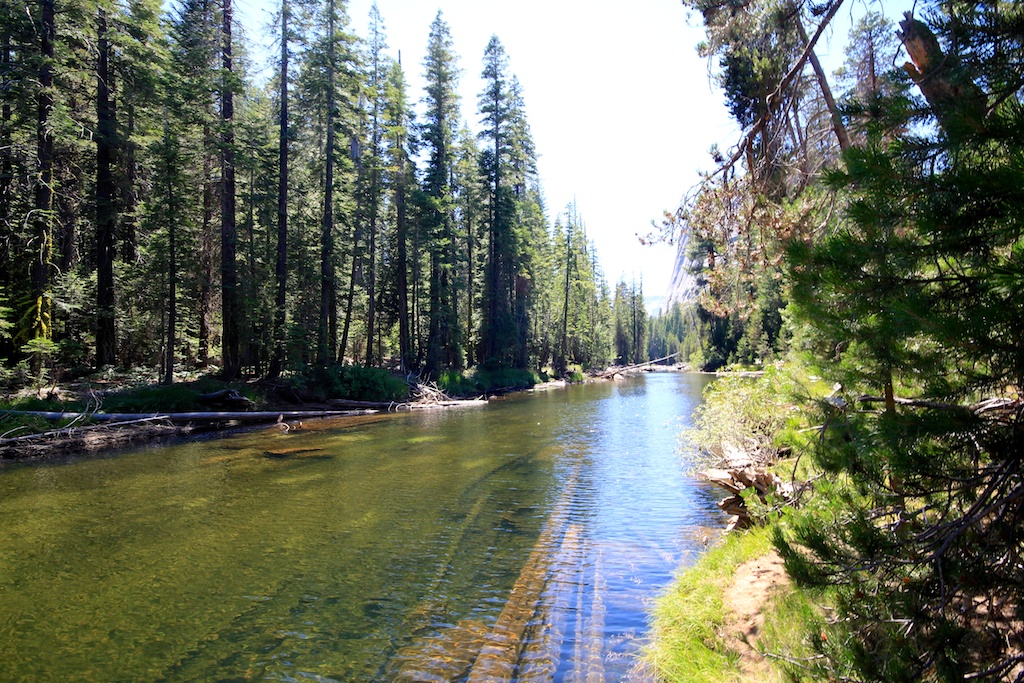
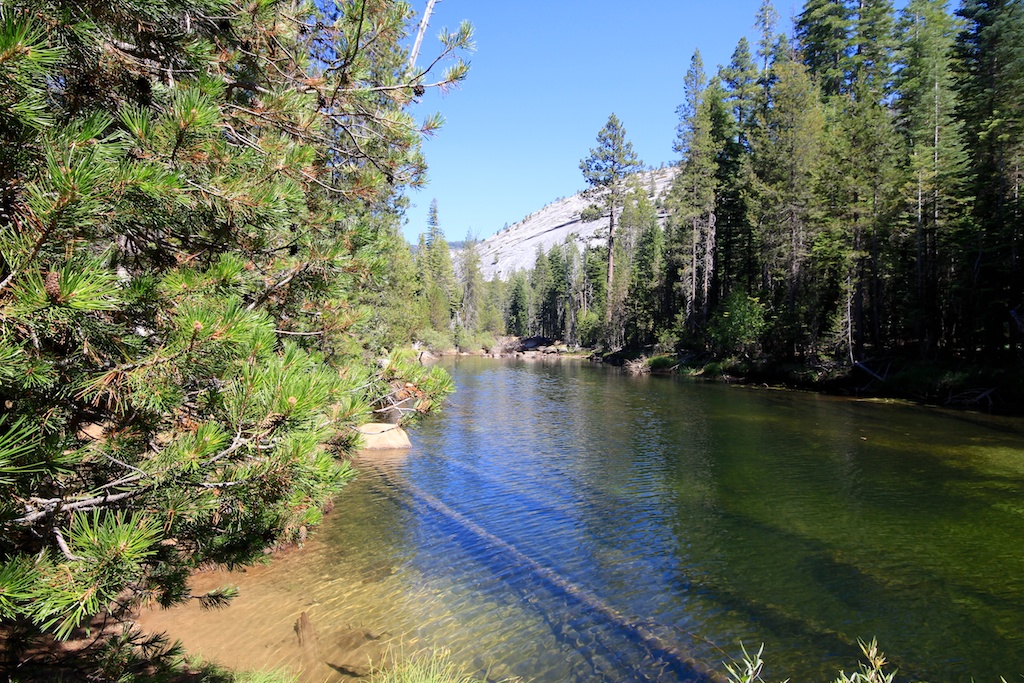
After the bathroom, the trail walks lazily along, and this mile will make you think the path is going to get easier, enjoy it cause when you reach the forest again you start going up, and that doesn’t stop until you reach the top. Along the way, there is a short little detour that takes you to the Merced River. It is gorgeous and a great place to stop. On the way back down from Half Dome, we stopped here and soaked our feet before continuing on.
Wildlife
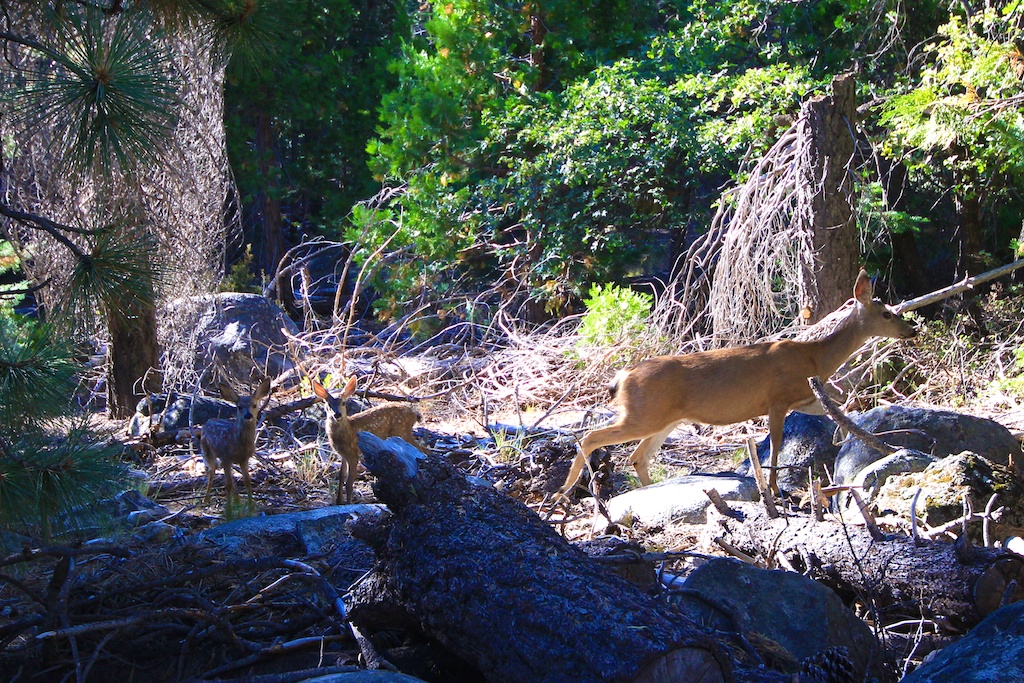
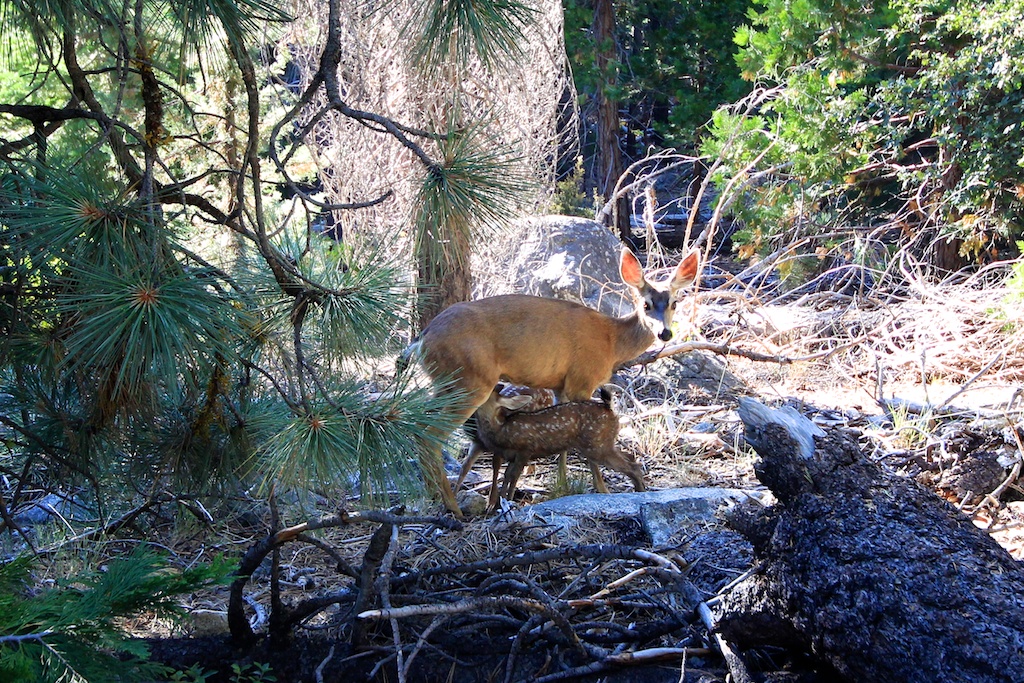
One of the best things about Yosemite is how wild it still feels, even with the number of people there. Case in point, we were simply walking along the trail and saw a deer. As we sat and watched, two small fawns came up and started nursing. It was a fantastic sight to see in the wild like that.
First Half Dome View
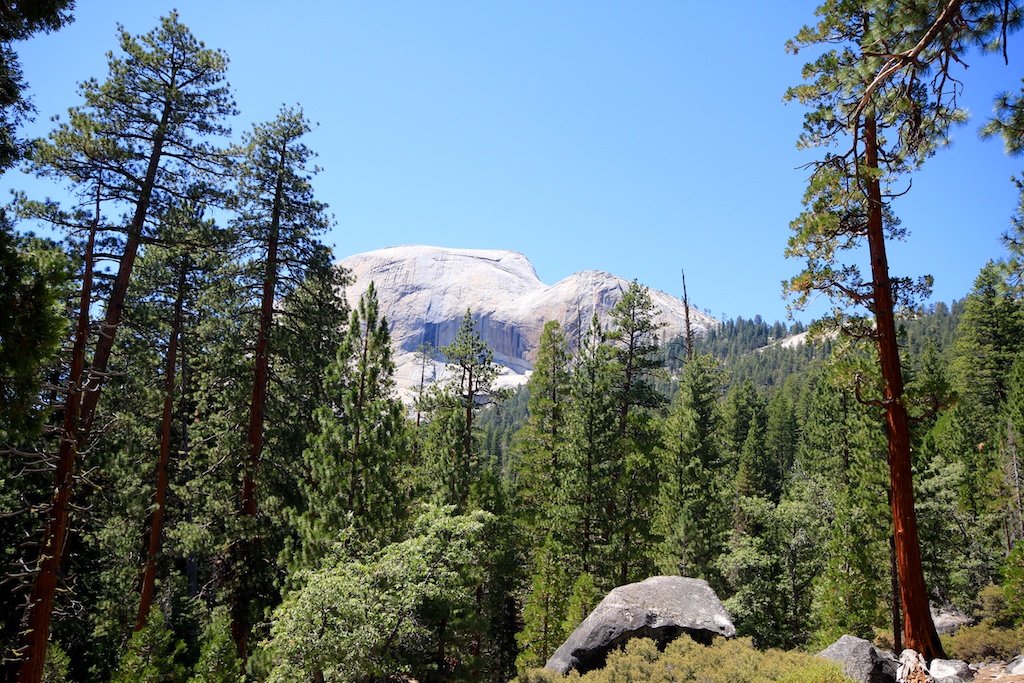
After passing the backpackers campground, you will enter the forest and see your first view of the end goal. It looks daunting, but at least you are almost halfway there.
Forest
The trail enters what I affectionately deemed “the never-ending forest.” It seems like it goes on forever, on the way up and on the way down as well. That being said, it is beautiful and has lots of huge trees, many with moss-covered branches.
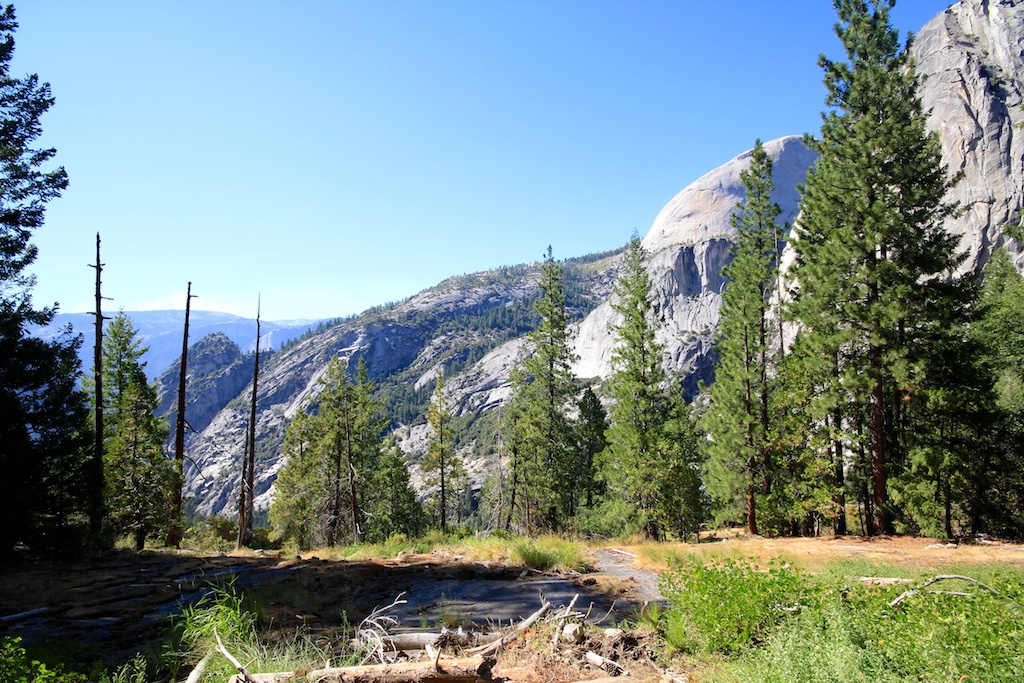
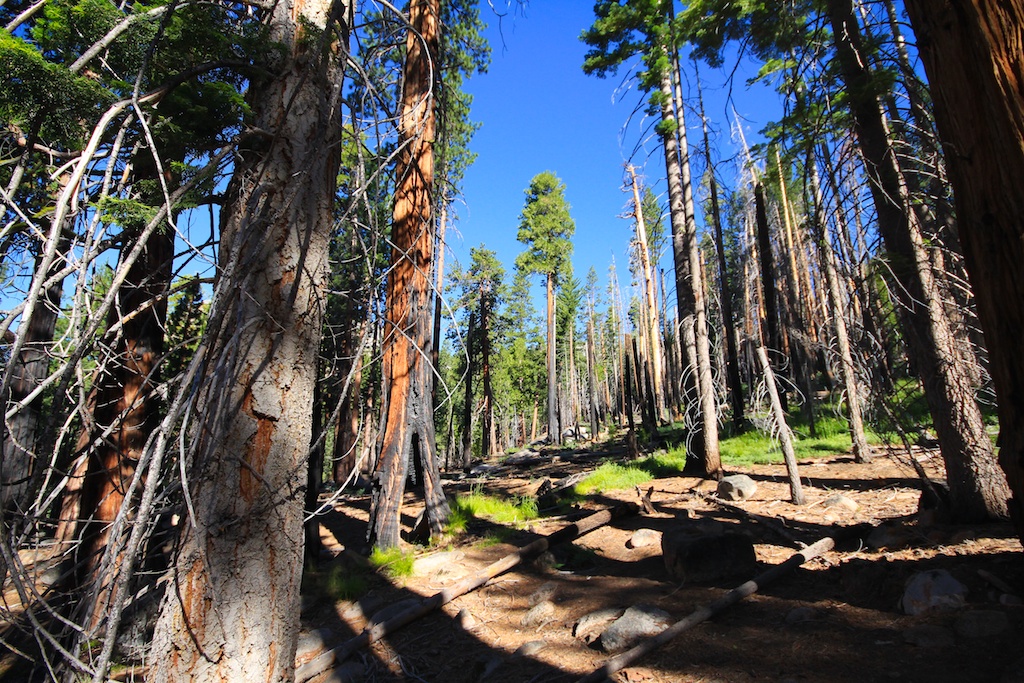
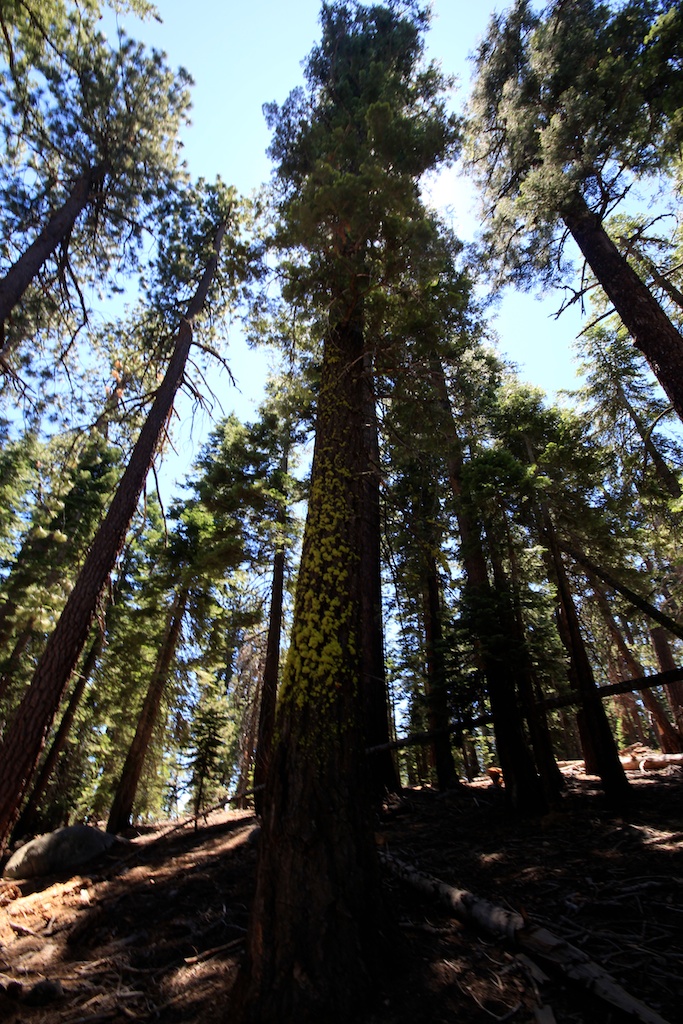
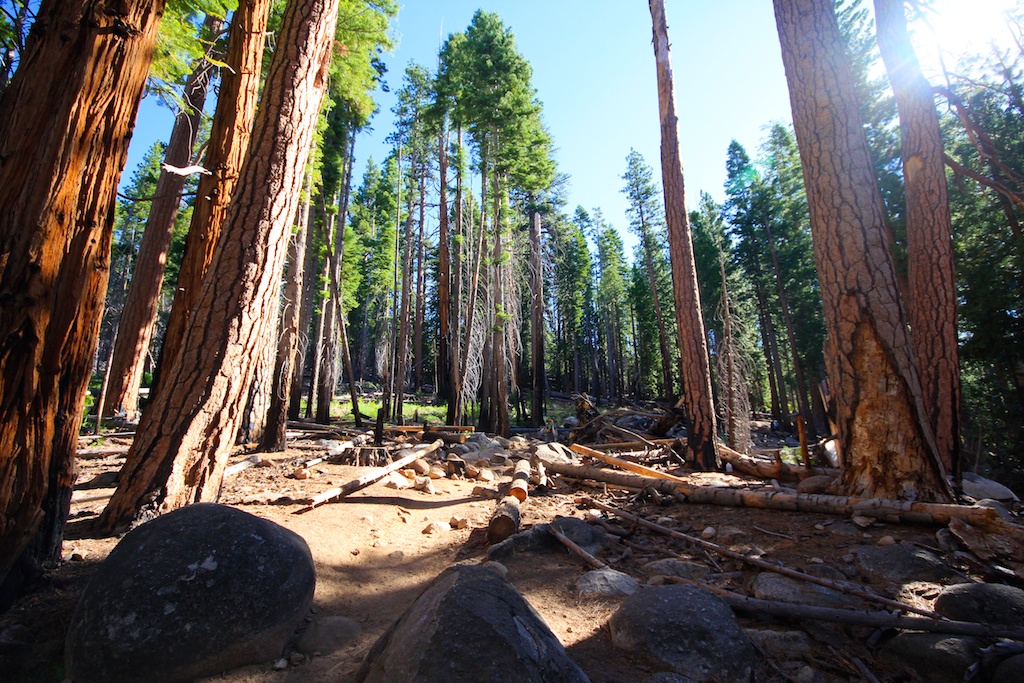
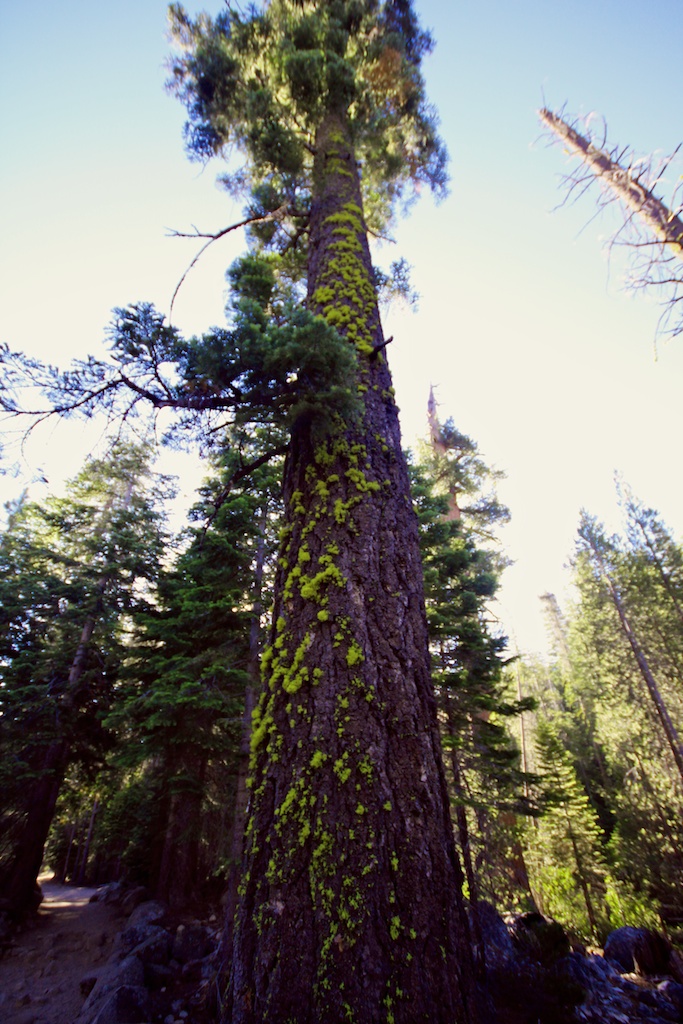
This is also an excellent area to put on some bug spray as there were a lot of misquotes here when we were here. When you finally get near the top, you will see the split from the John Muir Trail (that you have been following) onto the Half Dome Trail for the last mile.
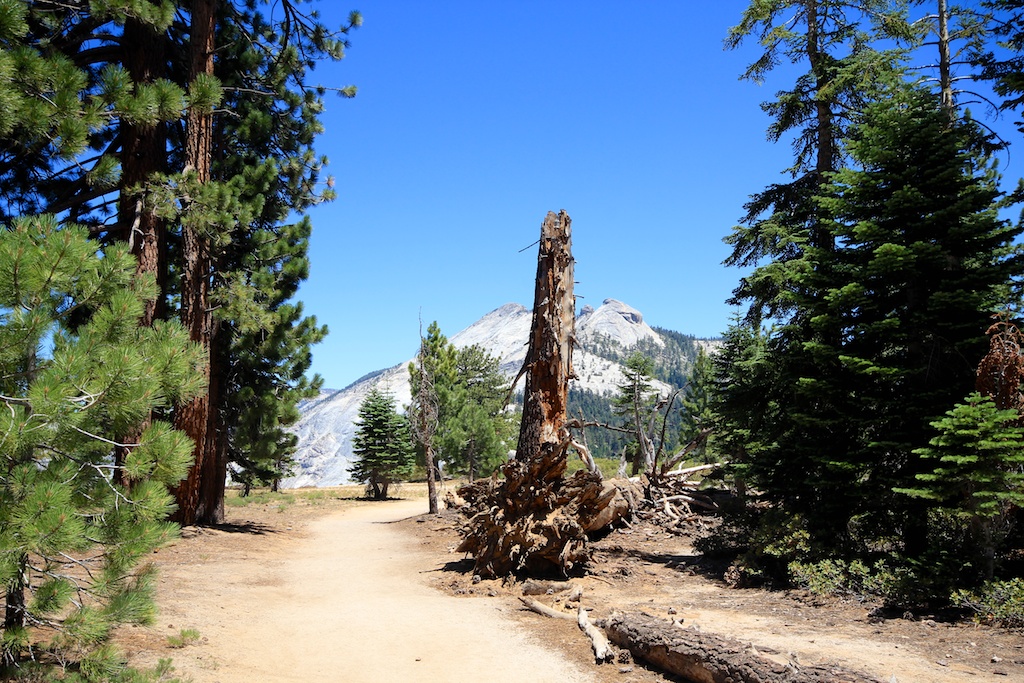
Above the Never-Ending Forest
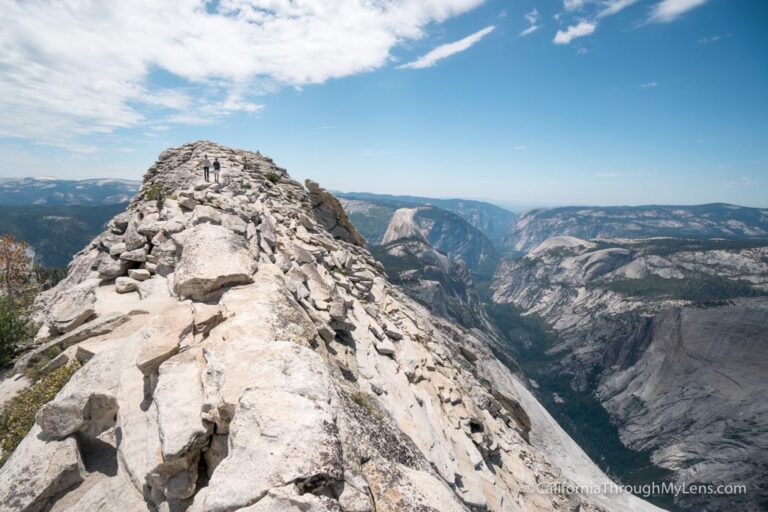
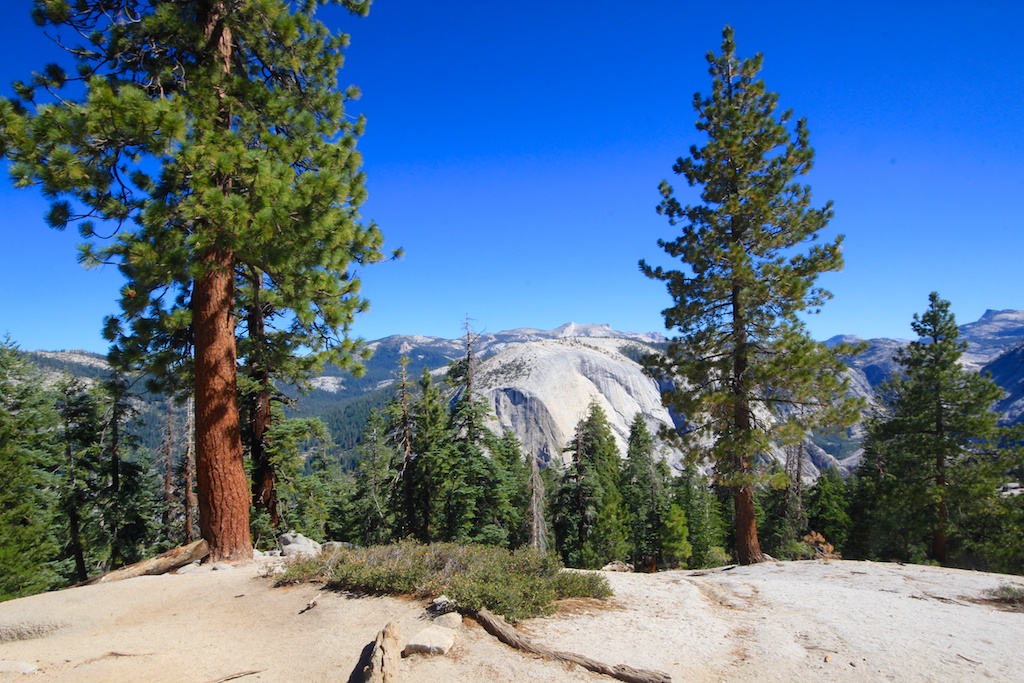
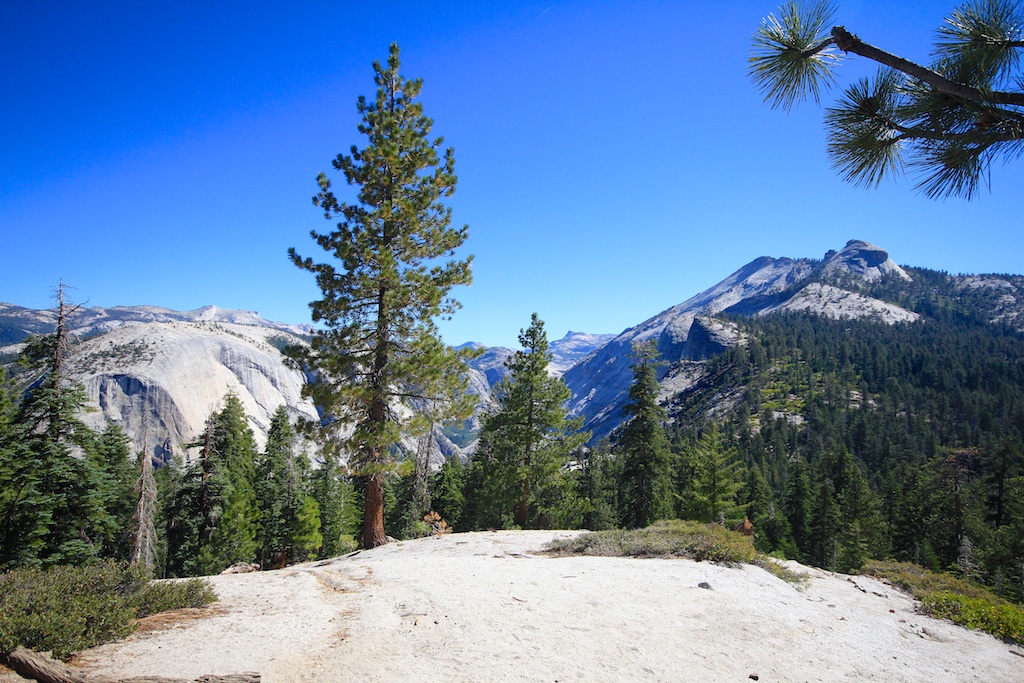
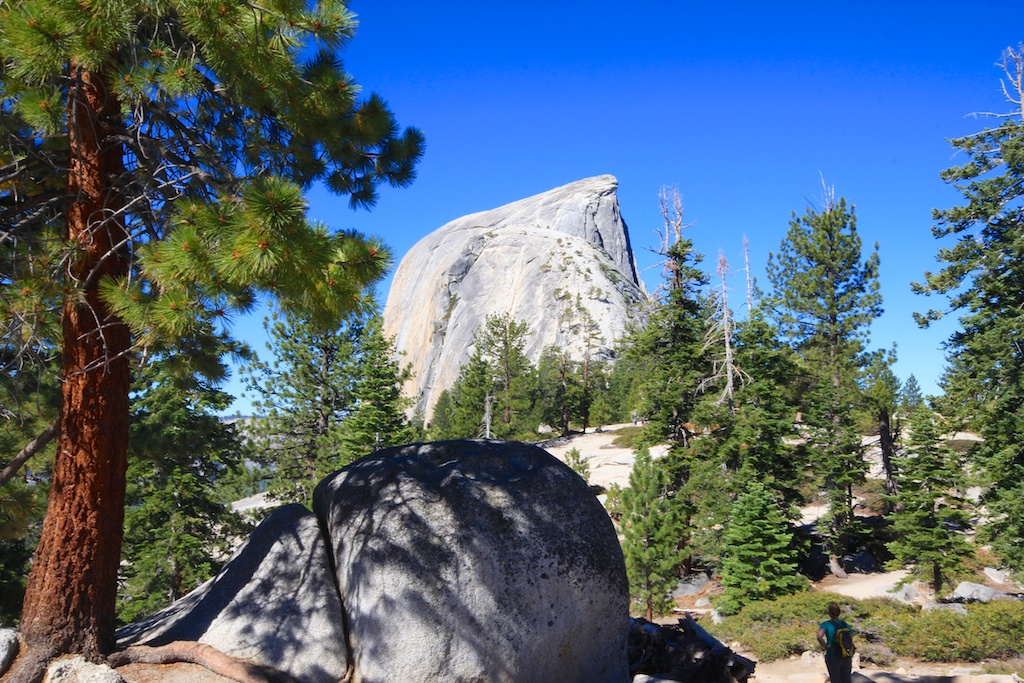
As you start to exit the forest, you will begin to remember what all the work was for. This area provides you with beautiful vistas in all directions, including the backcountry of Yosemite, Clouds Rest and Half Dome in front of you. It also provides the last real shade before you start the sub dome, so soak it in.
Sub Dome
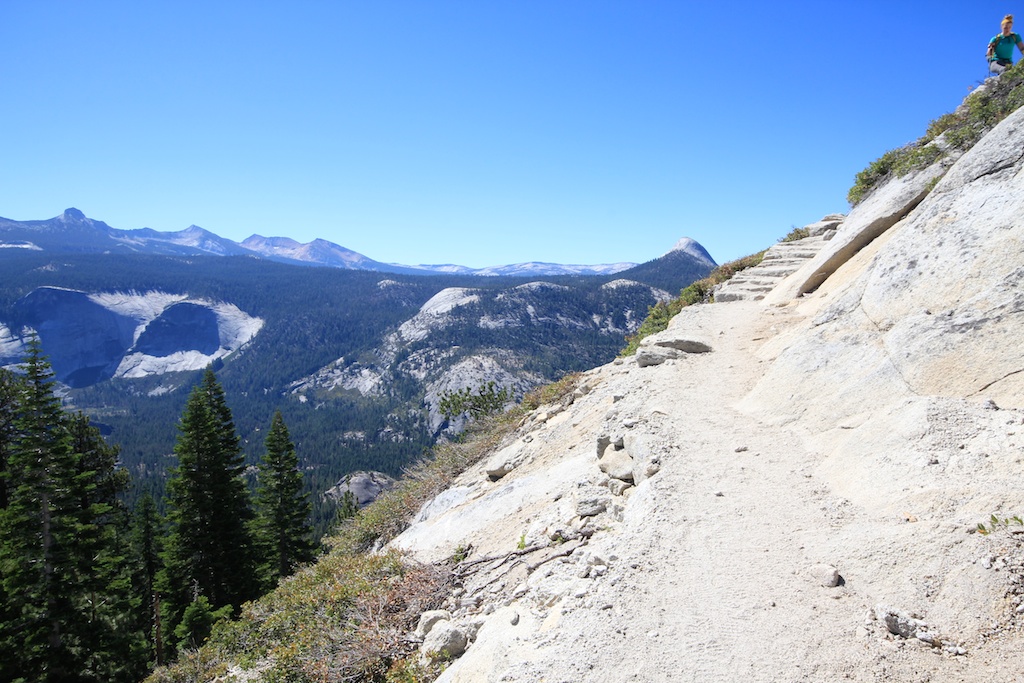
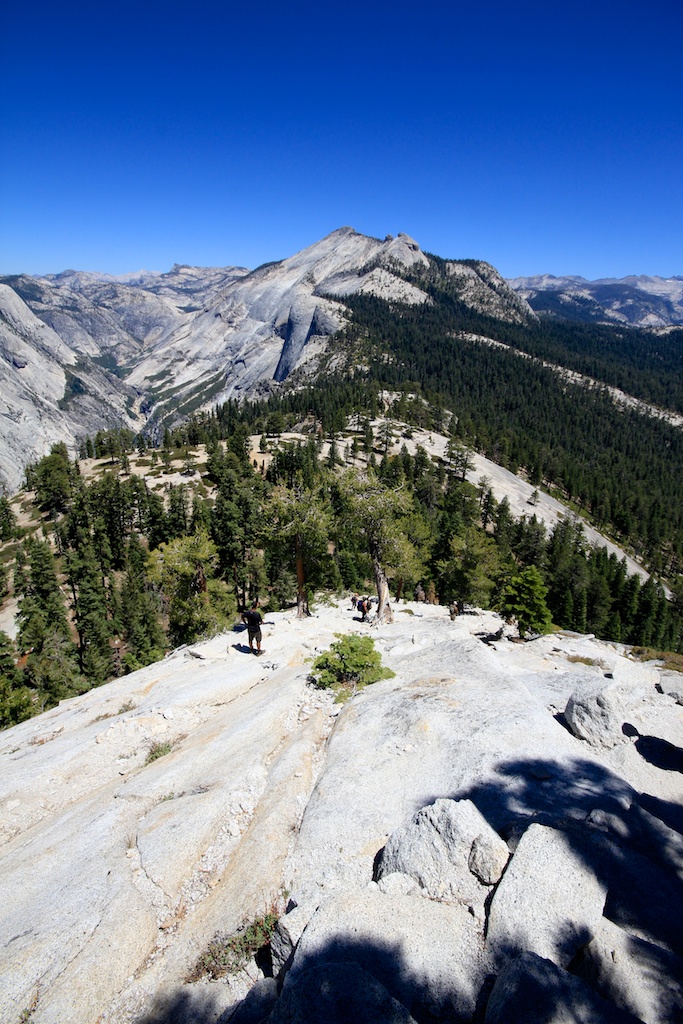
If you have heard of the Half Dome Trail, the two things you have probably heard about on this trip are the cables and the sub dome. The sub dome is a glorified, mini granite dome that is connected to the back of Half Dome and serves to destroy your legs before you reach the cables.
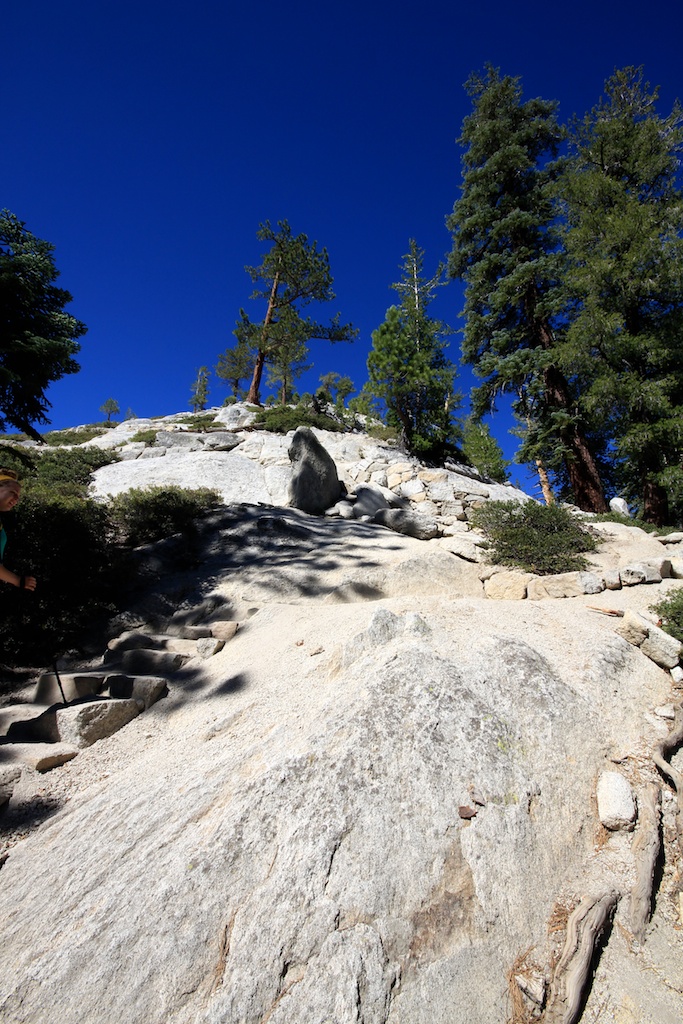
To climb it, you have to go up about 600 feet in elevation in around a quarter of a mile. This is a total leg burner, and the uneven stairs, if there are stairs at all, are brutal. When you get towards the top, there is no stairs at all; it is just a granite grade that you walk up. Be careful as it is easy to slip here, and there is not a lot to stop you from having a bad fall. This part is especially hard if you do it when the sun is blaring down on you as there are only three to four trees on the whole sub dome. Make sure you save your water.
Half Dome Cables
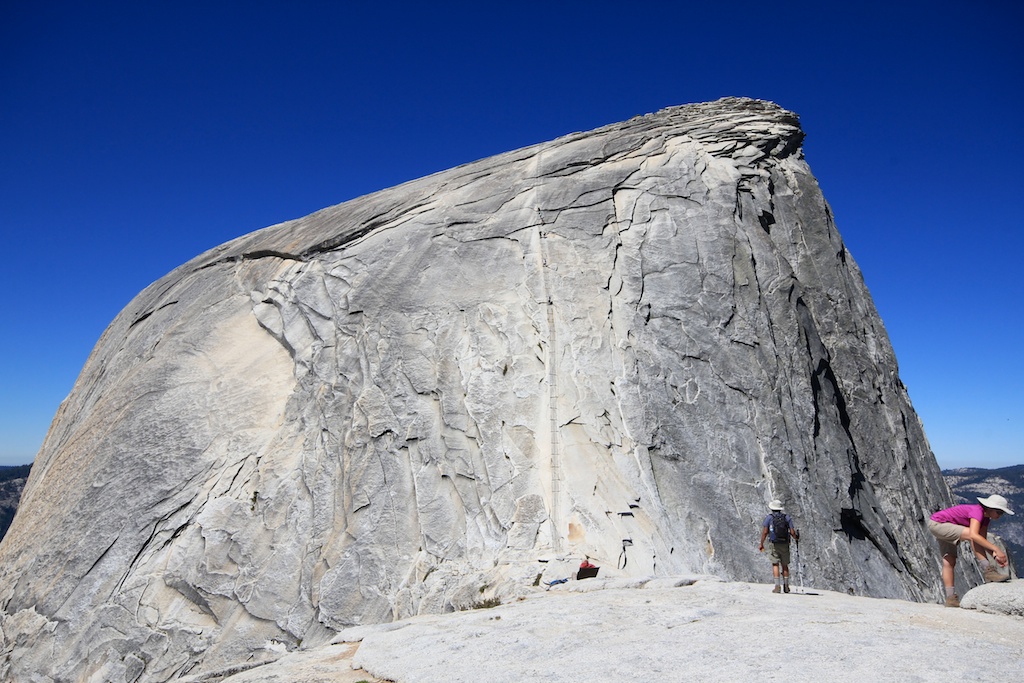
You have now reached the moment of truth. You can see the cables right in front of you, and they are all that is stopping you from reaching the summit. We arrived at around 11 and didn’t have much traffic, but if you get there much later, you are probably going to get stuck behind some people. Here is the comparison between when we went up and when we came down. You can see what a difference 45 minutes makes here.
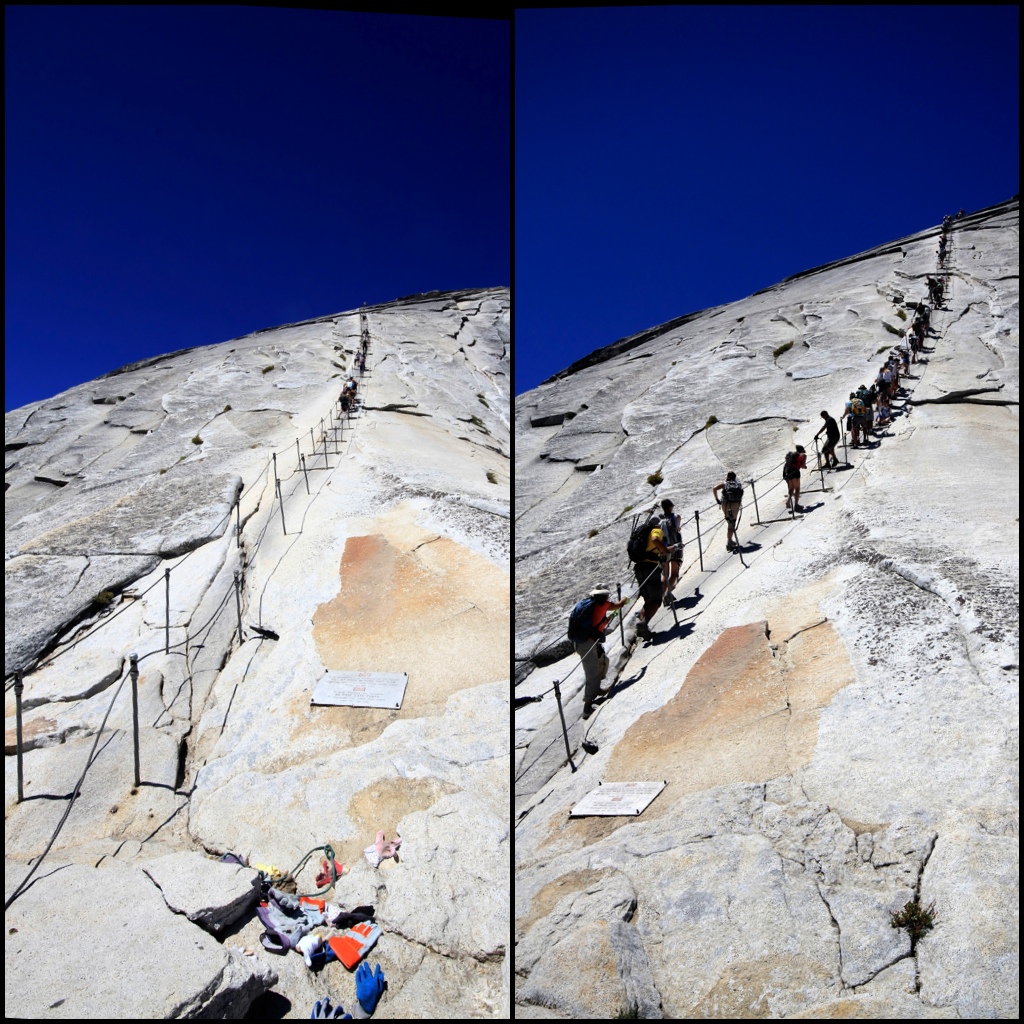
Don’t be disappointed if you turn around at the cables, it is scary, no pictures can do justice to what it looks like in real life, and I was close to turning around myself. It is essentially a 45-degree angle in the beginning, which seems like a 60-degree angle in the middle and then another 45-degree angle at the end. In the middle, there are also granite steps of around a foot each that you will need to step up onto while pulling yourself up with the cables. What makes this worse is that if you happened to slide off, there is a good chance you would be seriously, if not fatally hurt. Remember, you have to go down as well, so take your time and don’t let the people or the views rush you if you are not ready. You can see from the picture of Amie below its pretty daunting.
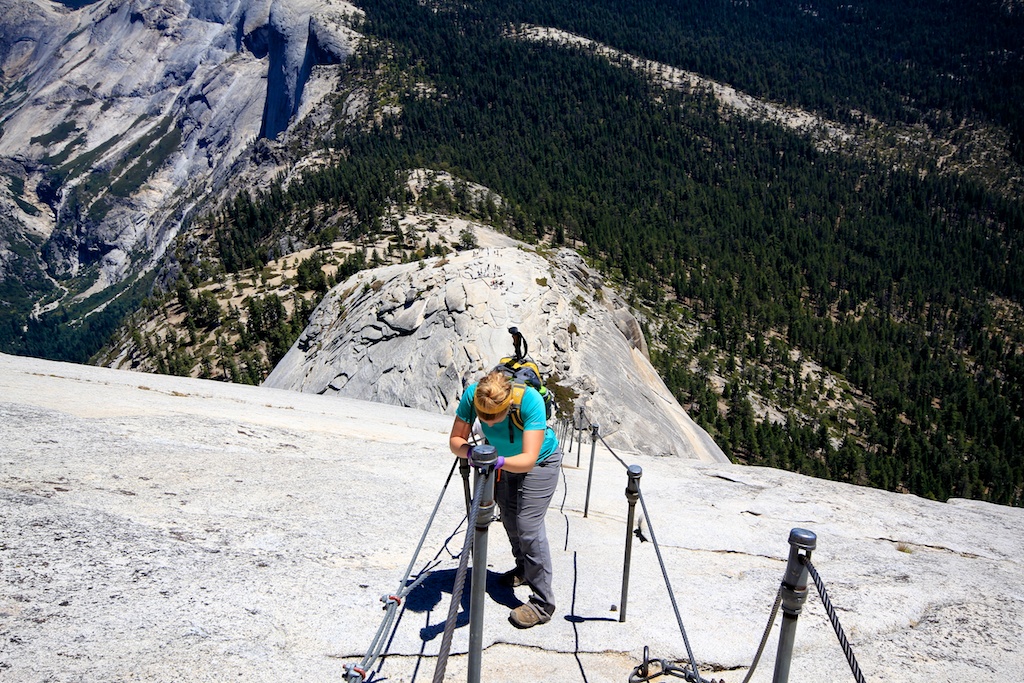
I just stared at the ground and pulled myself up, and on the descent, we both decided to go backward. This seemed to be a better way to do it for us, but everyone has to decide for themselves. I wouldn’t recommend looking behind you if you are afraid of heights as it is likely to make you freak out a little. Make sure to bring gloves, cause even though they have gloves at the base that have been left behind, those are not always there, and gloves really make a difference in helping you make it up this mountain.
Also, if clouds are coming your way, DO NOT GO UP. It is not worth slipping off a rock or getting hit by lighting for a summit; it will be there next time you come, so don’t push yourself if you are not ready or if the weather is bad.
Half Dome Summit
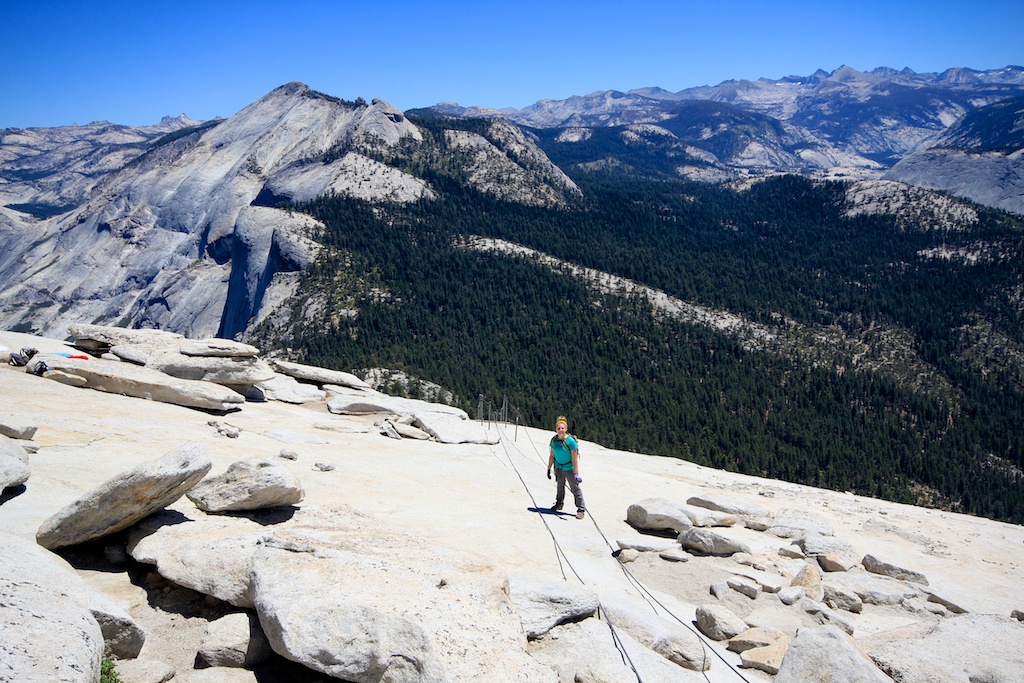
The summit is worth the craziness you put in to get here. It is about the size of seven football fields and is a lot larger than I would have expected. It is a great place to have lunch and to soak in the views. Do watch out for the critters, one of them was only a foot from grabbing my sandwich before I turned around and shooed him away. Here are some of my pictures from it.
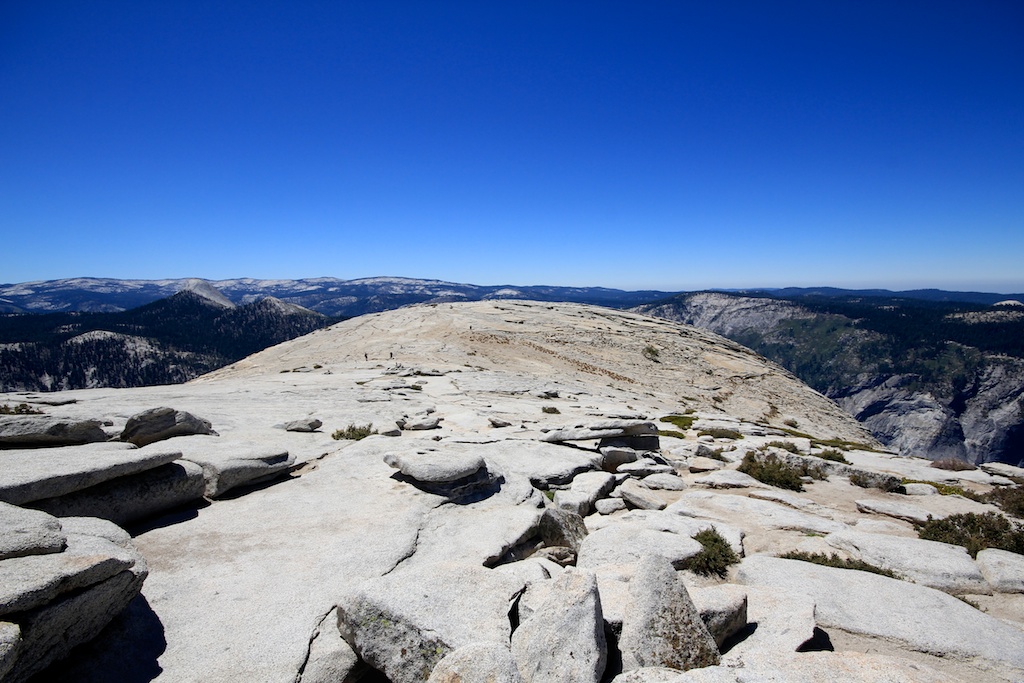
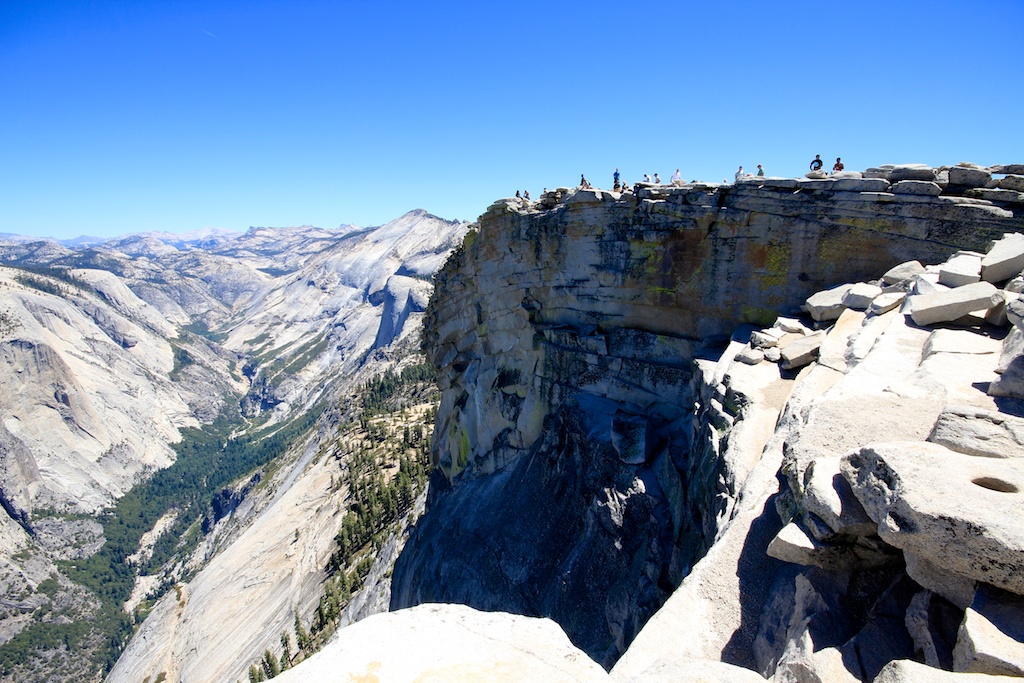
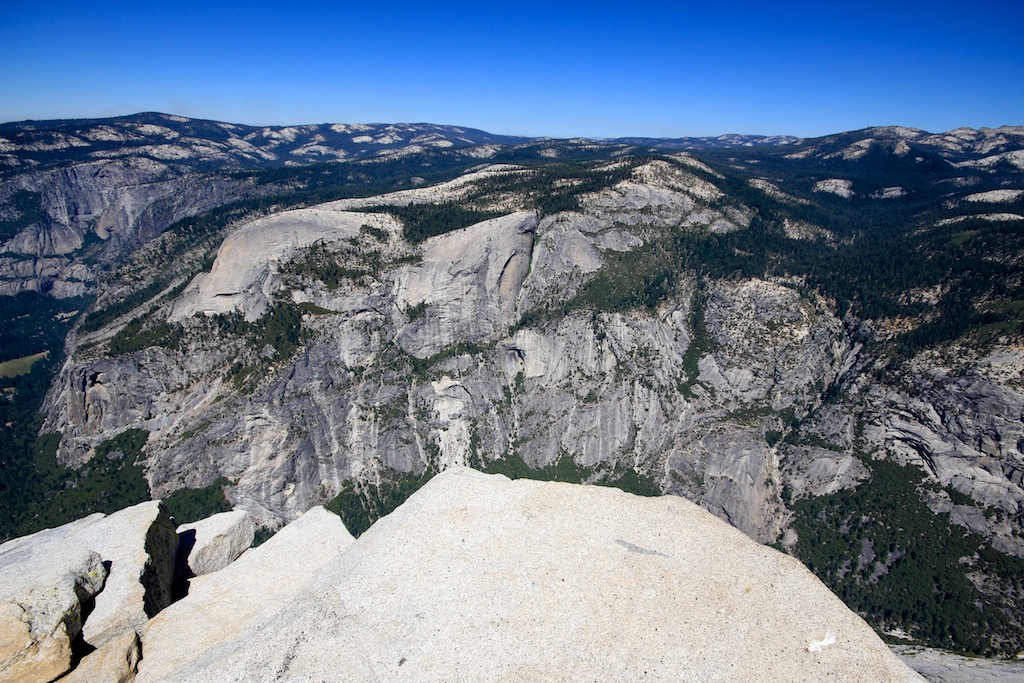
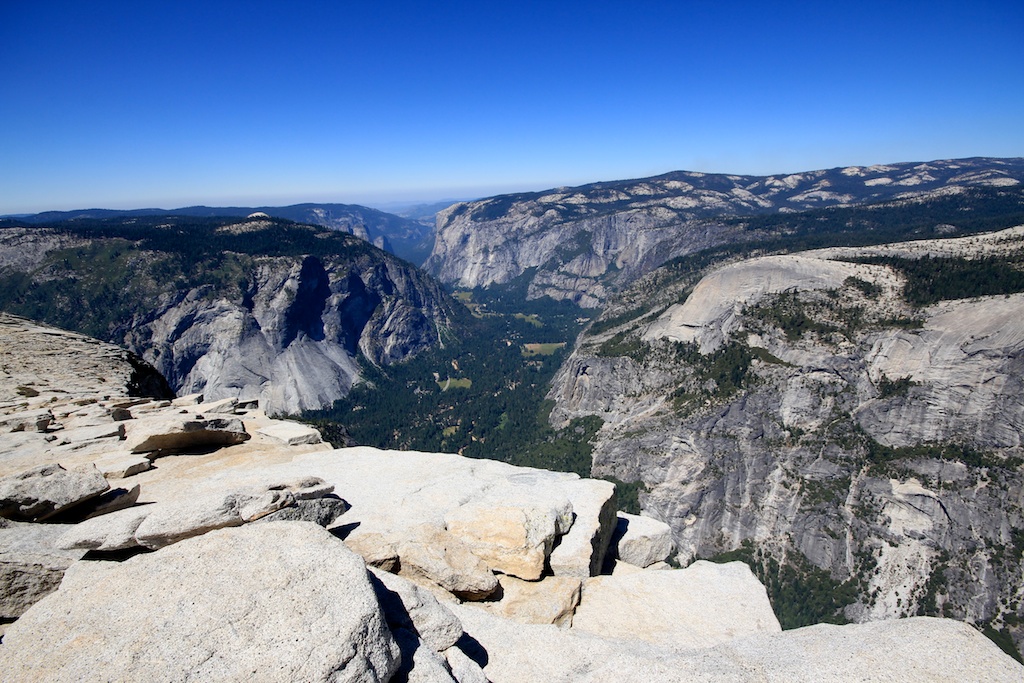
John Muir Trail
On the way back, we split off and took the John Muir Trail above Nevada Falls. This trail will add another 1.5 miles to your trip, but it is easier on the knees cause it is a much lighter grade. Amie and I both agreed that even though it helped our knees, the extra mile and a half was difficult for us after already completing 17. The John Muir Trail provides fantastic views of Half Dome and Nevada Falls in the same image, and it is amazing to see the area from this trail, so it has its perks.
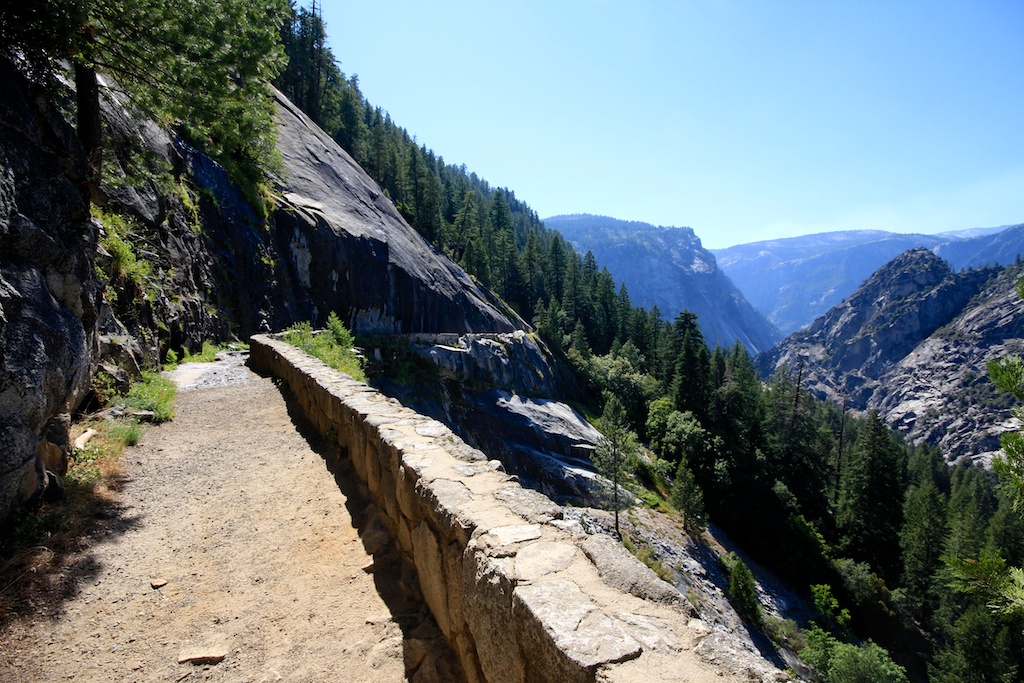
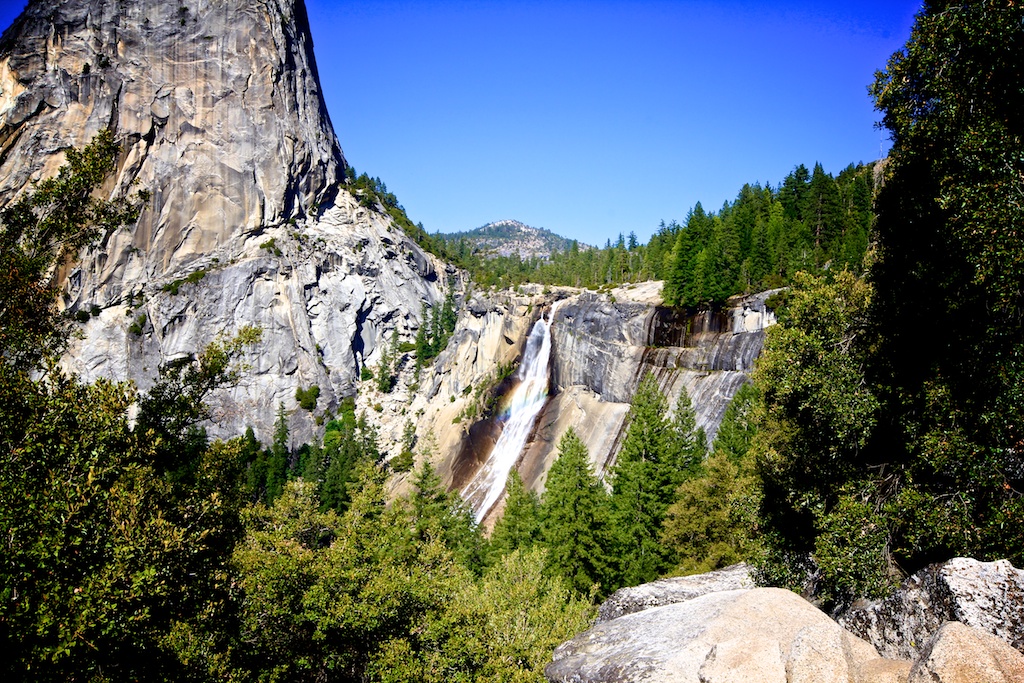
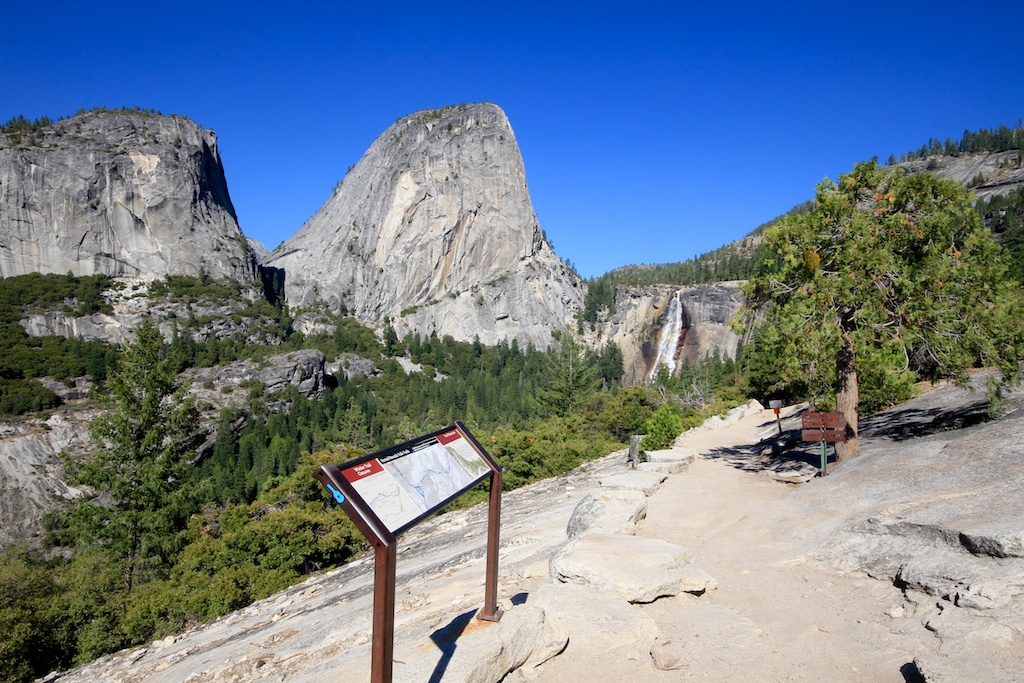
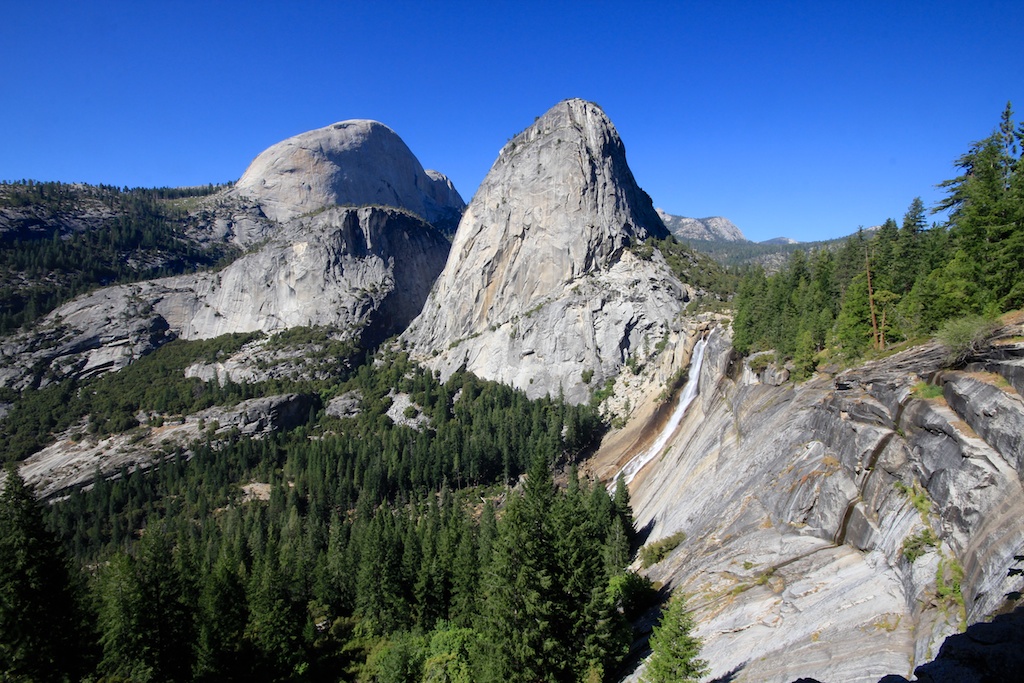
So there it is my photographic guide to Half Dome. I hope you enjoyed it and I hope it helped you out if you are looking to climb it yourself! Do not underestimate this hike. It is around 17 miles long and has over 4,500 feet of elevation gain. If you are looking to take it down, get a permit, train for months in advance, bring gloves, and start early. Make sure to leave me a comment if you have any questions.

