Hiking the Mt Whitney Trail: A Photo Guide
I am writing this while sitting in my tent at Trail Camp with the wind blowing 20 MPH. I am trying to take my mind off the bending of my tent for long enough to decide how I am going to create a post that stands out on my successful summit of Mt Whitney, the tallest mountain in the lower 48. Since I always have my camera strapped around my chest, I figured I would just create a guide of all of the highlights from hiking Mt. Whitney in photographs. That way, you can prepare or relive the Mt Whitney hike through these series of photos. Take your time though; there are over 70 pictures. Let me know what you think at the end. This trail is about 21 miles round trip and 6,000 feet of elevation, so it is no joke!
First, here is a video I made on hiking Mt Whitney in 2023.
Here is a video I made on tips for hiking Mt Whitney
Whitney Portal
The start of the hike, the Mt Whitney Portal has everything from campsites and waterfalls to a restaurant and fishing lake. You could spend a lot of time just camping here and taking in the sites without even going on the Mt. Whitney Trail. I wrote another post on the Mt Whitney Portal Store, so for a full review of that, check it out. I loved this area, it was a great place to stay the night before our hike began and I would like to go back and explore it more sometime in the future.
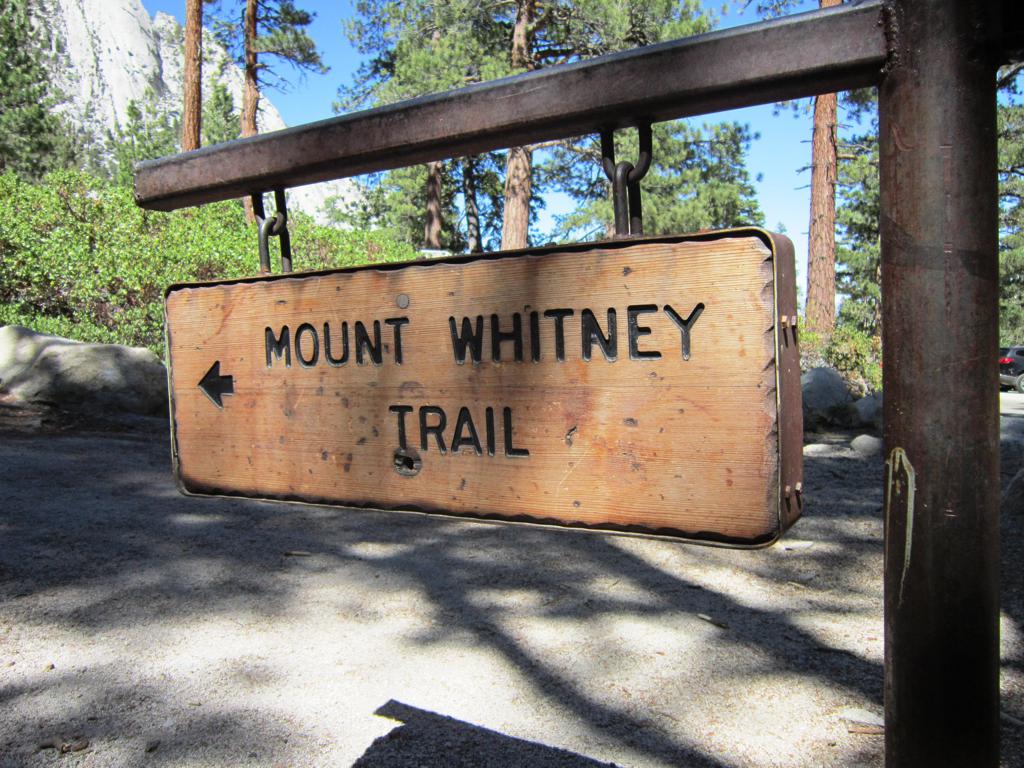
Trail Start
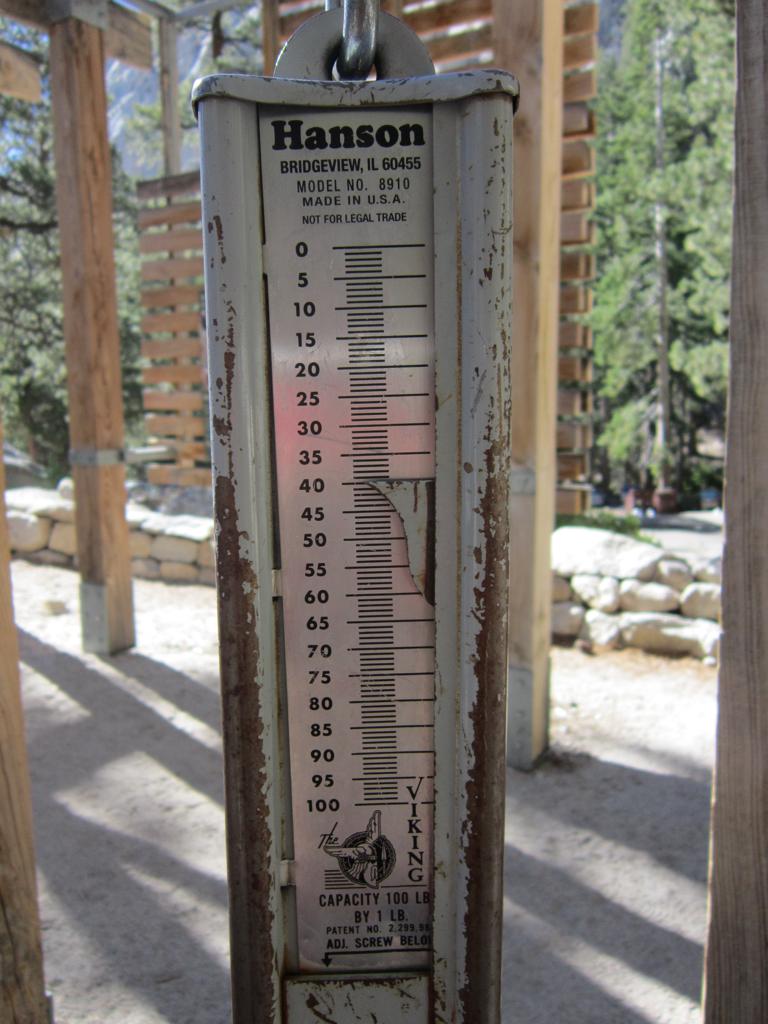
This is the official start of the trail. It has a weigh station for your backpack, a lot of information on not taking the trail lightly, and signs telling you to pack out your waste. From here, the trail starts heading up.
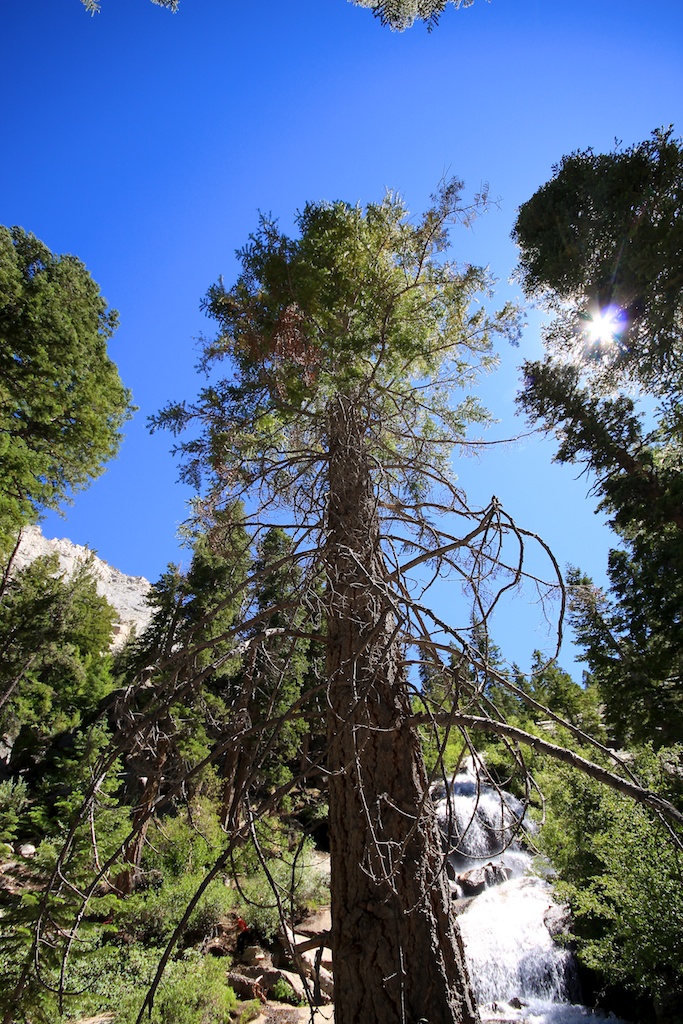
The Forest
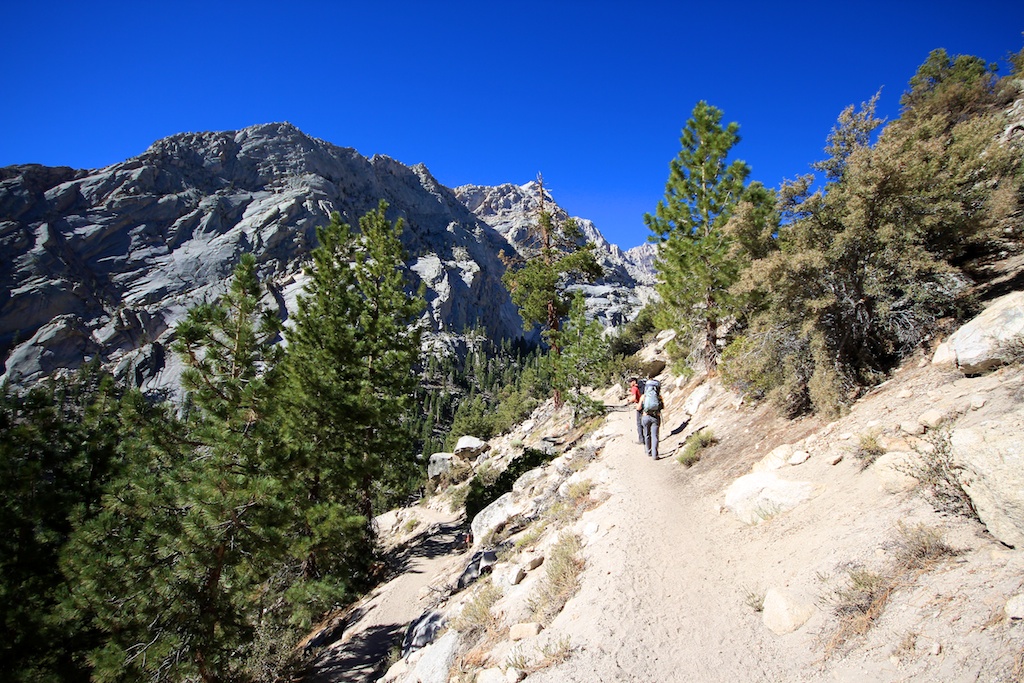
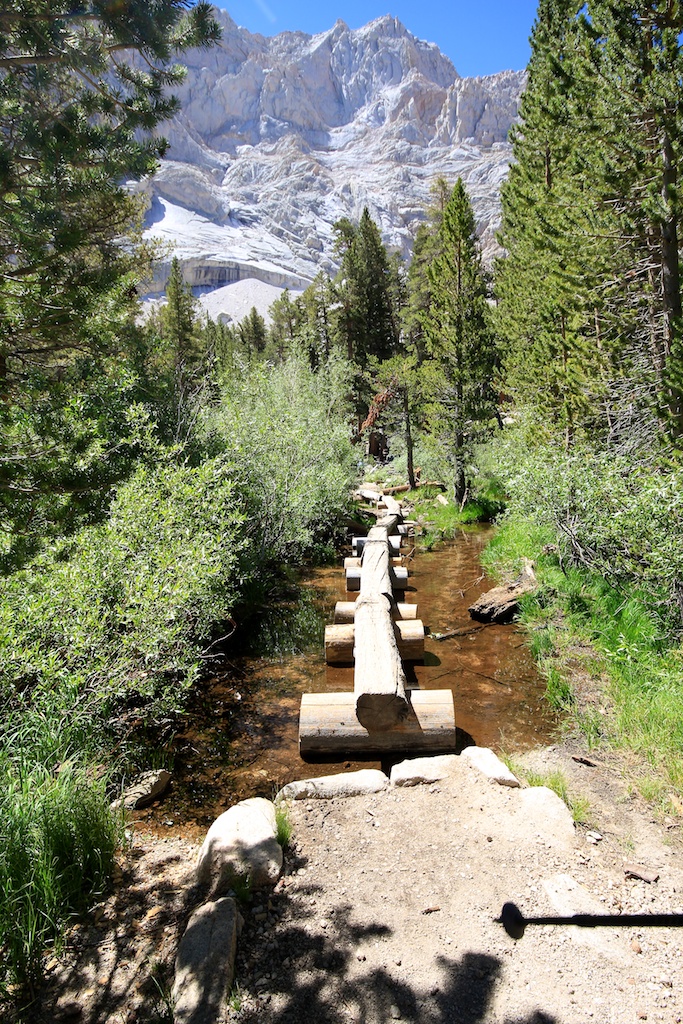
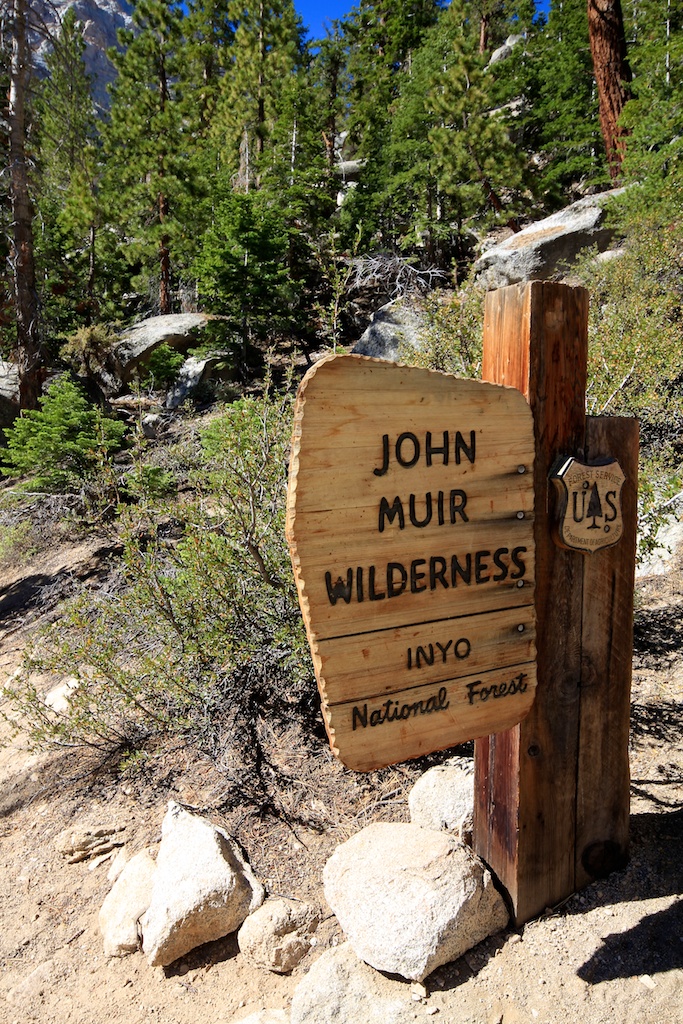
For the next two miles, you are in an abyss of alpine woods that climb and climb with the trail. It is gorgeous, and you cross over at least three water crossings. Soak in the shade while you are here because in a few short miles, you will be above the tree level and wishing you had shade to protect you. This is also where you enter the John Muir Wilderness and where the split is for the Mountaineers Route.
Lone Pine Lake
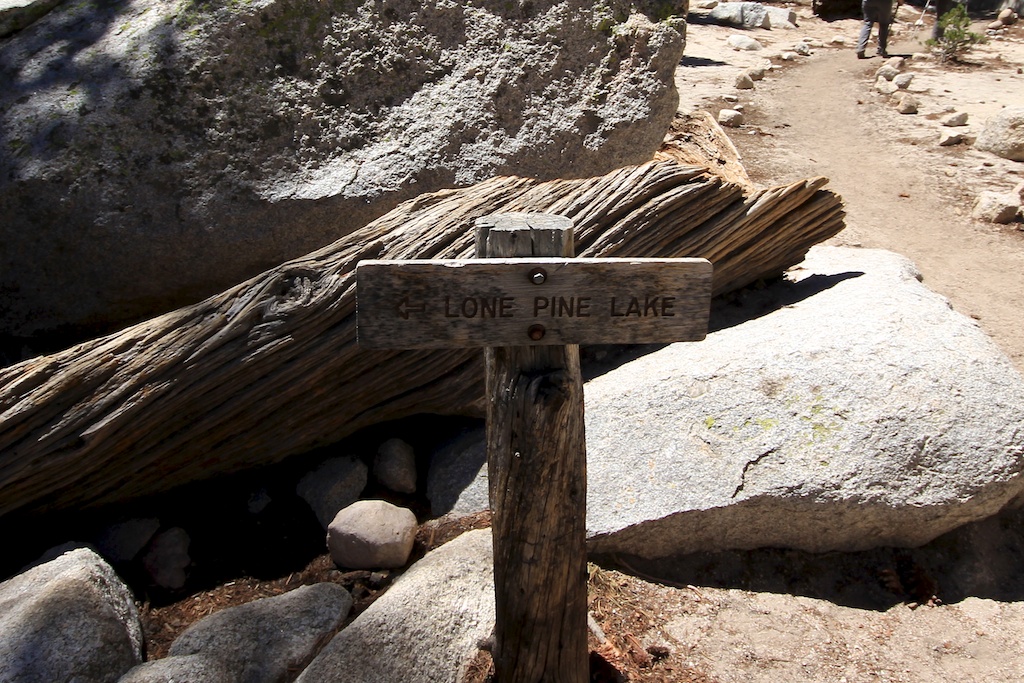
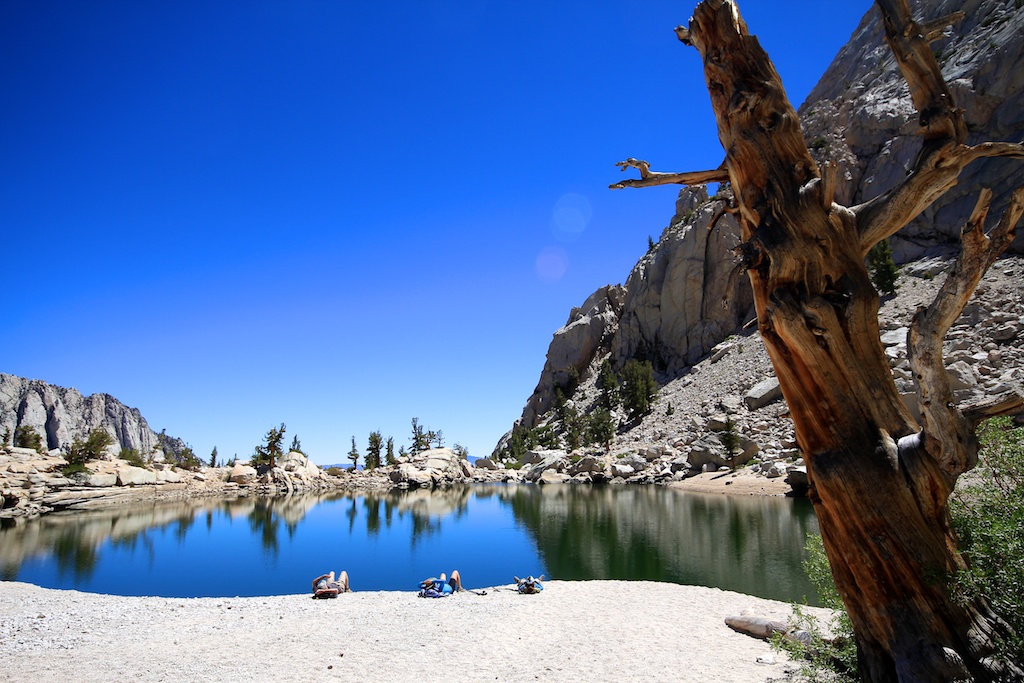
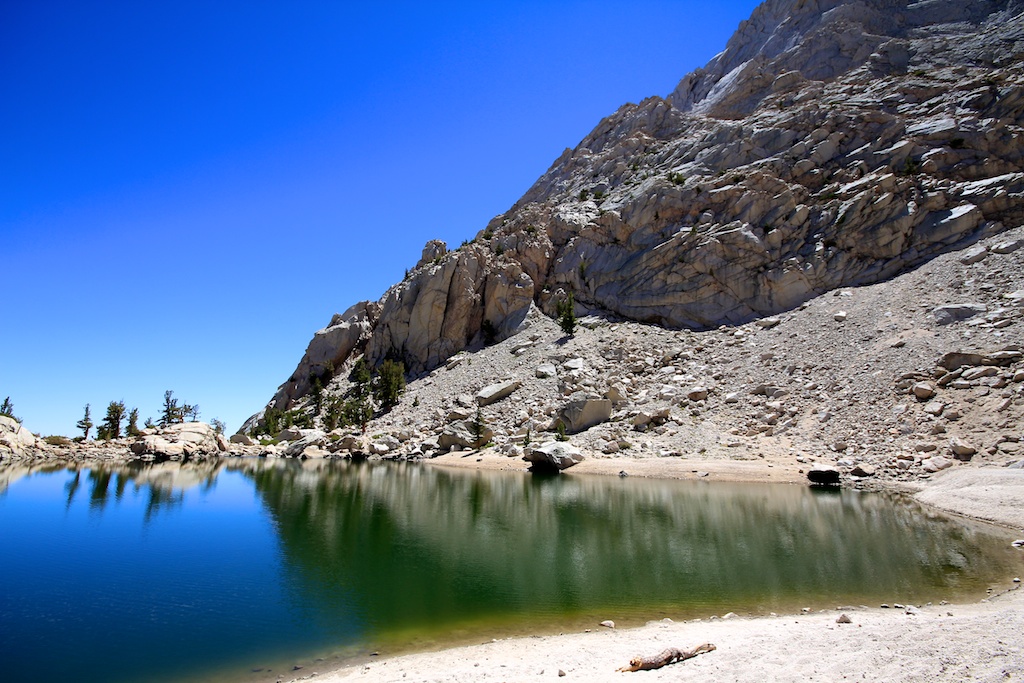
The first significant checkpoint that you will arrive at is that of the beautiful Lone Pine Lake 2.5 miles in. This high altitude lake has a beach and a mountain that rises way above it. It is an excellent place for a break or a great day hike if you are staying at the portal and do not have a Mt Whitney pass. I loved seeing the way the perfect water reflected its surroundings; it was beautiful.
Whitney Zone Entrance
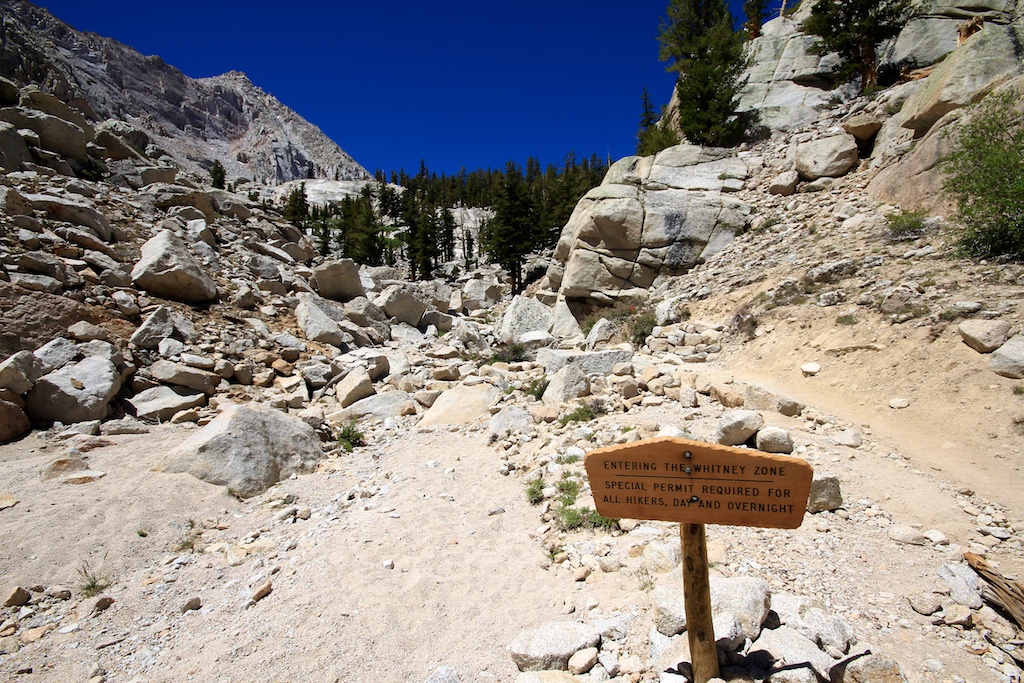
After a stop at Lone Pine Lake, you will continue down the trail until you hit the sign that informs you you have now entered the Whitney Zone. This area is where you have to have a permit to not get fined. You will see the sign loud and clear, so you won’t be surprised when you enter the zone. I was checked for my permit on the mountain, so make sure you do not go without one.
Meadows
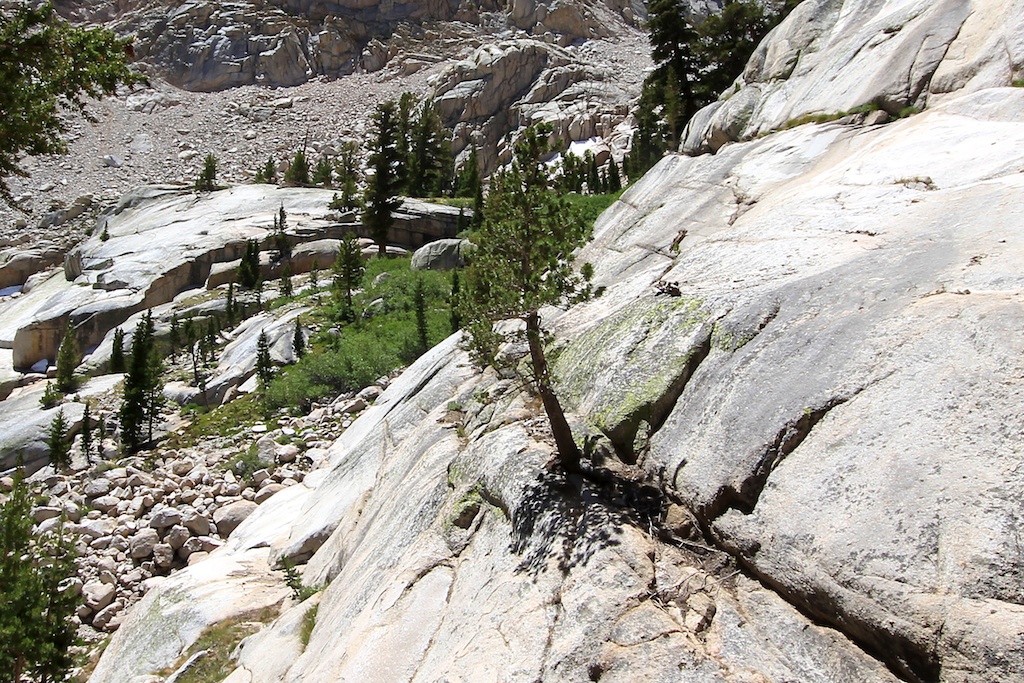
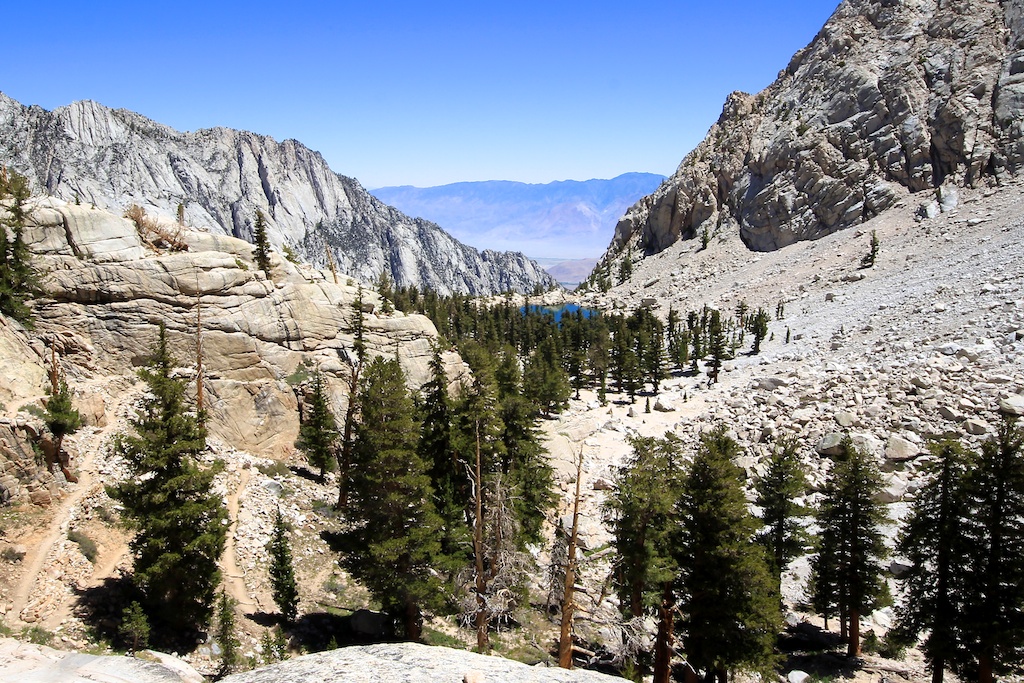
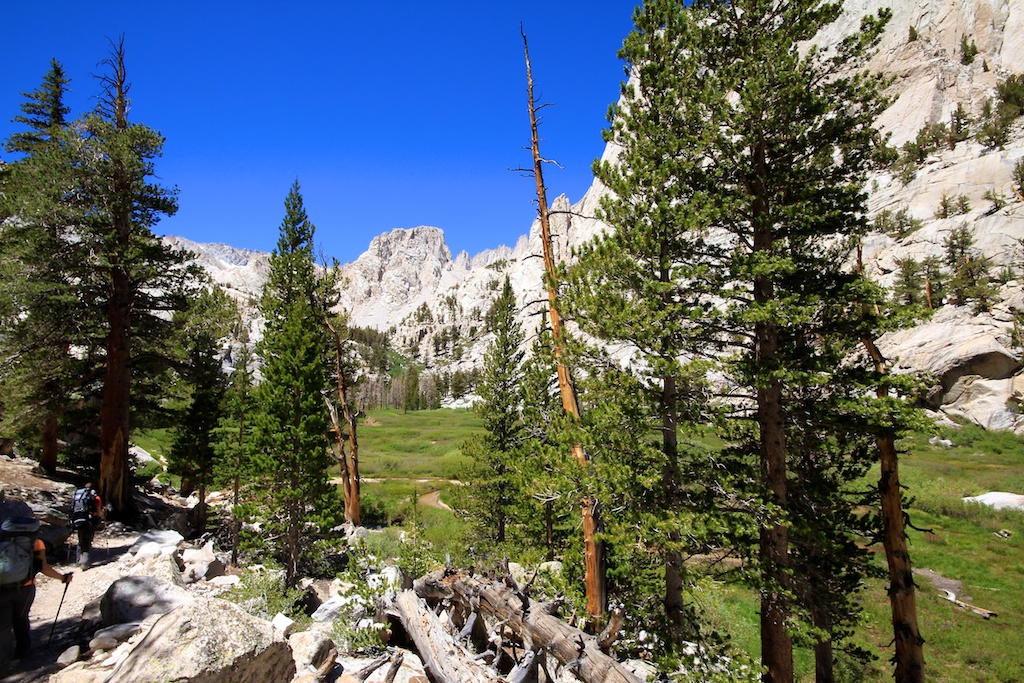
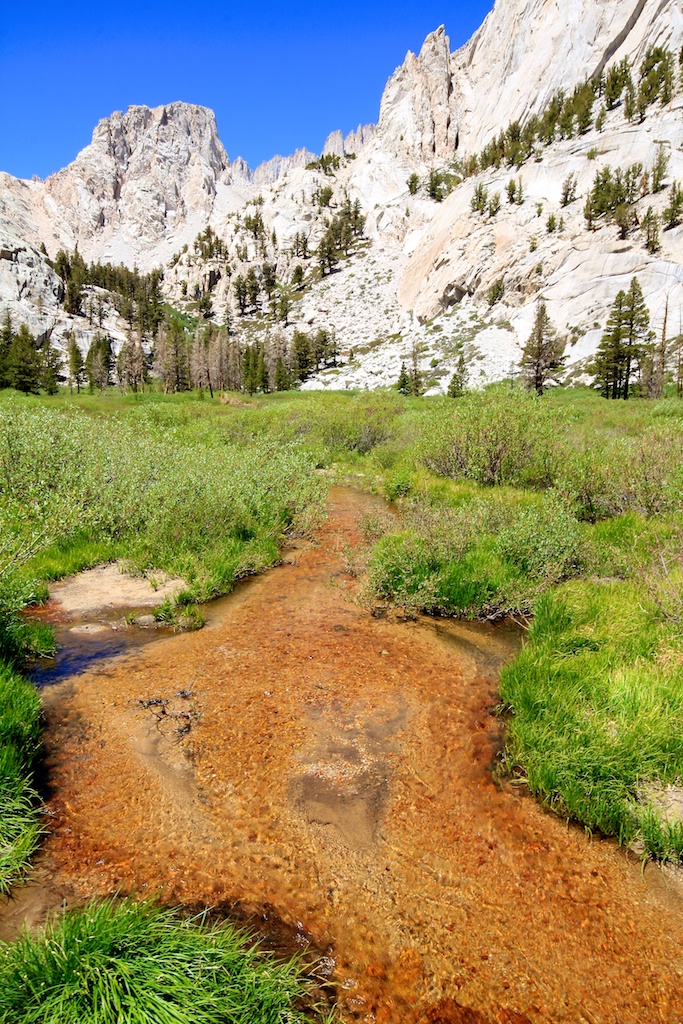
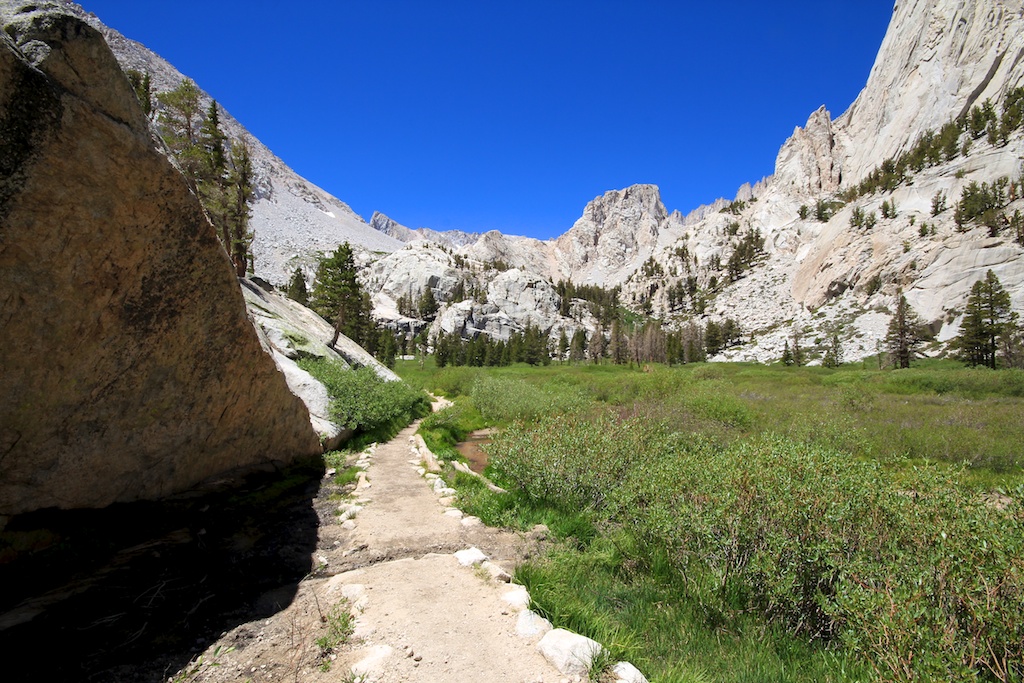
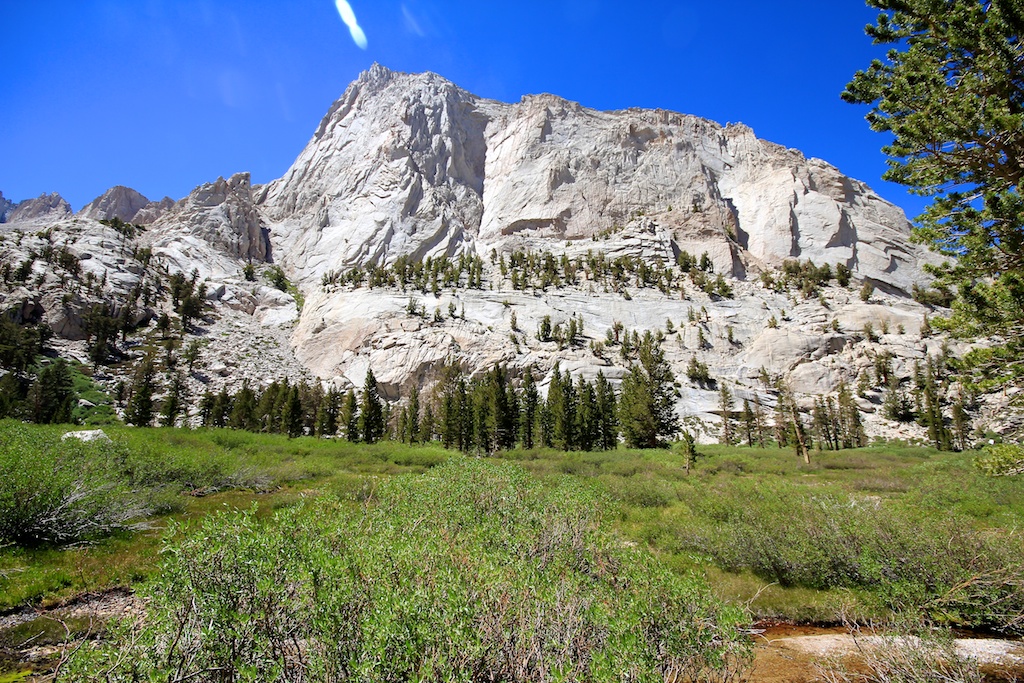
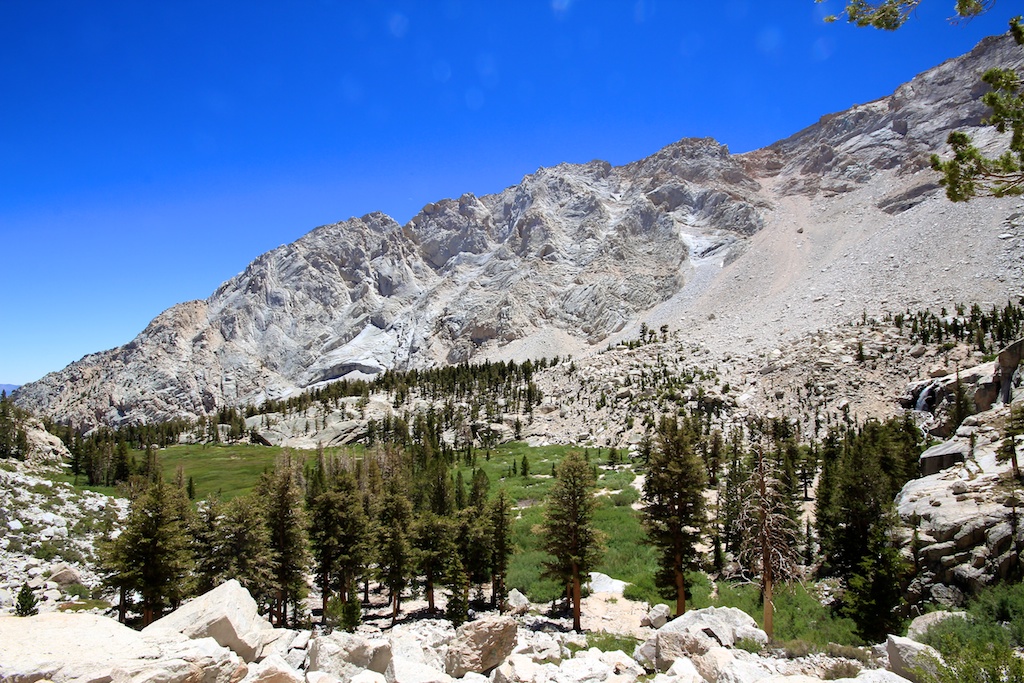
After a few more switchbacks, you will descend into a beautiful field that stretches for at least a half-mile. It has a stream that flows through it, which provides a lush green to match the somber stone walls that enclose this little valley. It is an excellent place for a break and also home to Outpost Camp.
Outpost Camp
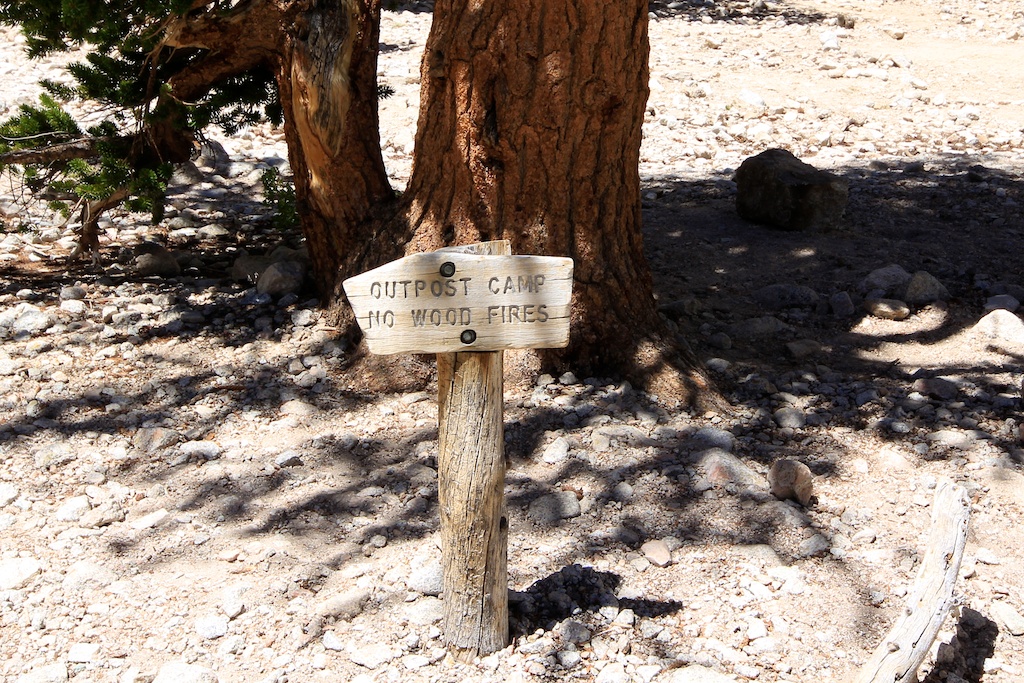
Outpost Camp is nestled in the corner of the meadows on a stretch of dirt and rock and is a great place to spend the night. It is about 3.5 miles from the start of the trail, so if you are taking your time, then it is a good place to stay, but if not, you probably want to push on to Trail Camp as it makes day two a lot more doable.
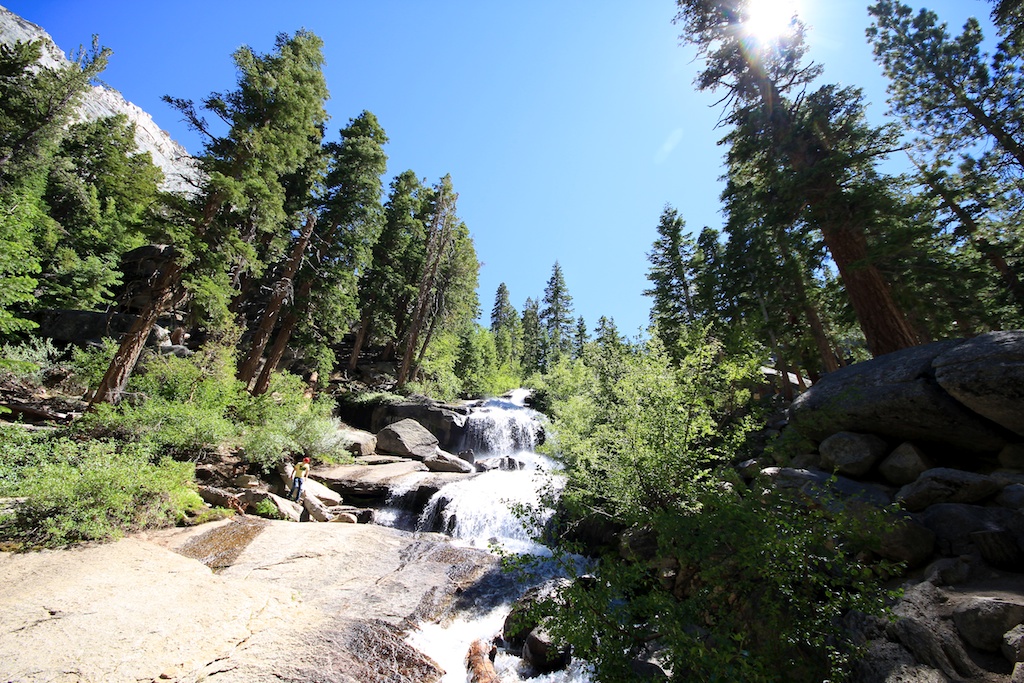
Outpost Camp Waterfall
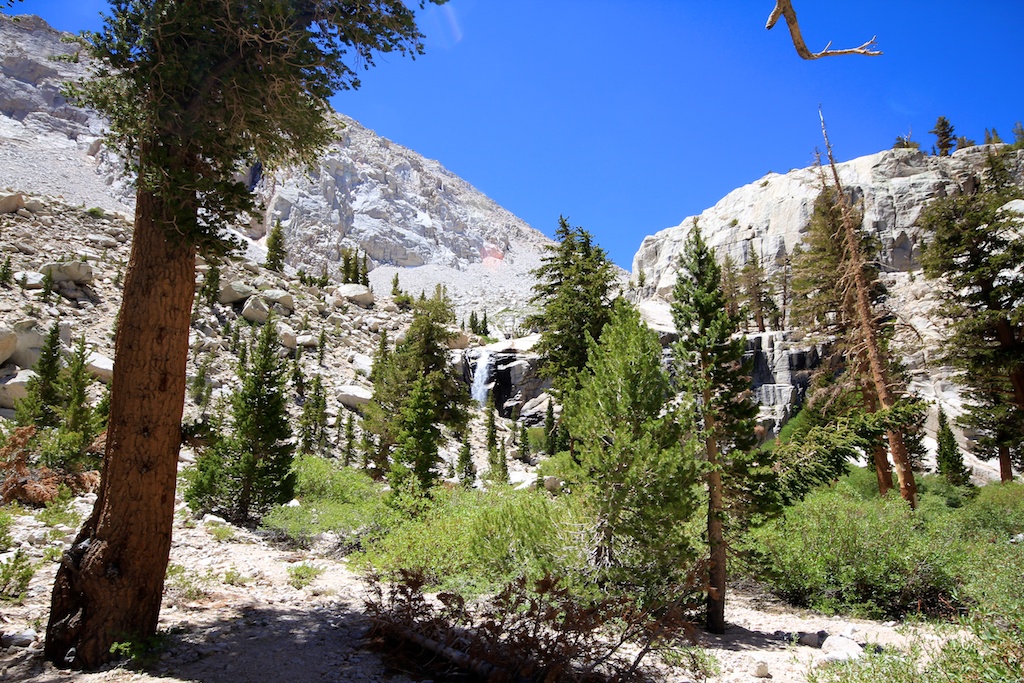
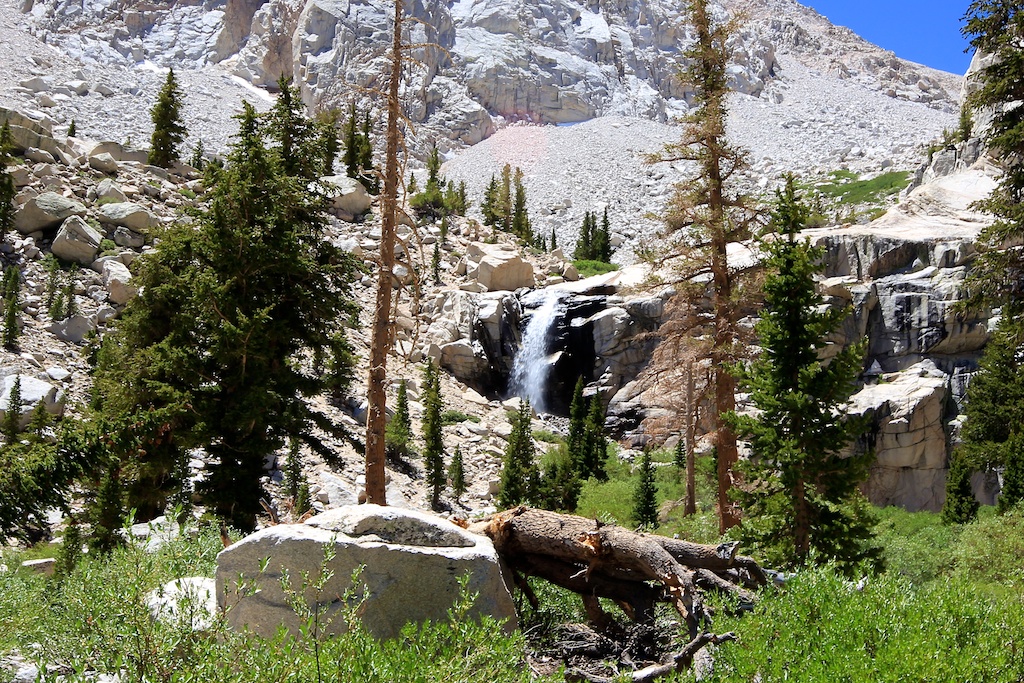
Right next to Outpost Camp is a pristine 50-foot waterfall. It adds to the eye candy of the meadows and makes this an amazing area to relax and just take in the beauty.
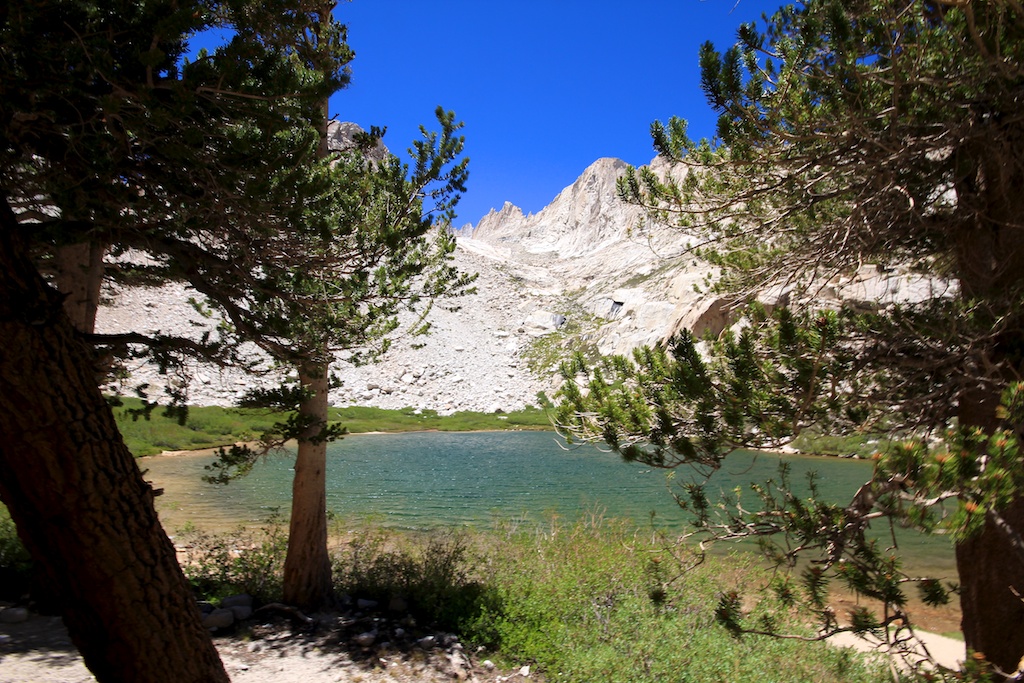
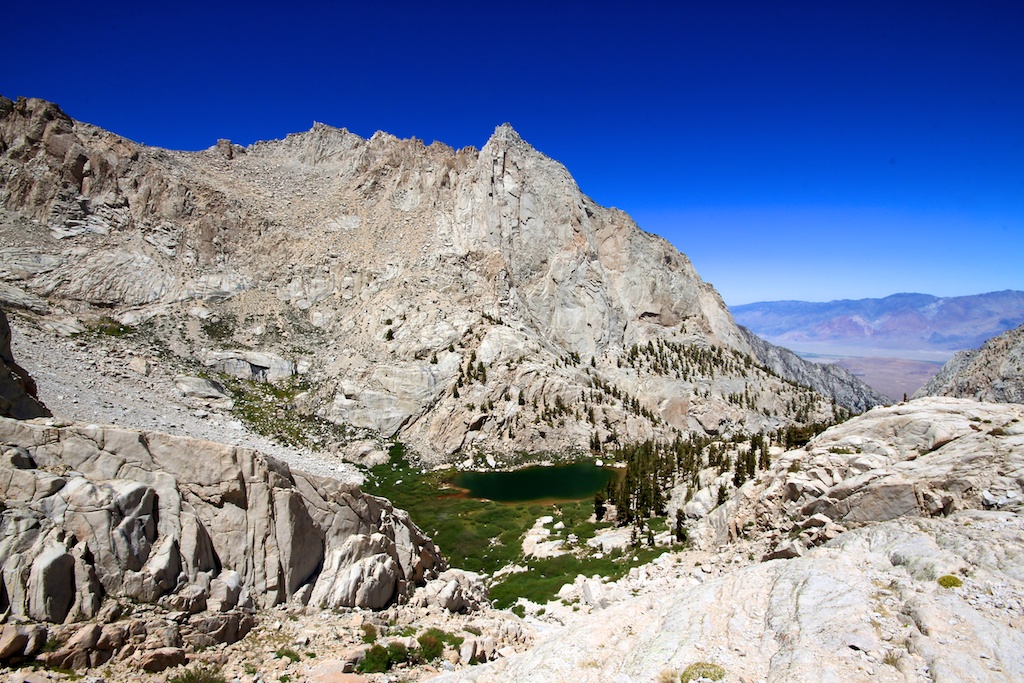
Mirror Lake
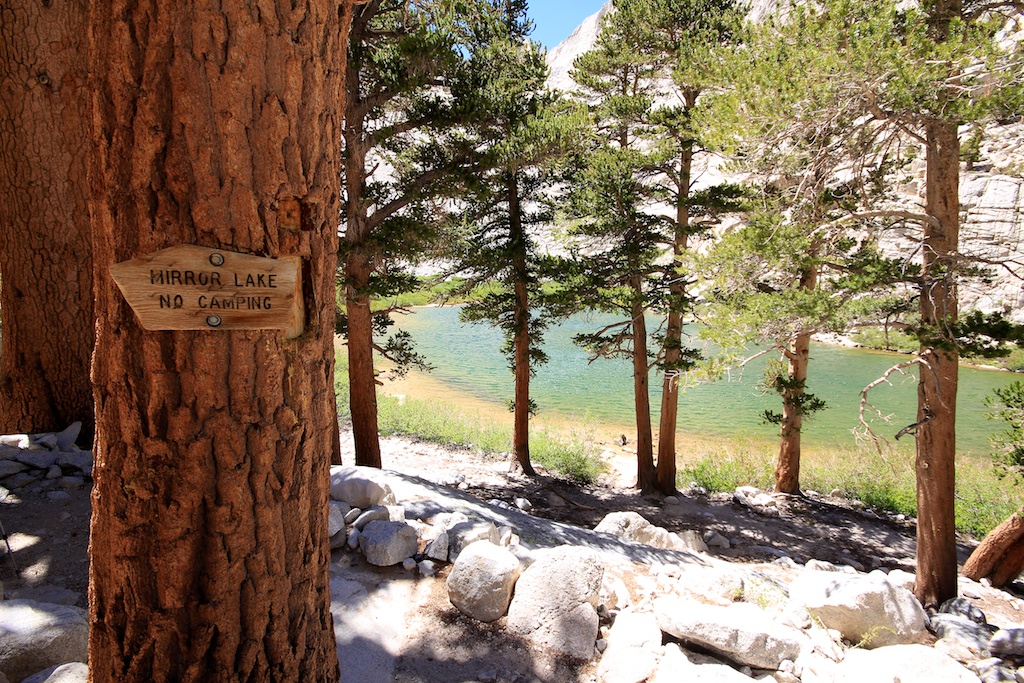
After a couple more switchbacks, you will find yourself at Mirror Lake. This lake is smaller than most of the other lakes on this path, but it provides a lot of beautiful views and is nestled right next to the last area of trees you will have on the path. It also has a couple of huge cliffs rising up behind it, making it stand next to the white rock.
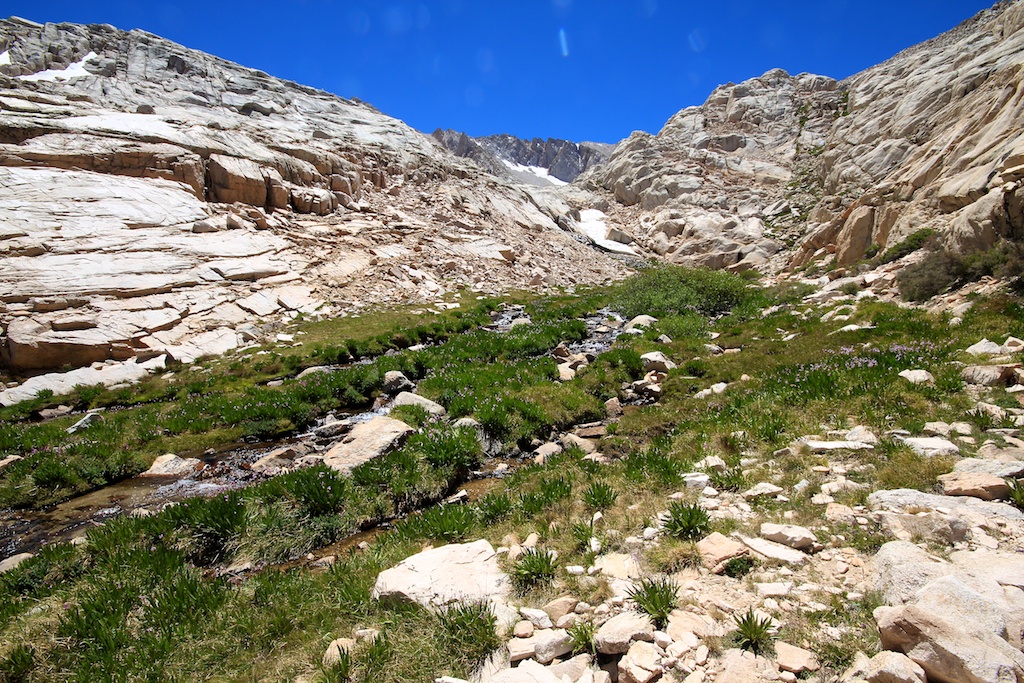
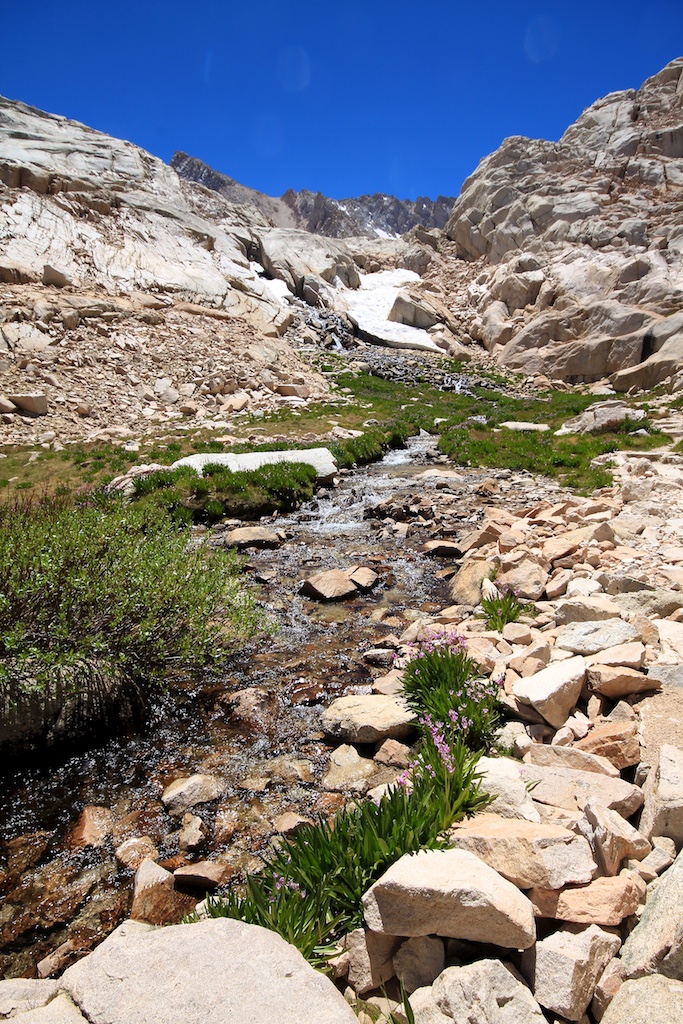
Trailside Meadows
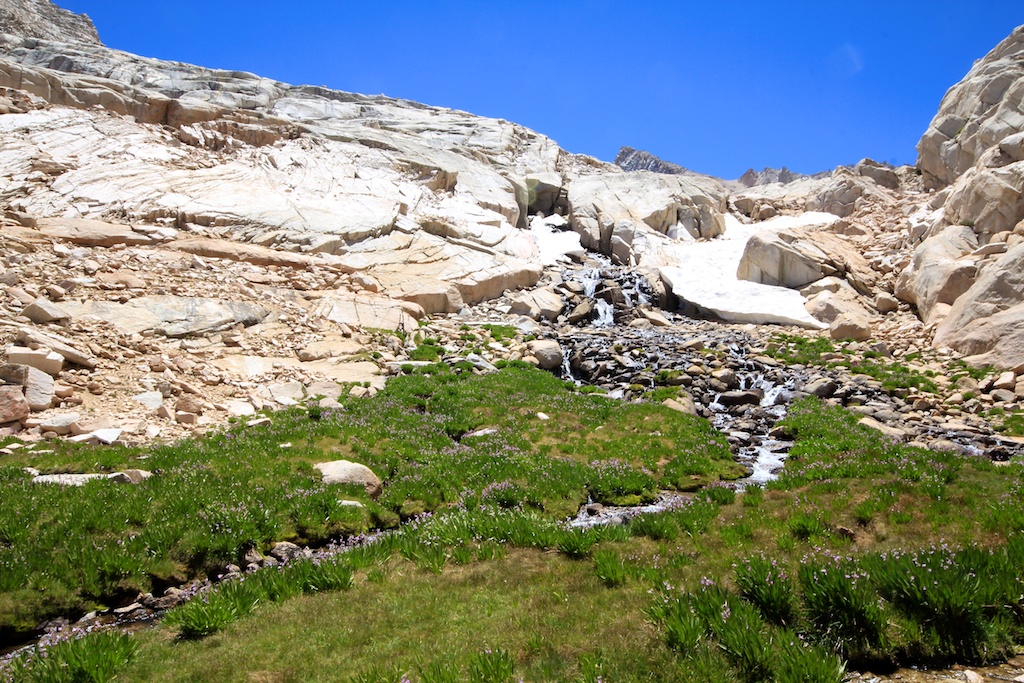
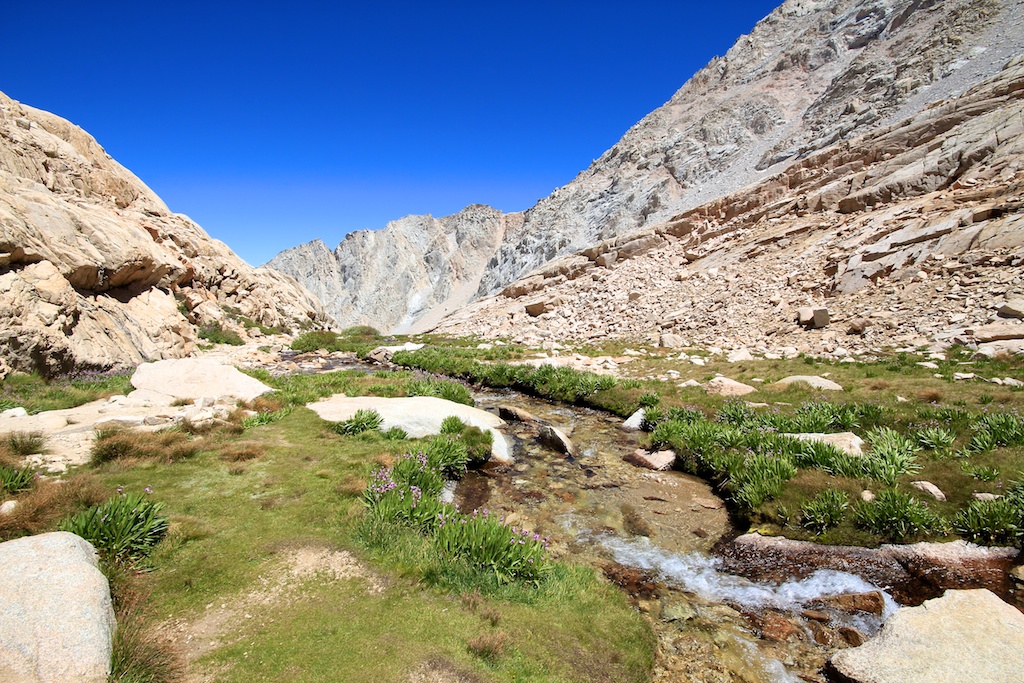
One of my favorite places on the whole hike, Trailside Meadows is a snow-fed waterfall that slowly flows down the rock wall into a line of meadows with beautiful purple flowers. It is impossible to do it justice in these pictures, but to me, it looks like a small piece of heaven in real life.
Consultation Lake
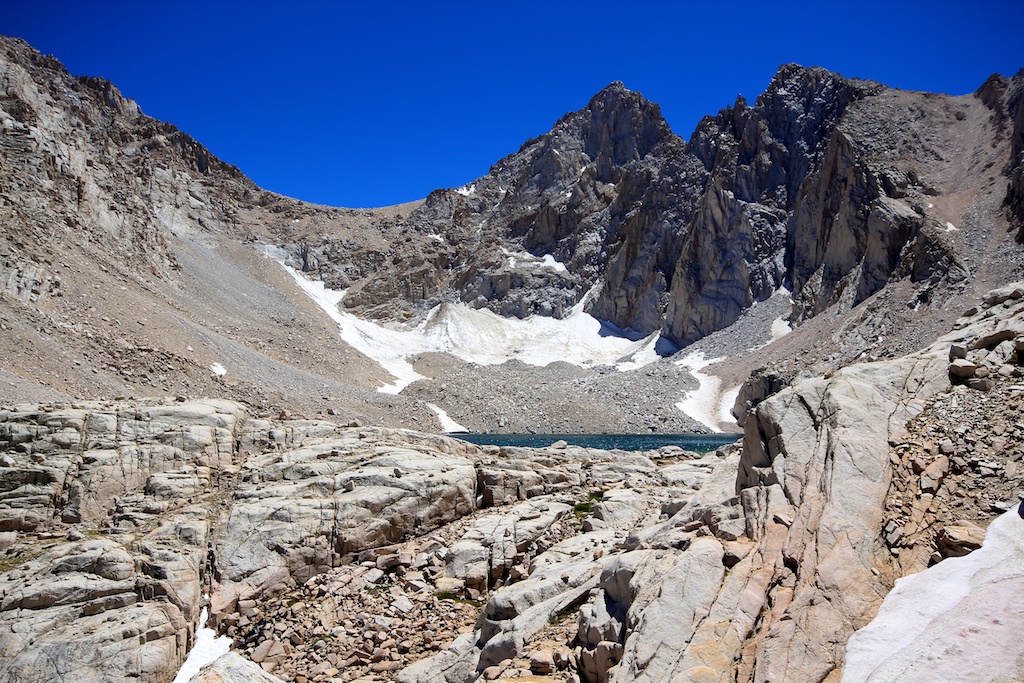
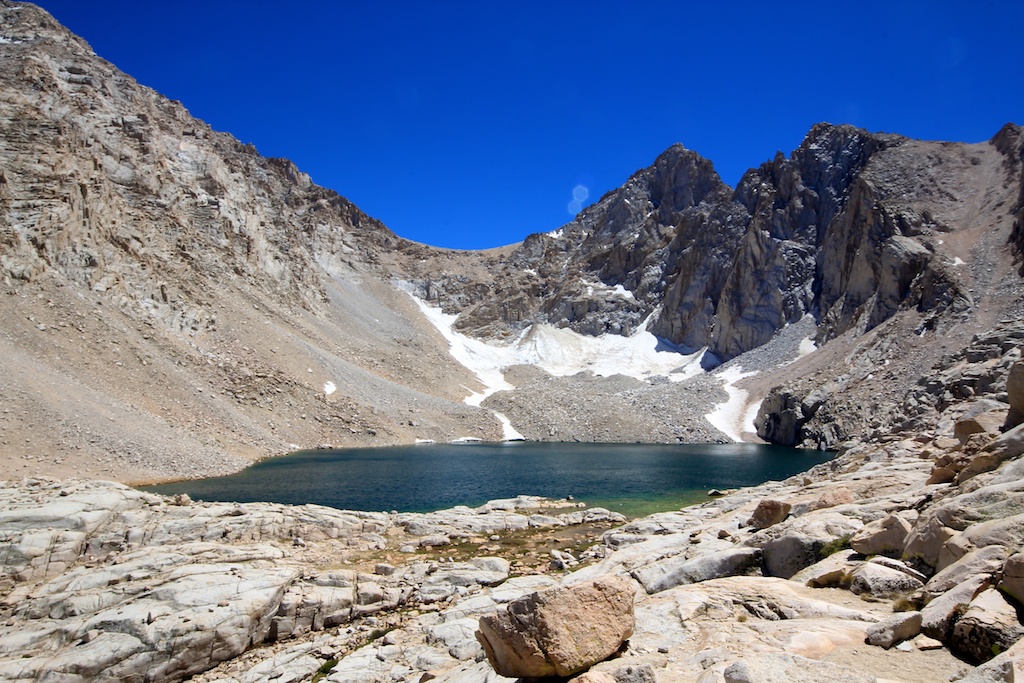
This huge high altitude lake will come into view as you rise above Trailside Meadows. It is beautiful and has snow all around it that melts into it. The trail never really goes close to this lake, but you can see it from here and when you are on the 99 switchbacks.
Trail Camp
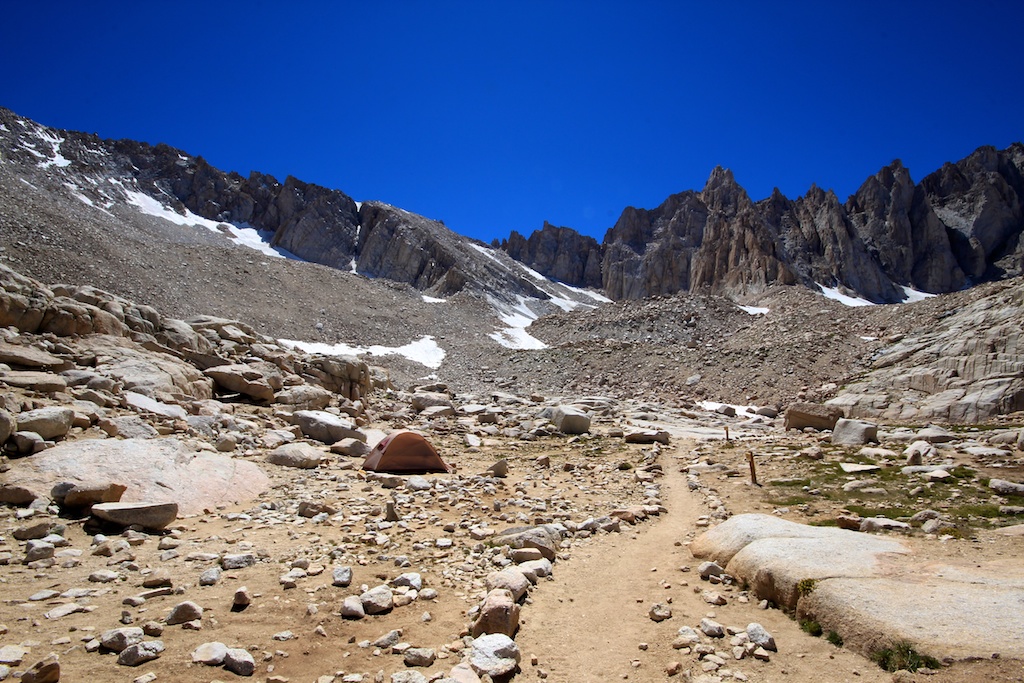
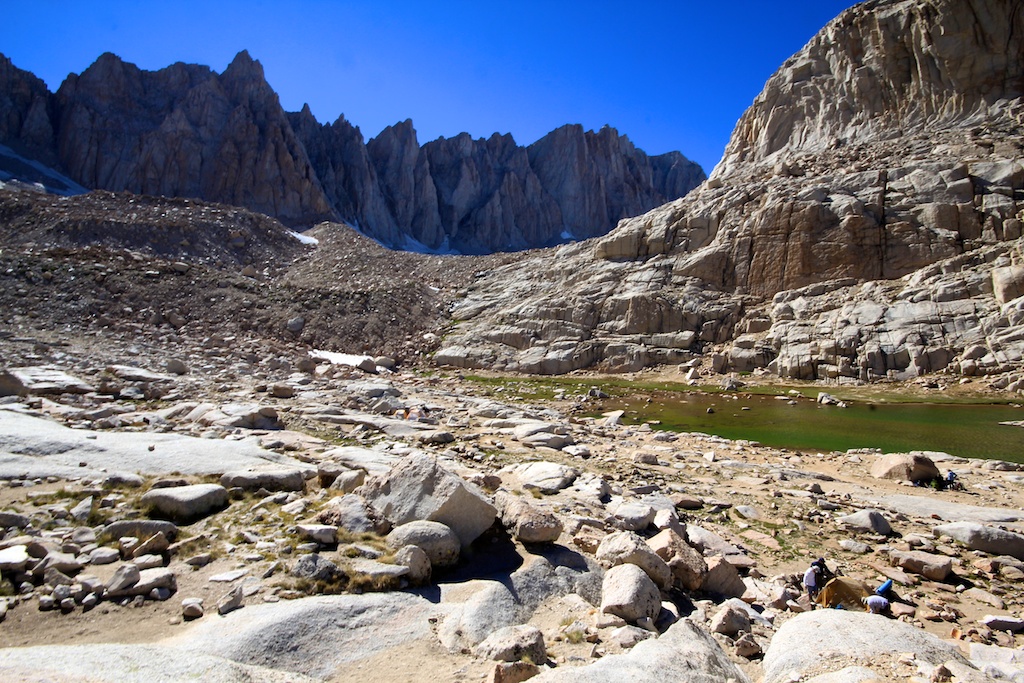
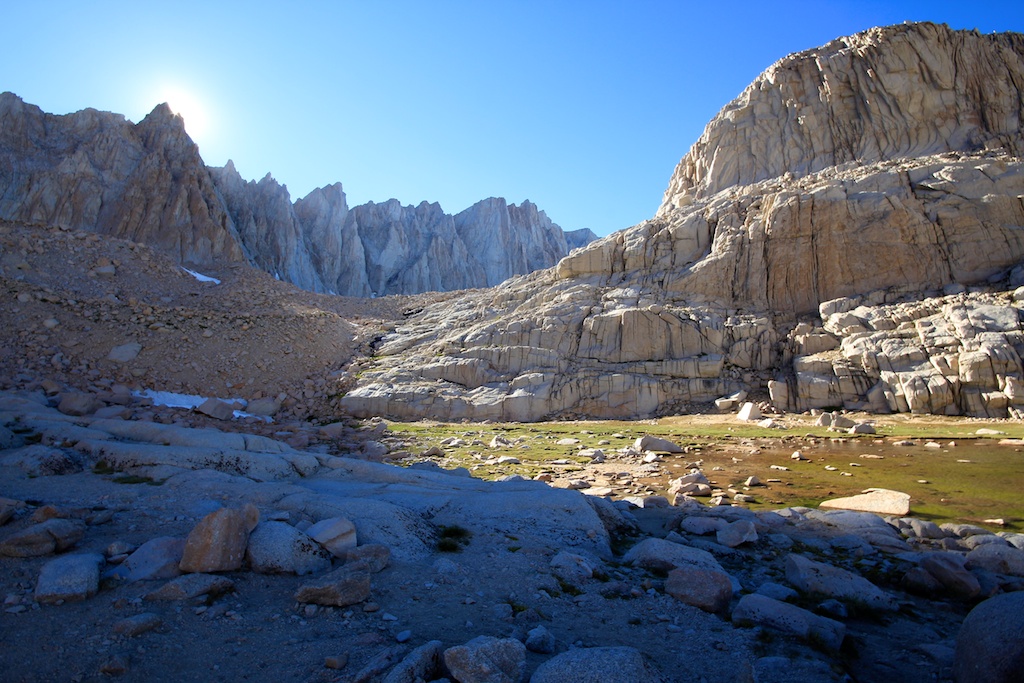
A barren home for most of the overnight hikers, this little camp area has lots of flat space for you to put your tent. Many of the outcroppings even have rock walls built up around them to try and get rid of the wind that screams through this area. There is also a nice lake here where you can filter water making this an excellent destination for hikers.
Animals
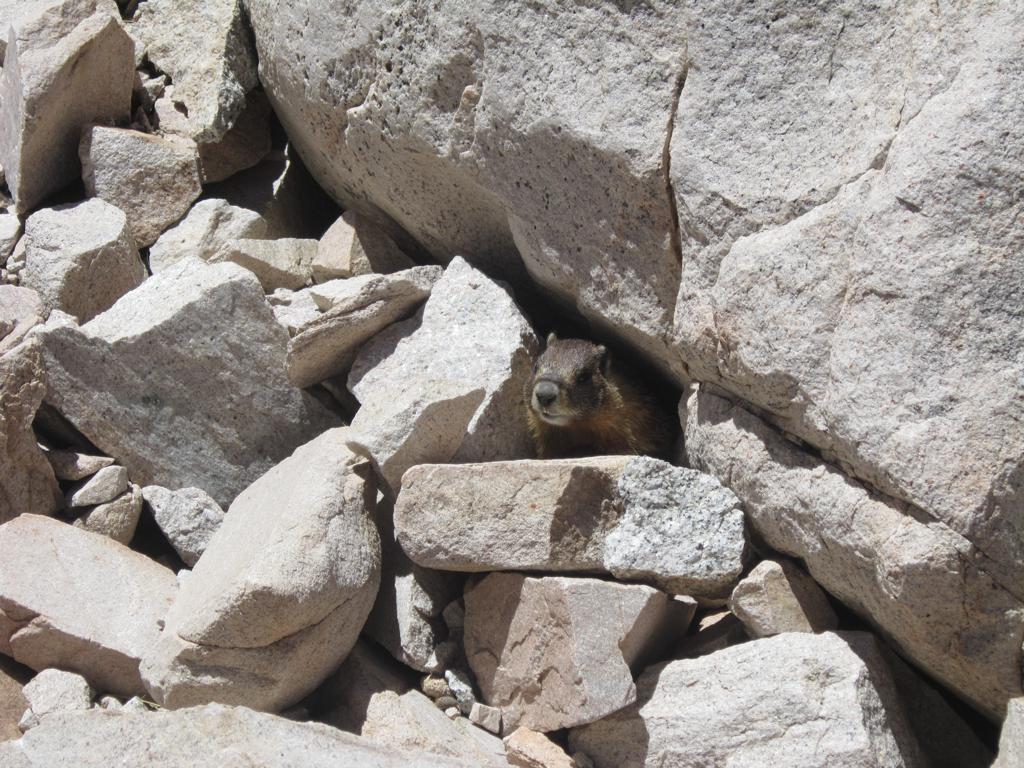
Make sure you brought your bear box here and to keep all your food in it overnight. There are lots of marmots here, and we even had a couple of squirrels enjoying our trail mix only two minutes after we had walked away.
99 Switchbacks
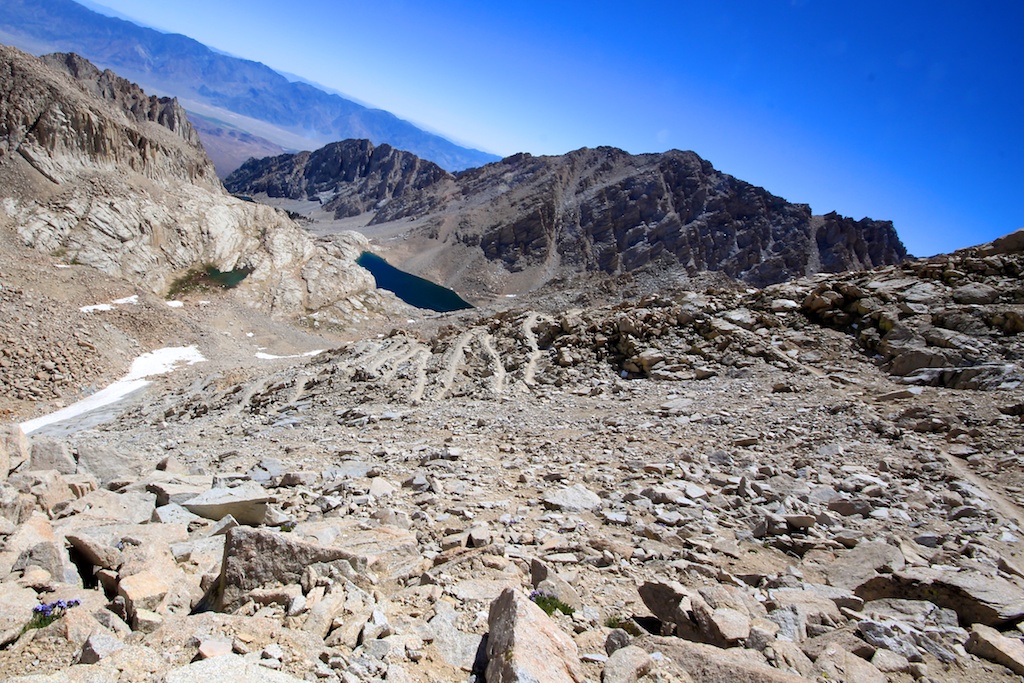
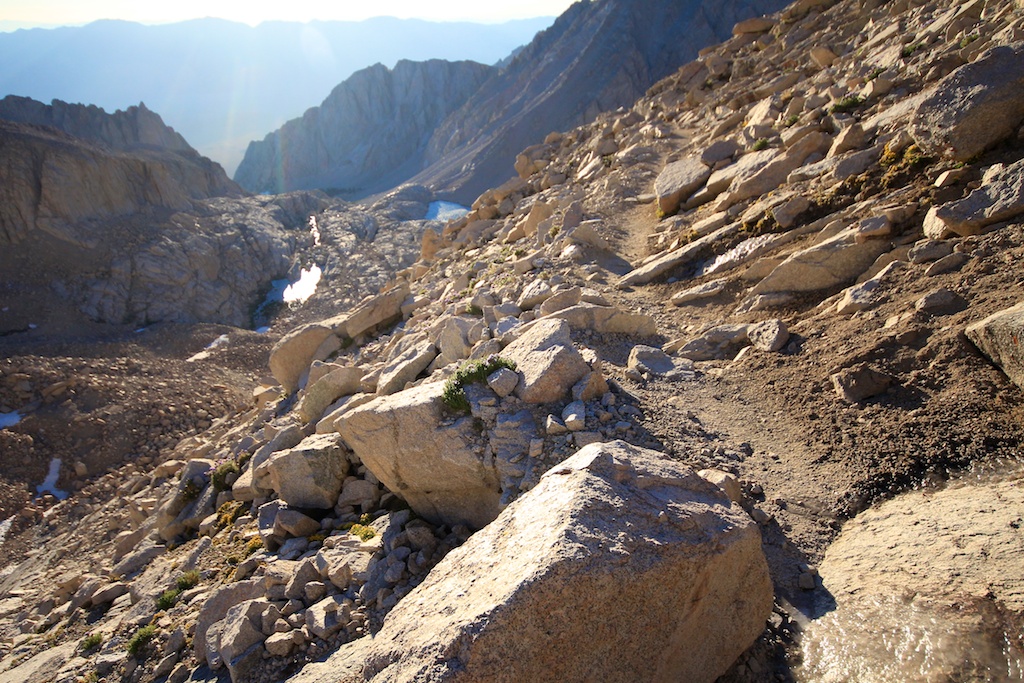
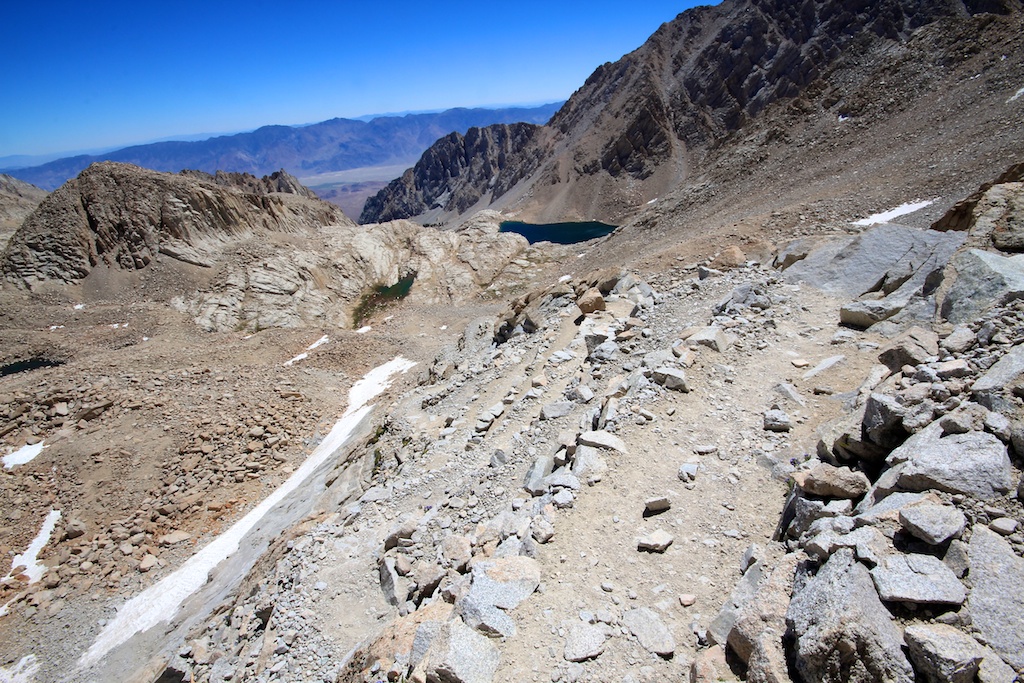
If you are researching Mt Whitney, then you have no doubt heard about the 99 switchbacks. This area has legitimately 99 different switchbacks that rise over 1,700 feet to the ridge above. They seem endless going up and coming down. During some points of the year, there is a stream that flows around the 20th switchback, but if it is not there, then Trail Camp is the last place you can get water. Luckily many of the switchbacks are short, making them seem to go a little faster. I recommend music for this section to keep your mind off it.
The Cables
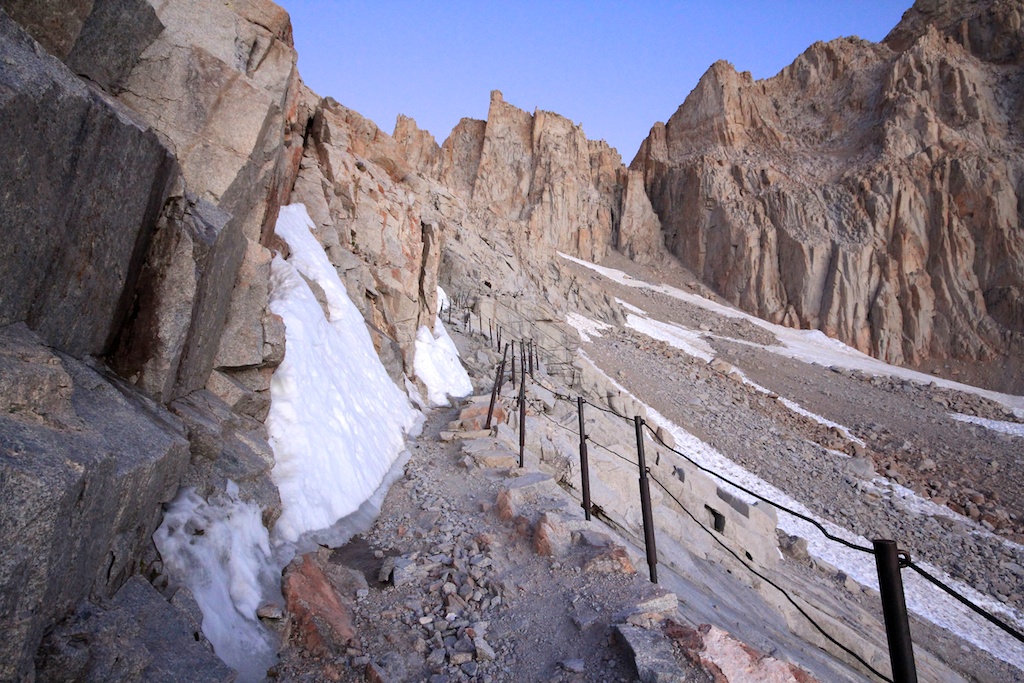
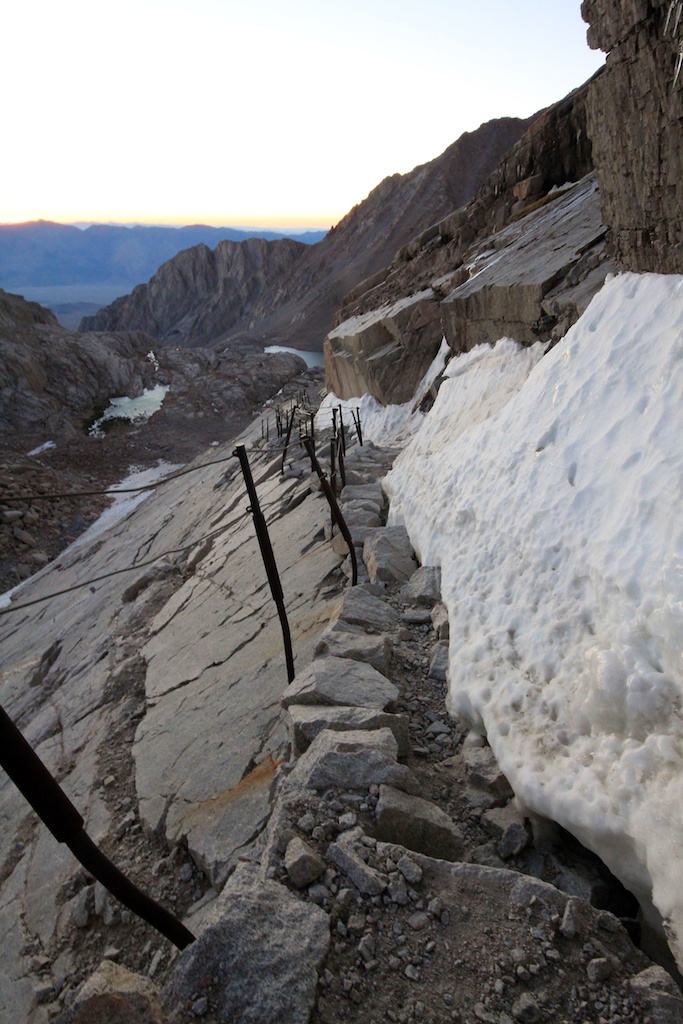
One of the other famous parts of this hike is the small 50-foot section known as the cables. This section gets its name from the cables that line the trail to keep hikers from falling off the steep rock face to the right. During almost all of the year, this area has snow as it rarely sees the sun. Be careful coming through here, but if you go after July, it is much less of a hazard.
Trail Crest
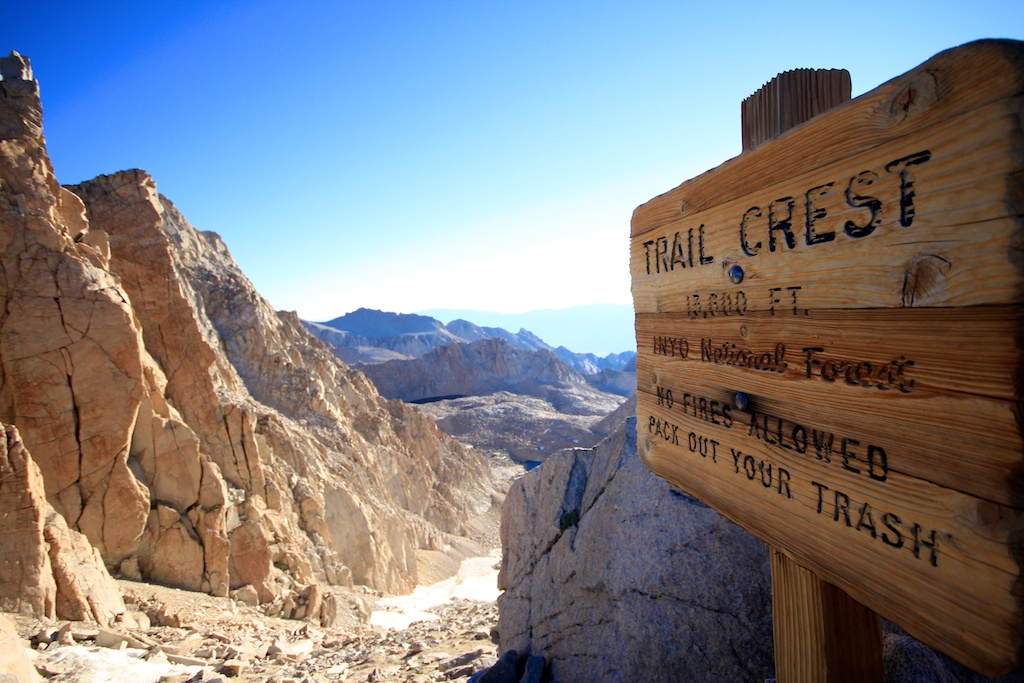
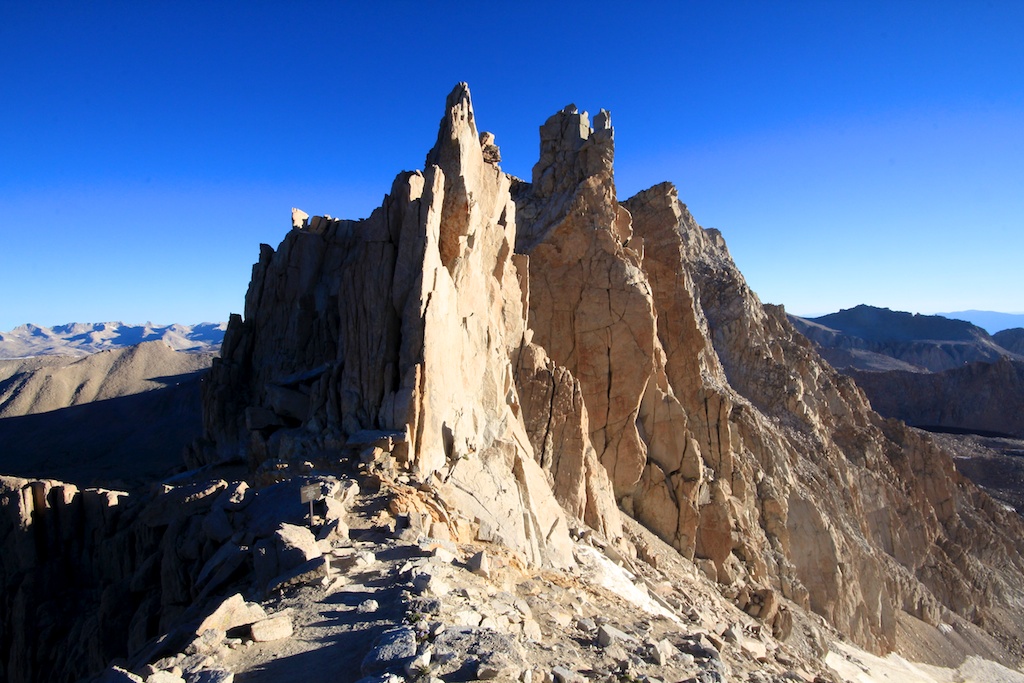
At the top of the 99 switchbacks rests what is known as Trail Crest. This small area has great views of both the Whitney Trail you just came up and the Sequoia National Park on the other side. You can see Hitchcock Lake and Hitchcock Mountain from here. This is also where the full fury of the wind was unleashed on us.
John Muir Trail Junction
From Trail Crest, the trail goes down and hits the end of the John Muir Trail right before it ascends for the push to the Whitney Summit. This is why so many people who hike the JMT summit Mt Whitney at the beginning or the end of their trail.
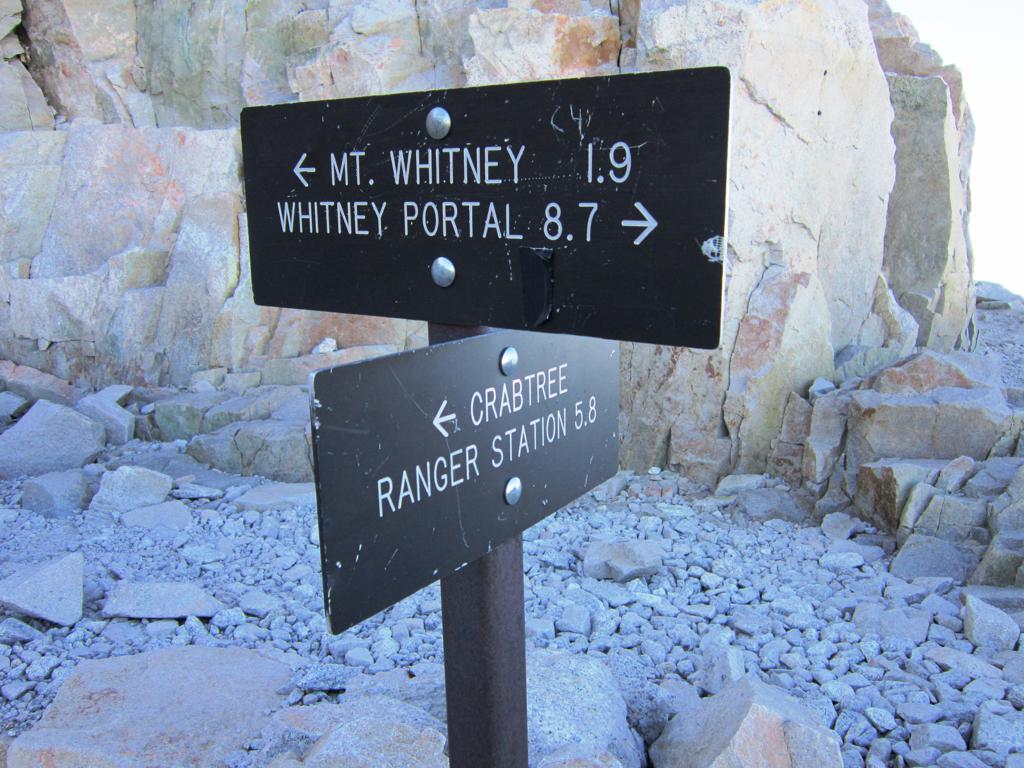
Backside
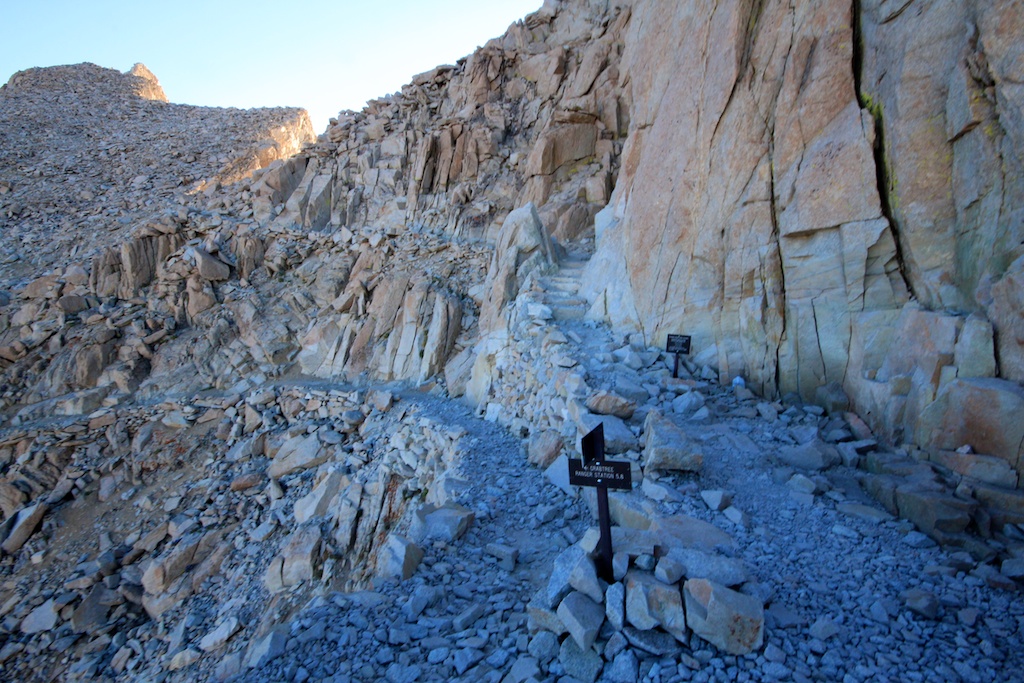
For lack of a better name, the trail now continues for a mile and a half along the backside of the ridge and Mt. Muir. This area is very rocky and requires you to concentrate as there is a steep drop off the entire way on the west side of you. It is a really unique area to see though, and has a lot of crazy rock formations.
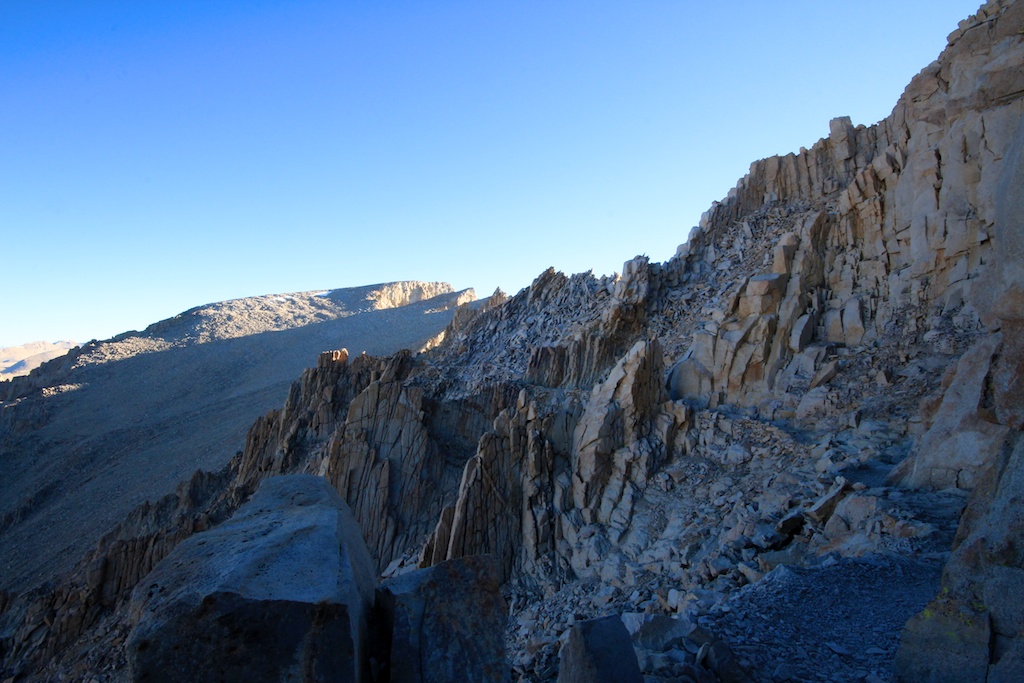
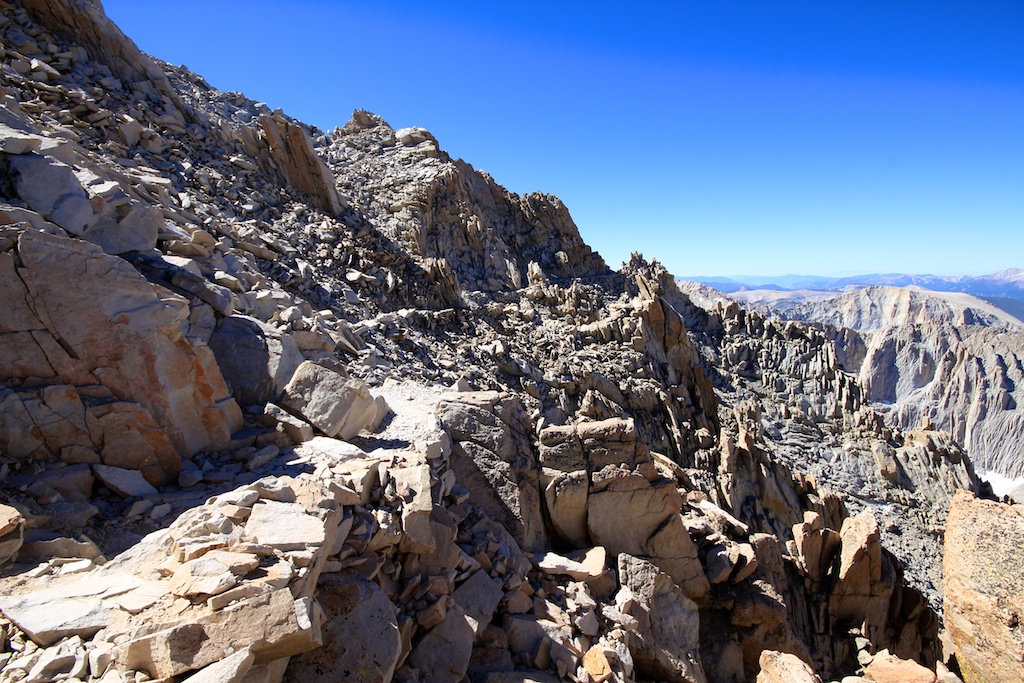
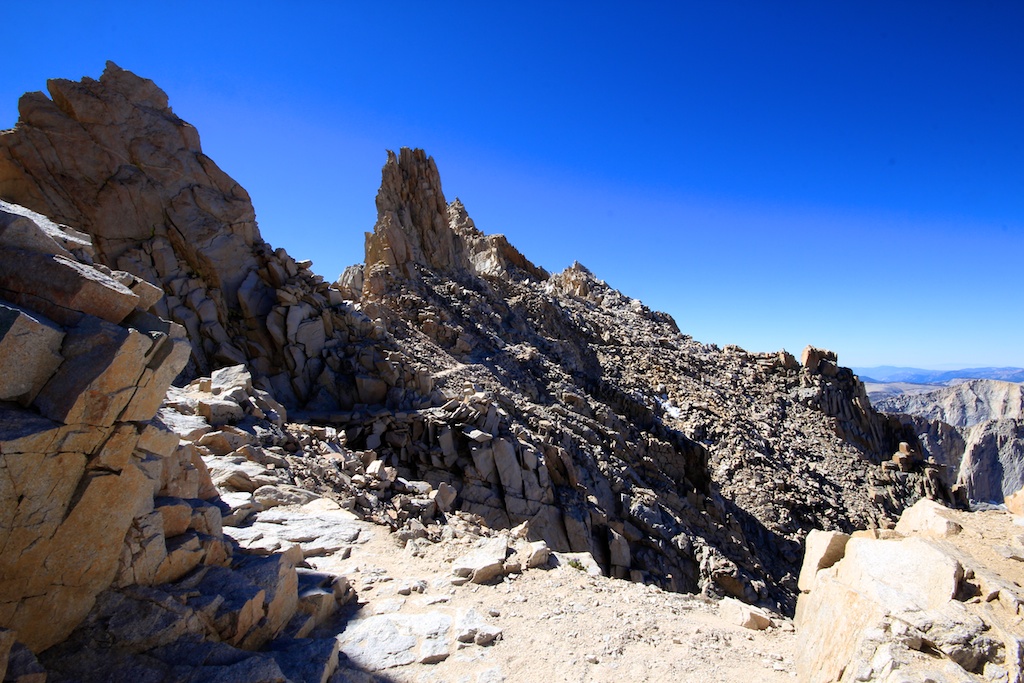
Windows
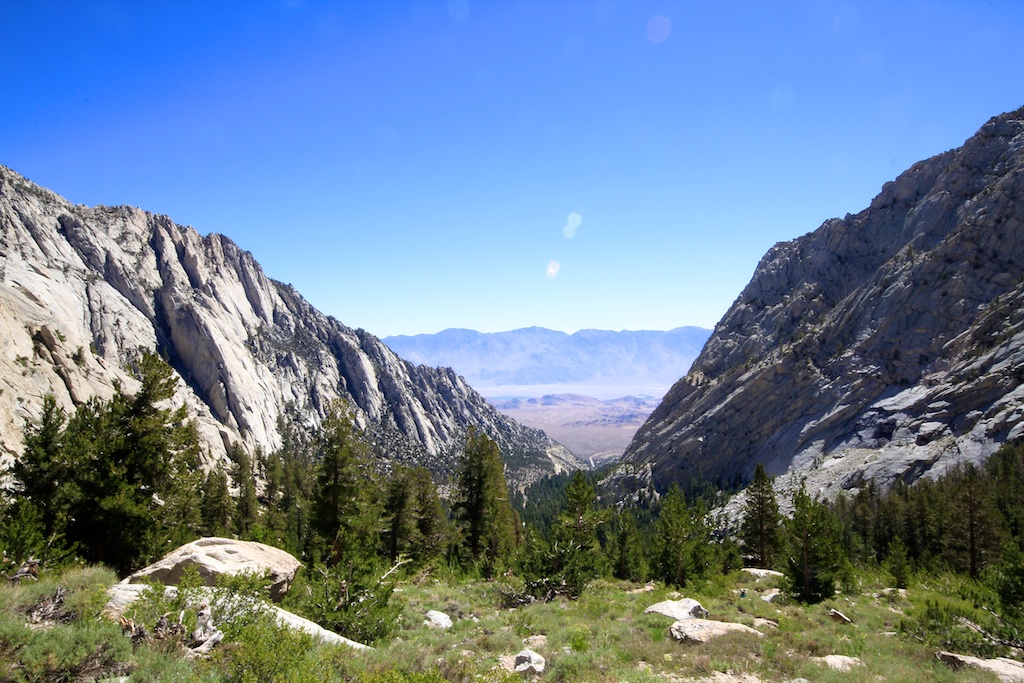
The rock wall that lines your east side on this trail cuts out 3 to 4 times during this part of the path. When this happens, you will be able to see fully out towards the Lone Pine area in what is known as the Mt Whitney Windows. These are unique and provide insanely amazing views.
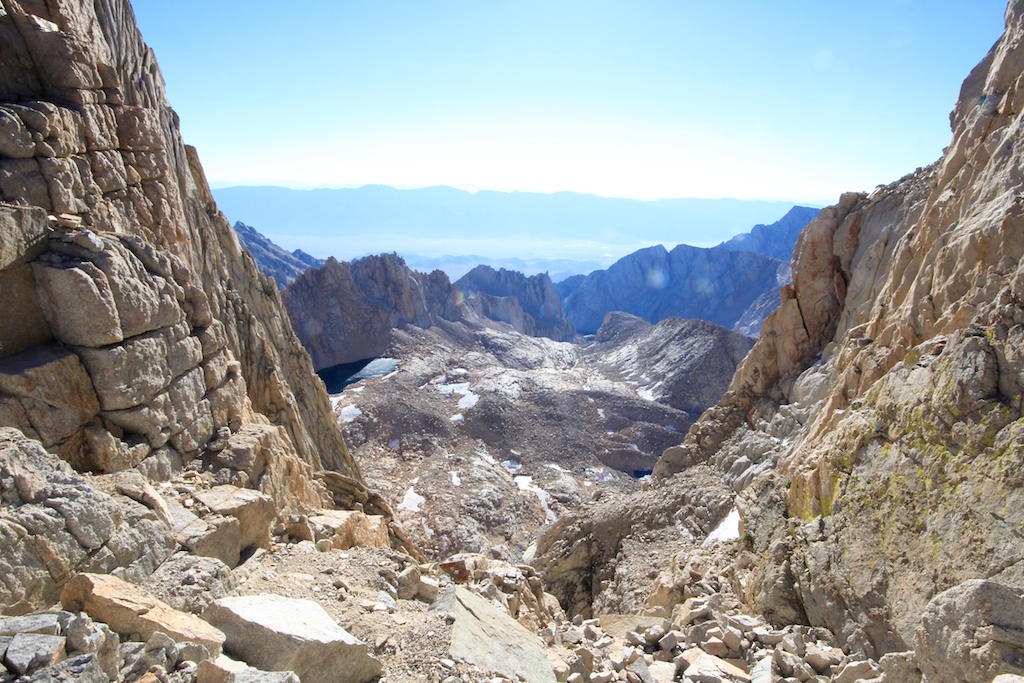
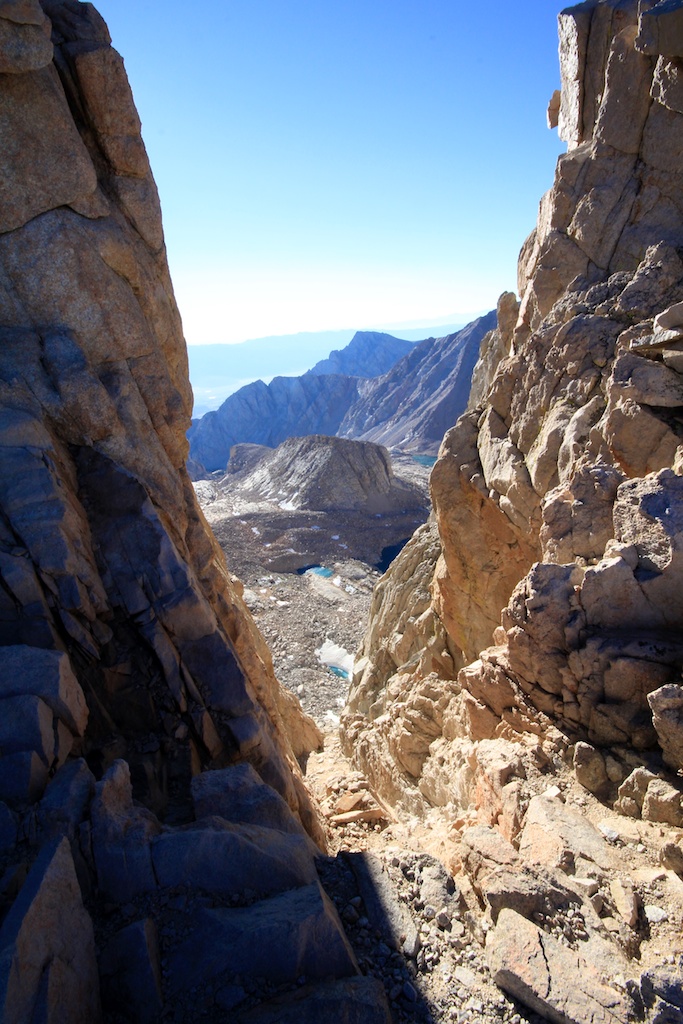
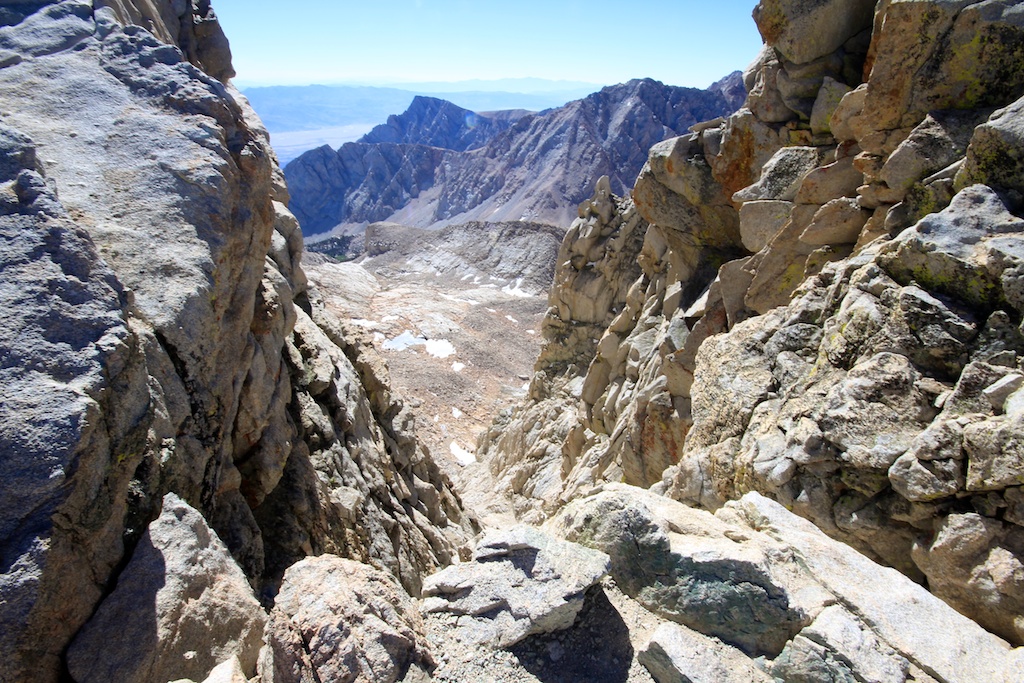
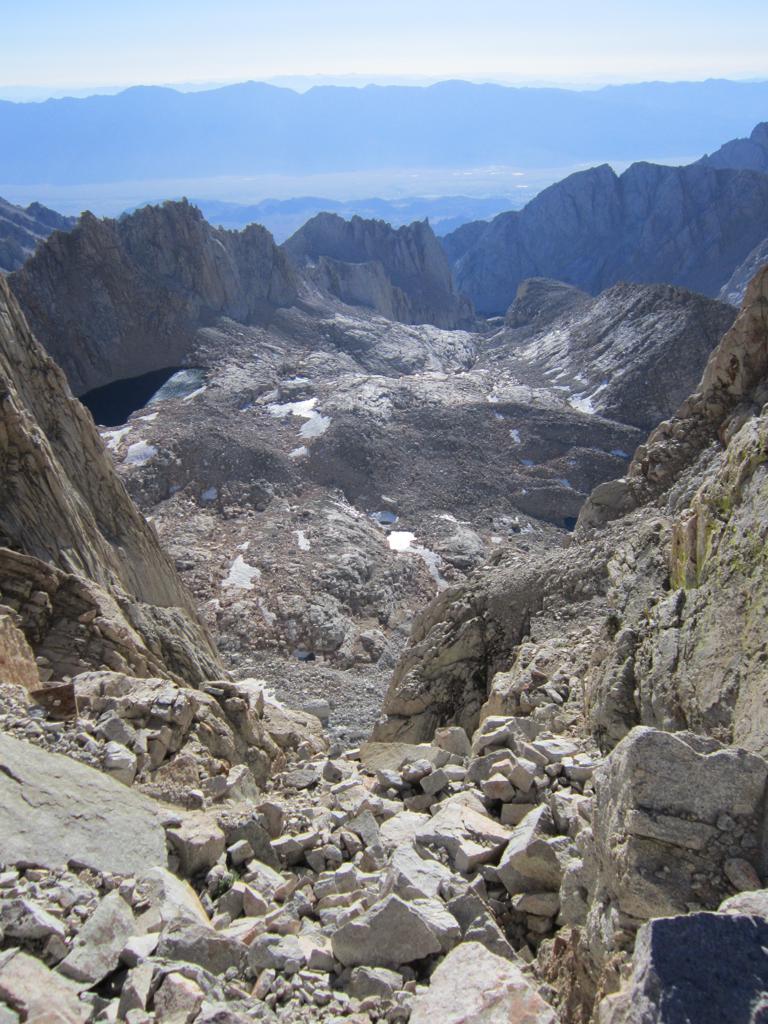
Hitchcock Lake and Guitar Lake
On the West side of the summit trail, you can see Hitchcock Lake and Guitar Lake. Both are located in Sequoia National Park. Guitar Lake is obviously named that cause it looks like a guitar, which is pretty cool!
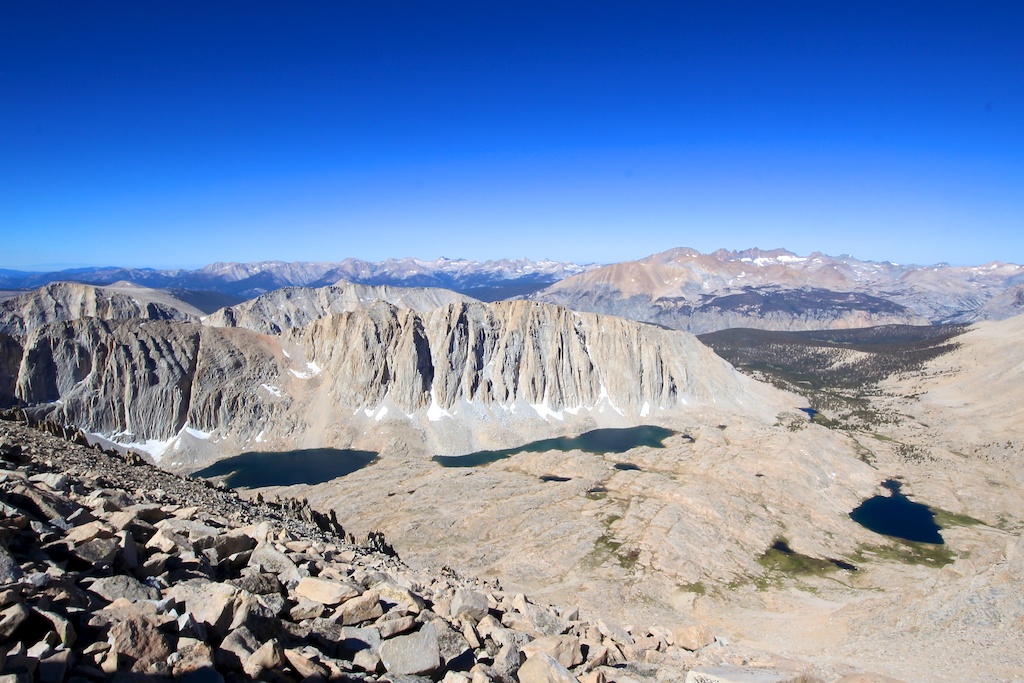
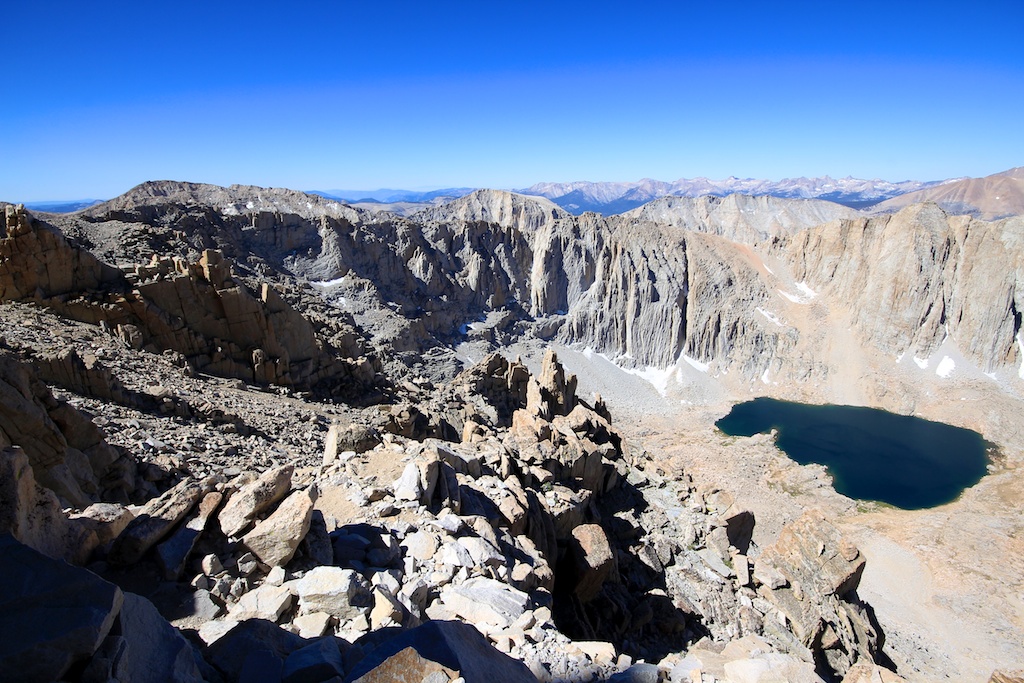
Approaching the Summit
After crossing what seems like 5 miles of rock, you will reach the base of the summit. During a lot of the year, this will require walking across the snow to continue your path, but even when the snow is present, it is not that difficult to traverse as there is a clear path that goes through it. From there, you simply push your way up to the summit through the landscape of rocks.
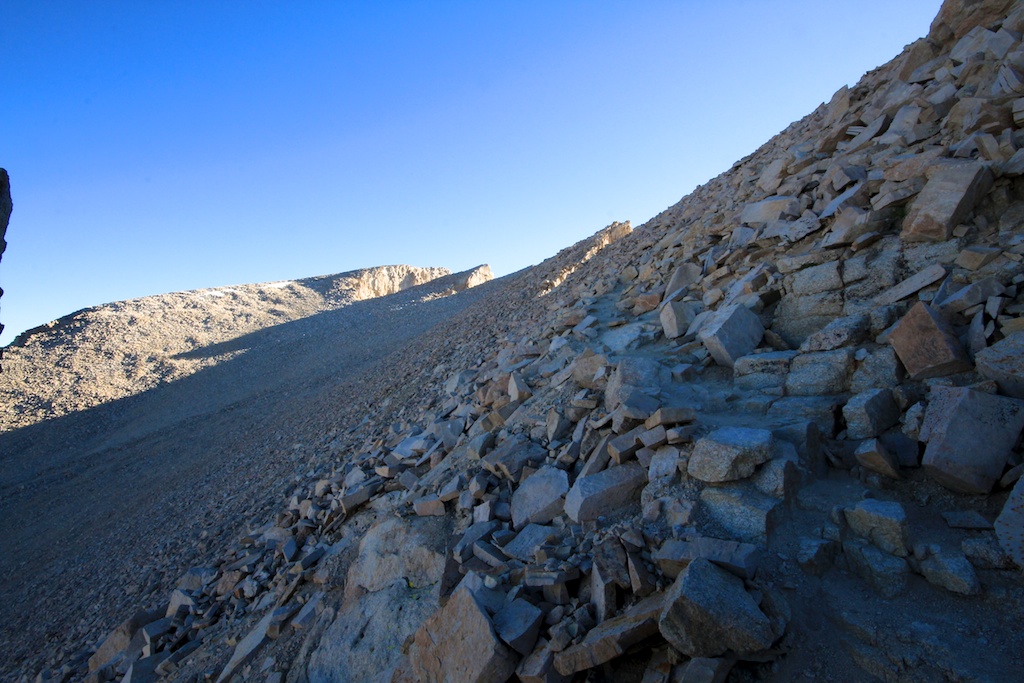
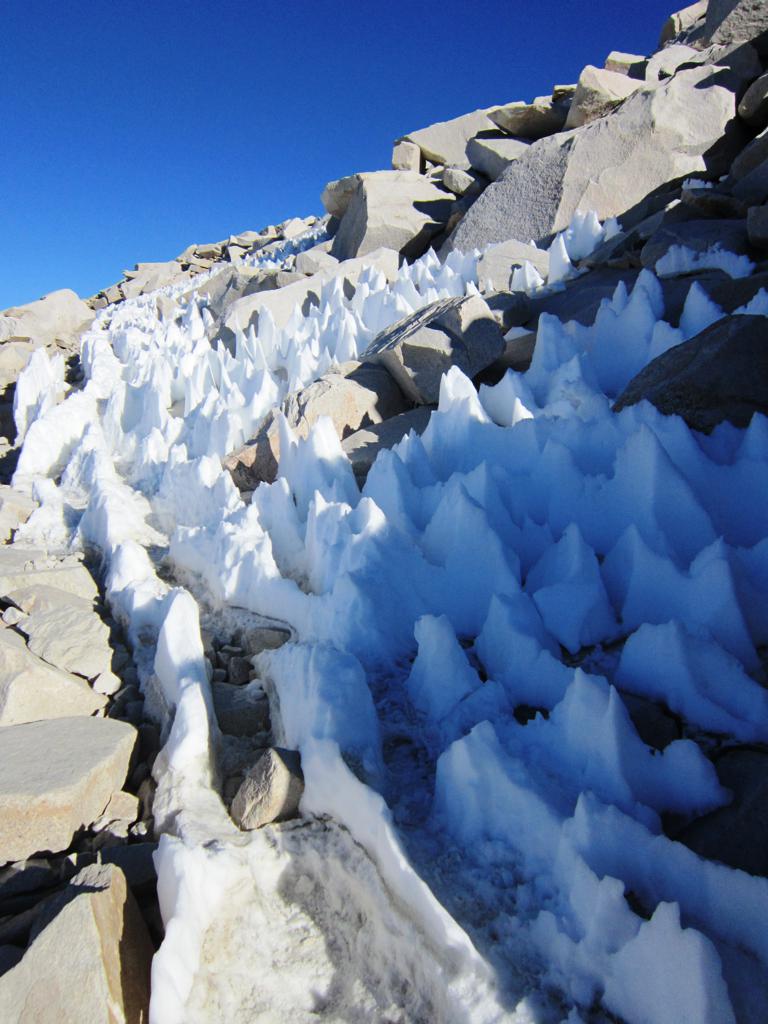
Summit House
The first thing you will notice when nearing the summit is the rise of the summit house into your view. This house was built in 1909 and is still standing to this day. It has a door that has blown off in the crazy wind, and the inside was pretty full of snow, but it provided an excellent spot for us to get out of the wind when we were up there. There is also a guest book you can sign in the front.
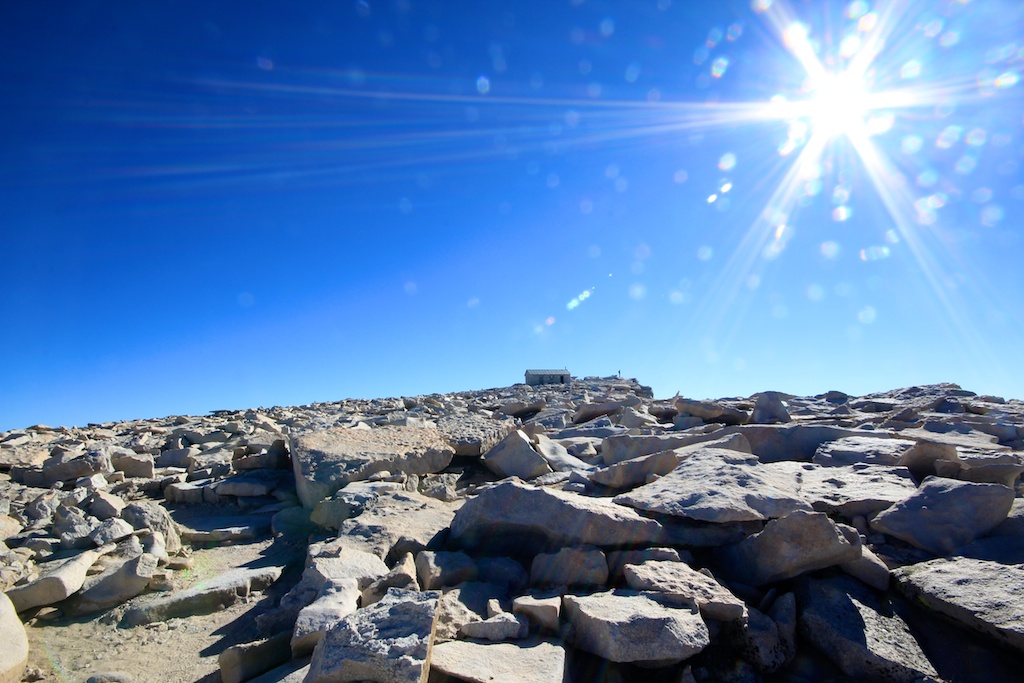
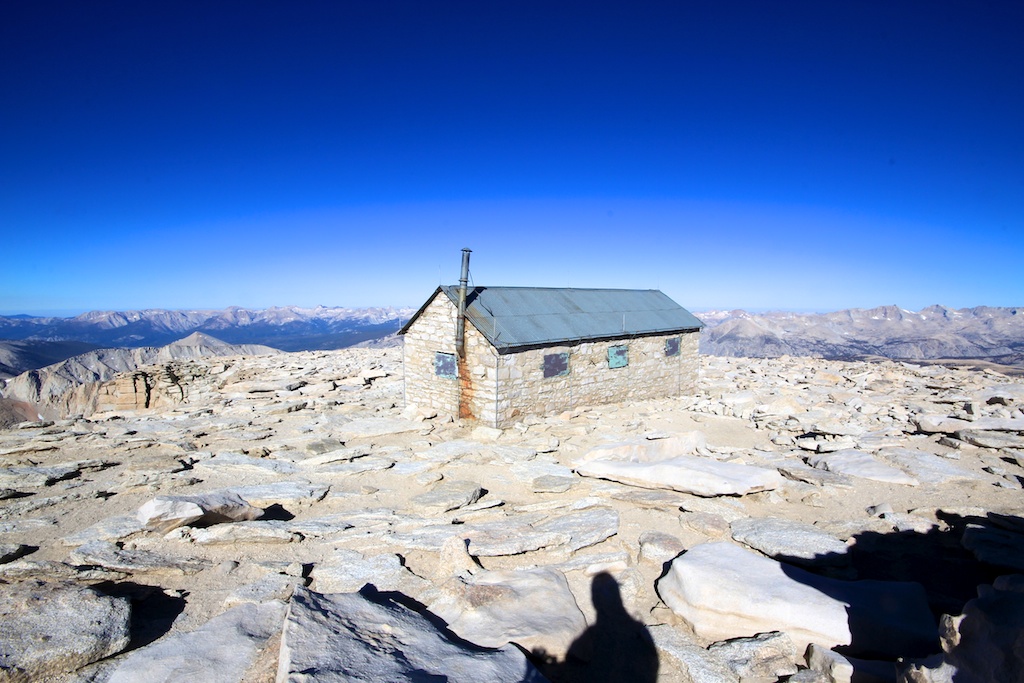
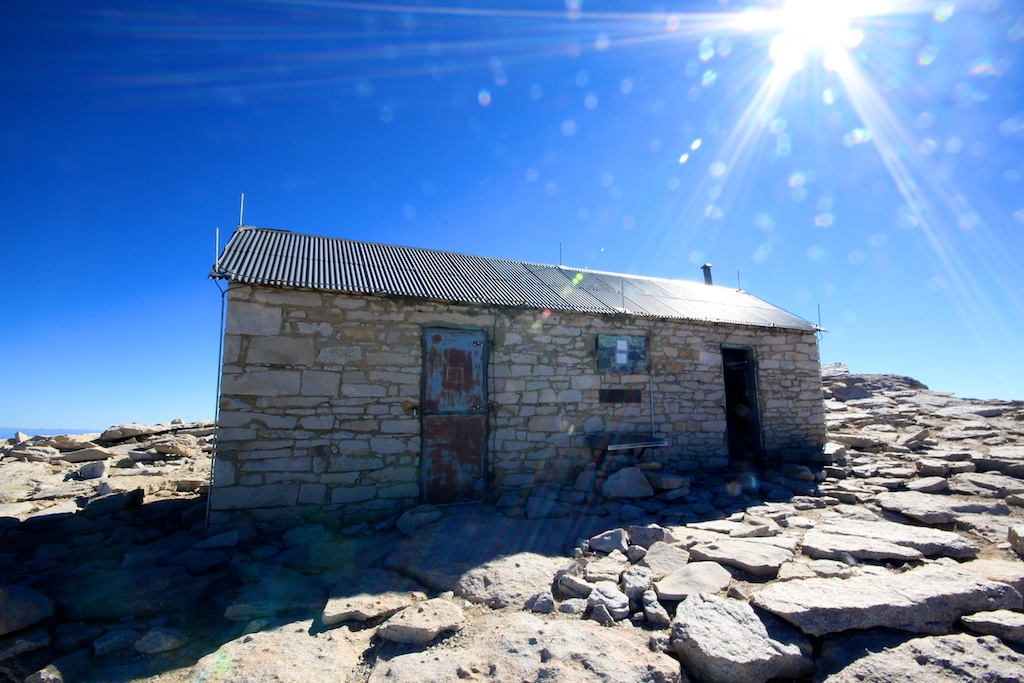
Summit Views
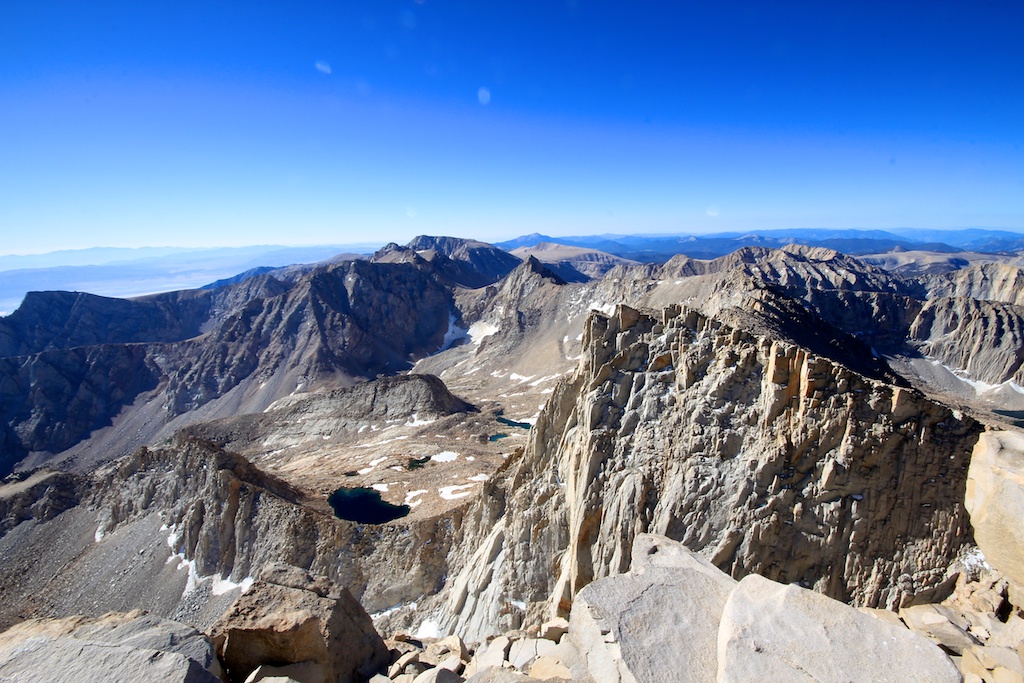
You have officially made it to the tallest mountain in the lower 48 states, congrats! From here, you have nothing left to do but to soak in the views. It is stunning up here, and on a clear day, you can see forever. Take your time and see it all. Then when you are finished, head back the way you came for the second half of your trip, hiking down.
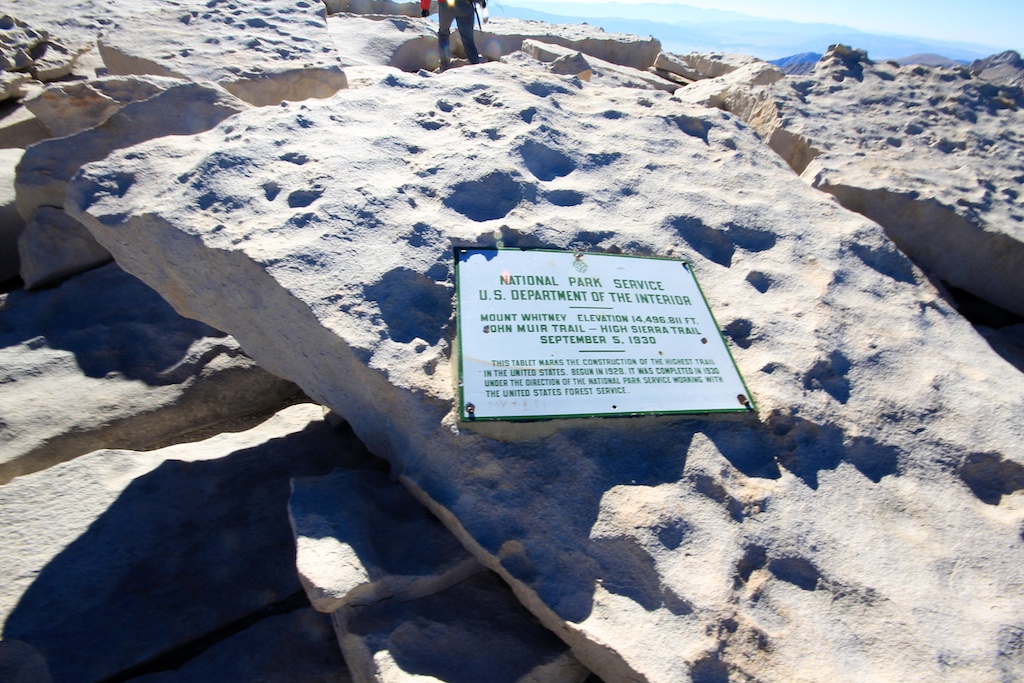
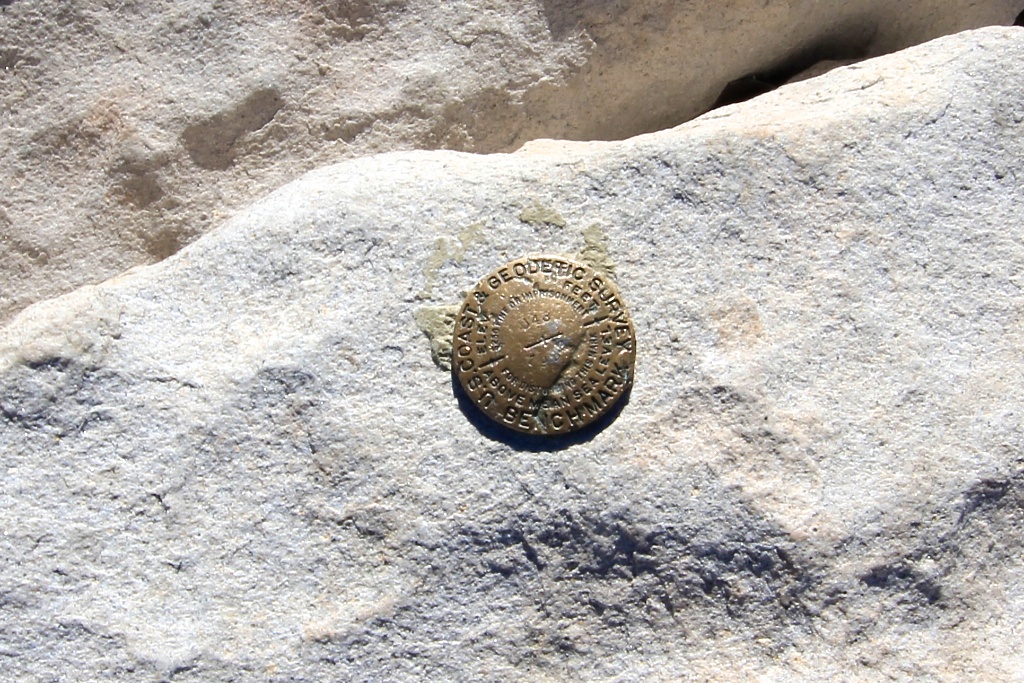
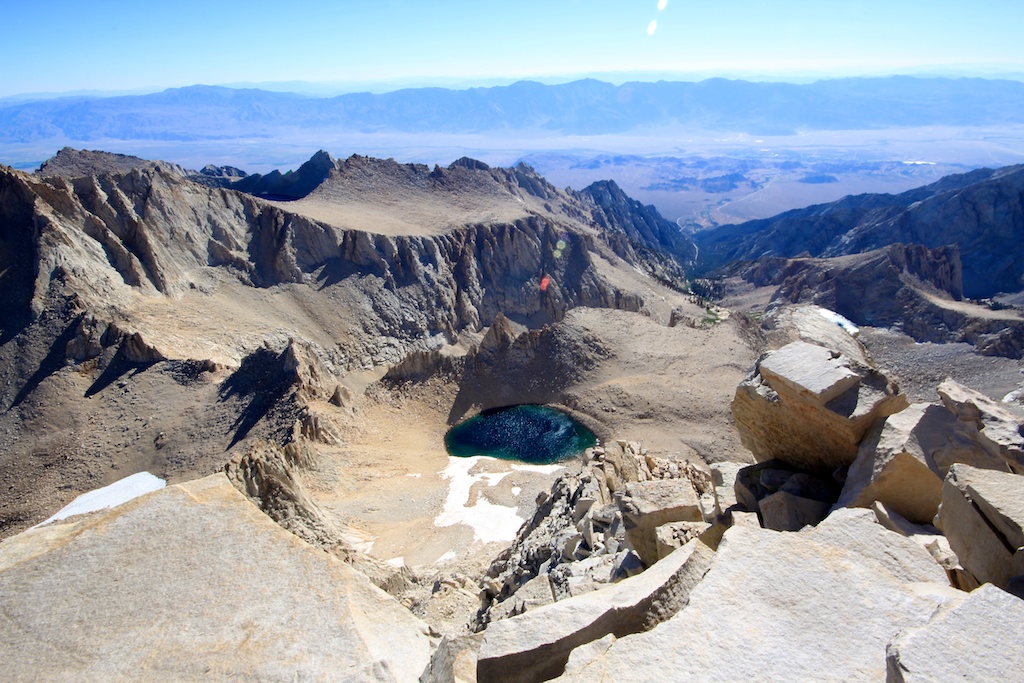
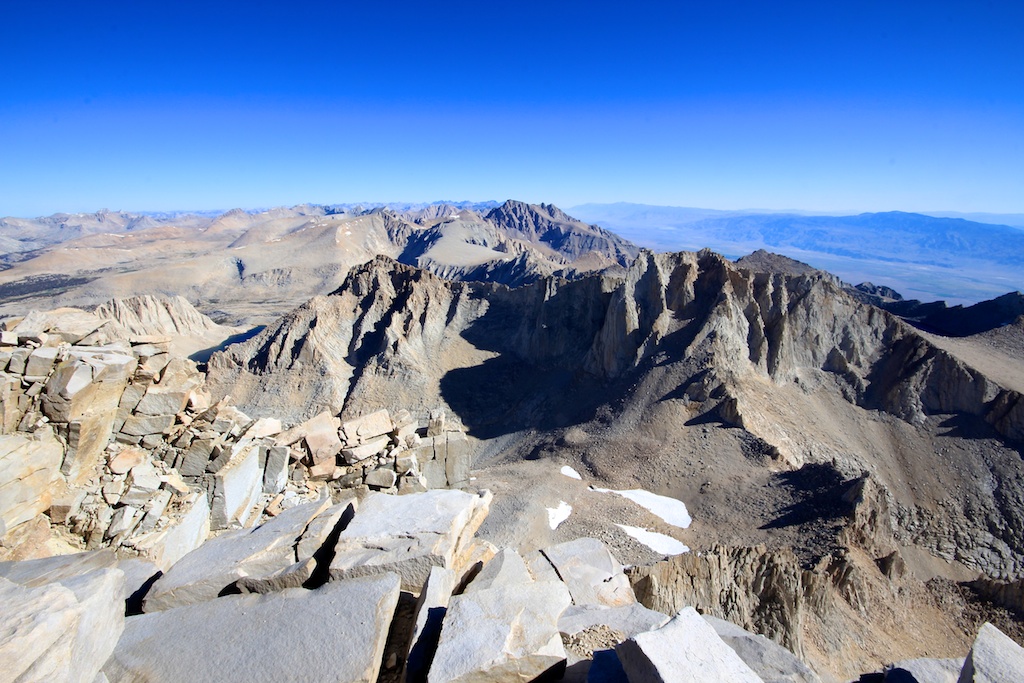
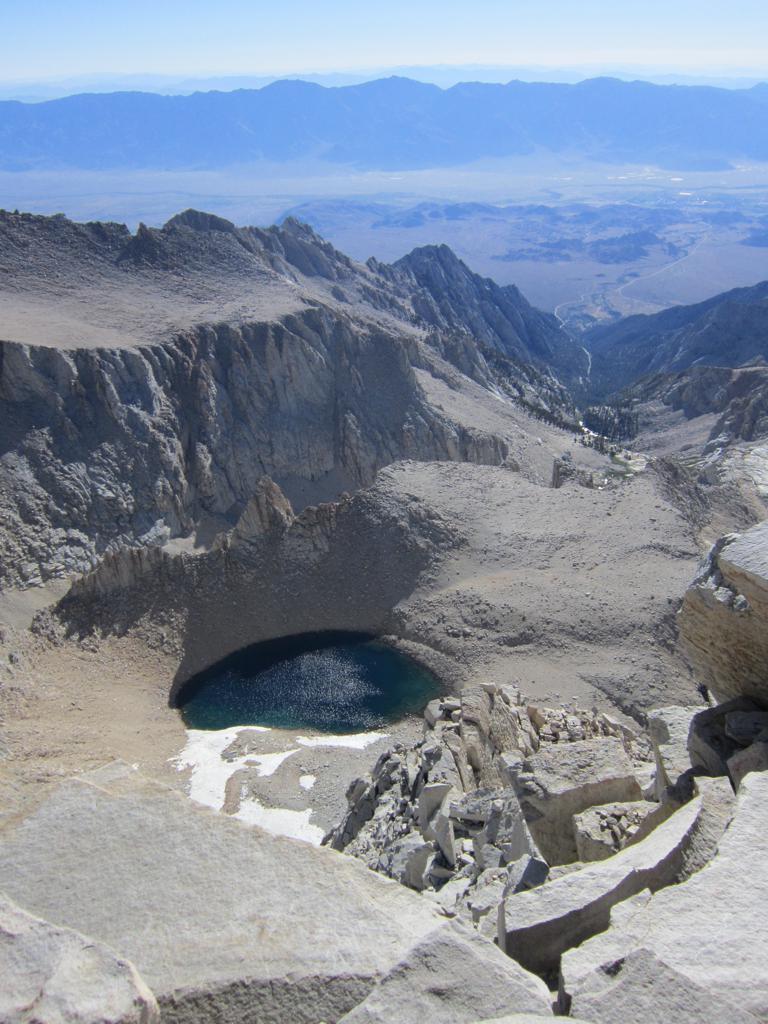
Thanks for checking out my photos. Leave me a comment below or share this post if you enjoyed them! If you are climbing Mt. Whitney yourself, make sure you check out WhitneyZone.com; it was an amazing resource for me, and I cannot recommend it enough.
Video
Here is a video I made of the trail in 2012 when I was working with another company that no longer exists. The audio and quality are not fantastic, but it gives you an idea of what is in store for you.
Gear List
Here is my list of some gear I took with me on this hike.
- Camera
- Wide Angle Lens
- Vitalyte
- Light Weight Sleeping Bag (note the weather/temperature to make sure this is sufficient for your hike)
- Sleeping Pad
- Superfeet Insoles
- Hiking Poles
- Bear Vault
- Hiking Boots
- Salted Carmel Gu
- Camera Clip
